I don't use Smooth-On, I use BITY mold products and bubbles are possible, but nothing that can't be handled. If you think that there would be a problem, then make the locomotive in sections and then glue them together. I don't know if I made myself clear, I was talking about making the MOLD with a 3d printer and then make the part from the mold. Or you could take your part and then make a urethane mold and then make your parts. That is how I do it now, I just make urethane molds now, got away from hard molds, for the most part, but here is an F7 cab made from a urethane mold, and a heavyweight side both made with urethane molds. I just bought some truck parts made from a 3d printer and then from those parts, I will make a urethane mold. This mold will be for the Superliner trucks. My T1 loco shell was made, half was a hard mold and the other half was urethane. Bob.
Yeah I gotcha. I would probably make a flexible mold using the printed model, then cast from that. Thanks for sharing. Will try to explore this when I get some free time. Have you posted any “how to”s on your work? Looks very nice.
I don't know if you have thought of this method, but I was thinking that instead of building a part with your 3d printer, why not print a mold for your parts? Let's say if you had just four molds, the urethane sets up in 4 hours, so four parts in four hours. Just a thought, Bob.
Ive played around with some Smooth On products in the past, and your suggestion is a good idea. Will require some testing and see how it comes out. I think it will be difficult to not get bubbles in the cast with all the different angles..
Oh,Oh, looks like I will have to add another building method to my hobby. That is fantastic and beautiful also. I am amazed at the smoothness, good job. Bob.
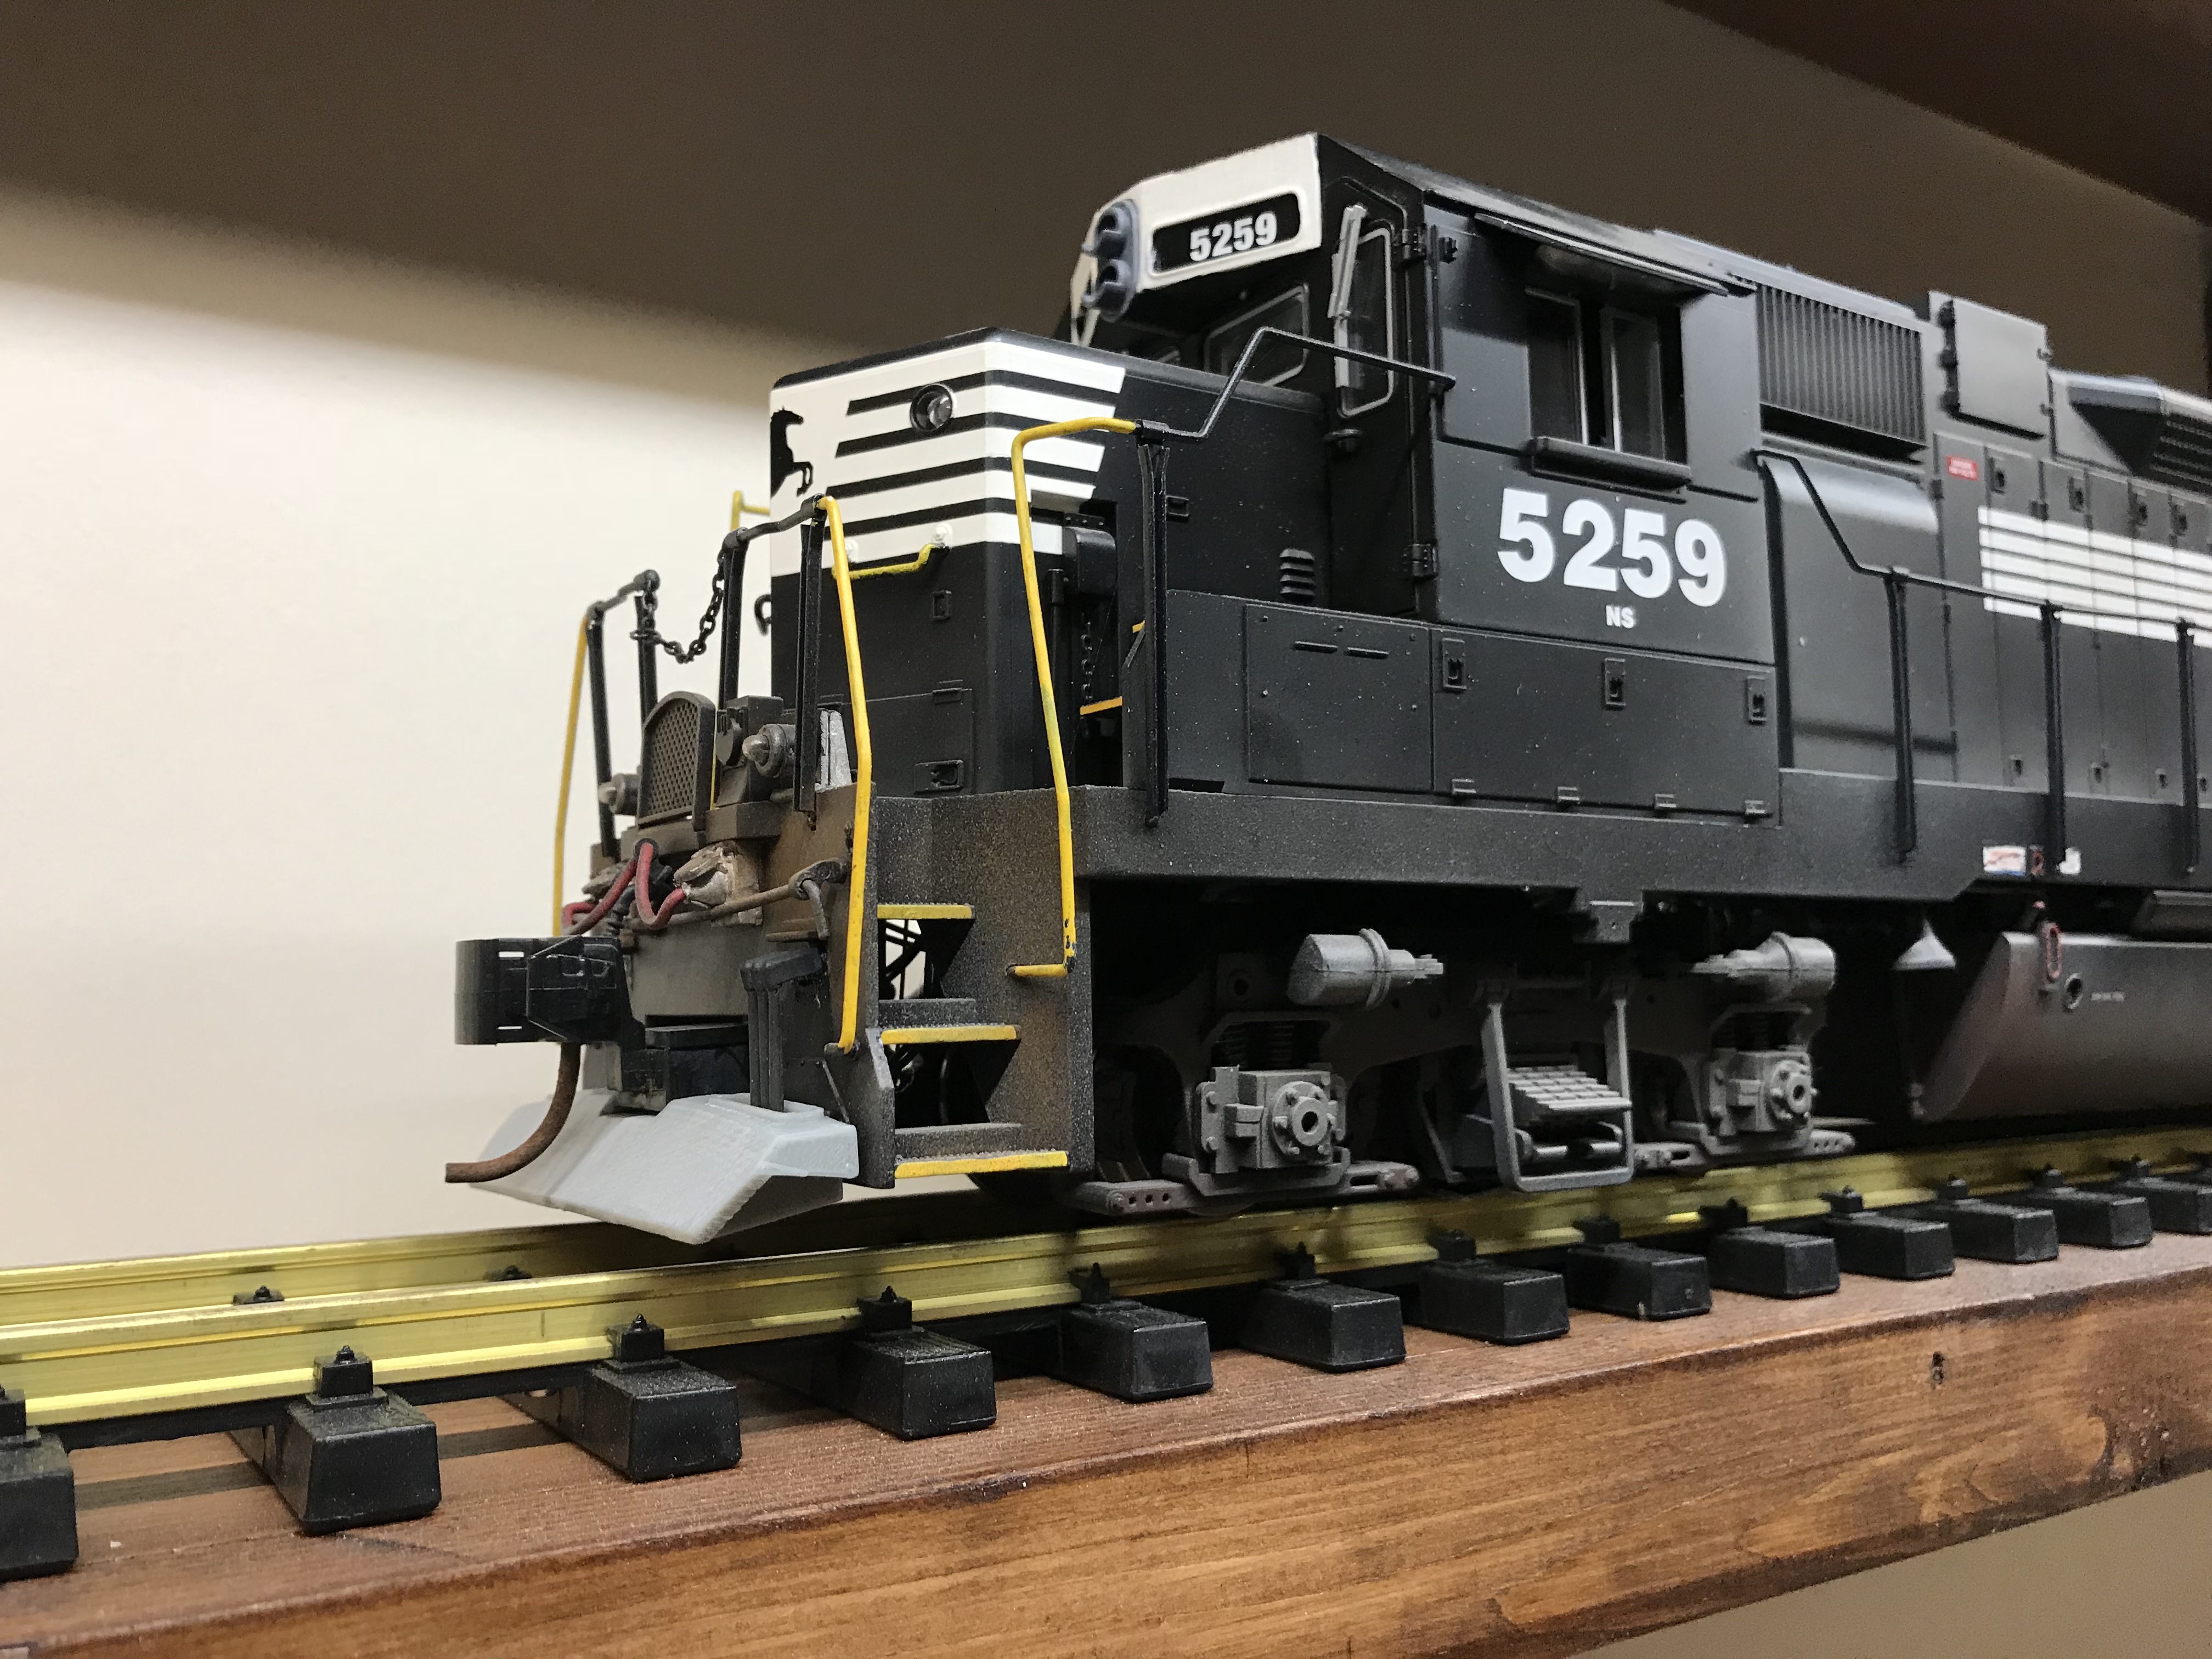
Thanks Bob, not lookin too bad. Still waiting on parts from USA to get the trucks mounted up. Will post more pics then. Thx again
Offering prototype design, and 3d printing for all of your detail parts needs and custom projects.
About me:
I have been involved in 3D printing for over 8 years, and am a machinist, welder and fabricator by trade with 25 years experience. Being a modeling enthusiasts, including G scale trains
and scale rc construction equipment, provides many opportunities for prototyping and model building.
Contact me for details or questions about a project your interested in.
Make sure your app version is 3.0.1 build 47. The build might not display on IOS devices.
There were flaws that were fixed with this build. The previous 3.0.0 would not run lash-ups.
This is the first I've heard of your problems. I will keep an eye out for more solutions.
I would also think that if the app does not see the member engines of the lash-up, it will not allow it to be active. ( I have not tried this.)
Do each of the engines run when called on with the app?
Yes the lash up runs when it’s created and the engines run separately. But no movement of course like I mentioned, and when they go inactive I have to go to add mth engine and then go back and the engine will be active.. it’s an obvious glitch.. just not sure how to fix.. oh and I don’t see builds on iOS. I am running an old iPad..,maybe it’s too old?
Quick note, do you have the TIU updated to v6.00 or v6.10? 6.10 is the latest version and one issue I am seeing from folks is where their app is updated to the latest version but running outdated DCS firmware on the TIU. These latest updates, 5.00, 6.00 and 6.10 all have updates for the DCS app and you need to run the latest to ensure correct operation.
Yes sorry, it’s the most recent ver as I downloaded from mth site today. And I just purchased the premium app last night and when I check for updates it tells me it’s up to date.. and shows v3.0.1 on app settings page. I used DCS downloader v5.0.0 to install DCS 6.1...
On the engine list screen, press the word 'Edit' at the top right and you will see up arrows to the right of the lashup name. Press that up arrow and it will move it up to active list.
Having a bit of a problem myself.
Using iOS and just updated to the premium app and updated the Tiu to ver 6. Here are 2 issues I’m having.. First as mentioned before, I cant move inactive engines or lash ups to active. Because I’m using iOS there is no arrows but the hamburger deal. I can drag the item up to active but it does not stay and snaps back to inactive.. and secondly, the speed control does not stay at a certain mph value, you can click up to say 2 mph for example but then after that the speed drops to zero automatically. This happens when dragging the needle on the speedometer to a certain speed when you remove your finger, it returns to zero.. the engines on the track do move, but then stop when speed is back to zero..
ive tried restarting app, cycling power on tiu and wiu.. any suggestions? Sry if this was answered already and I missed somewhere. Thanks
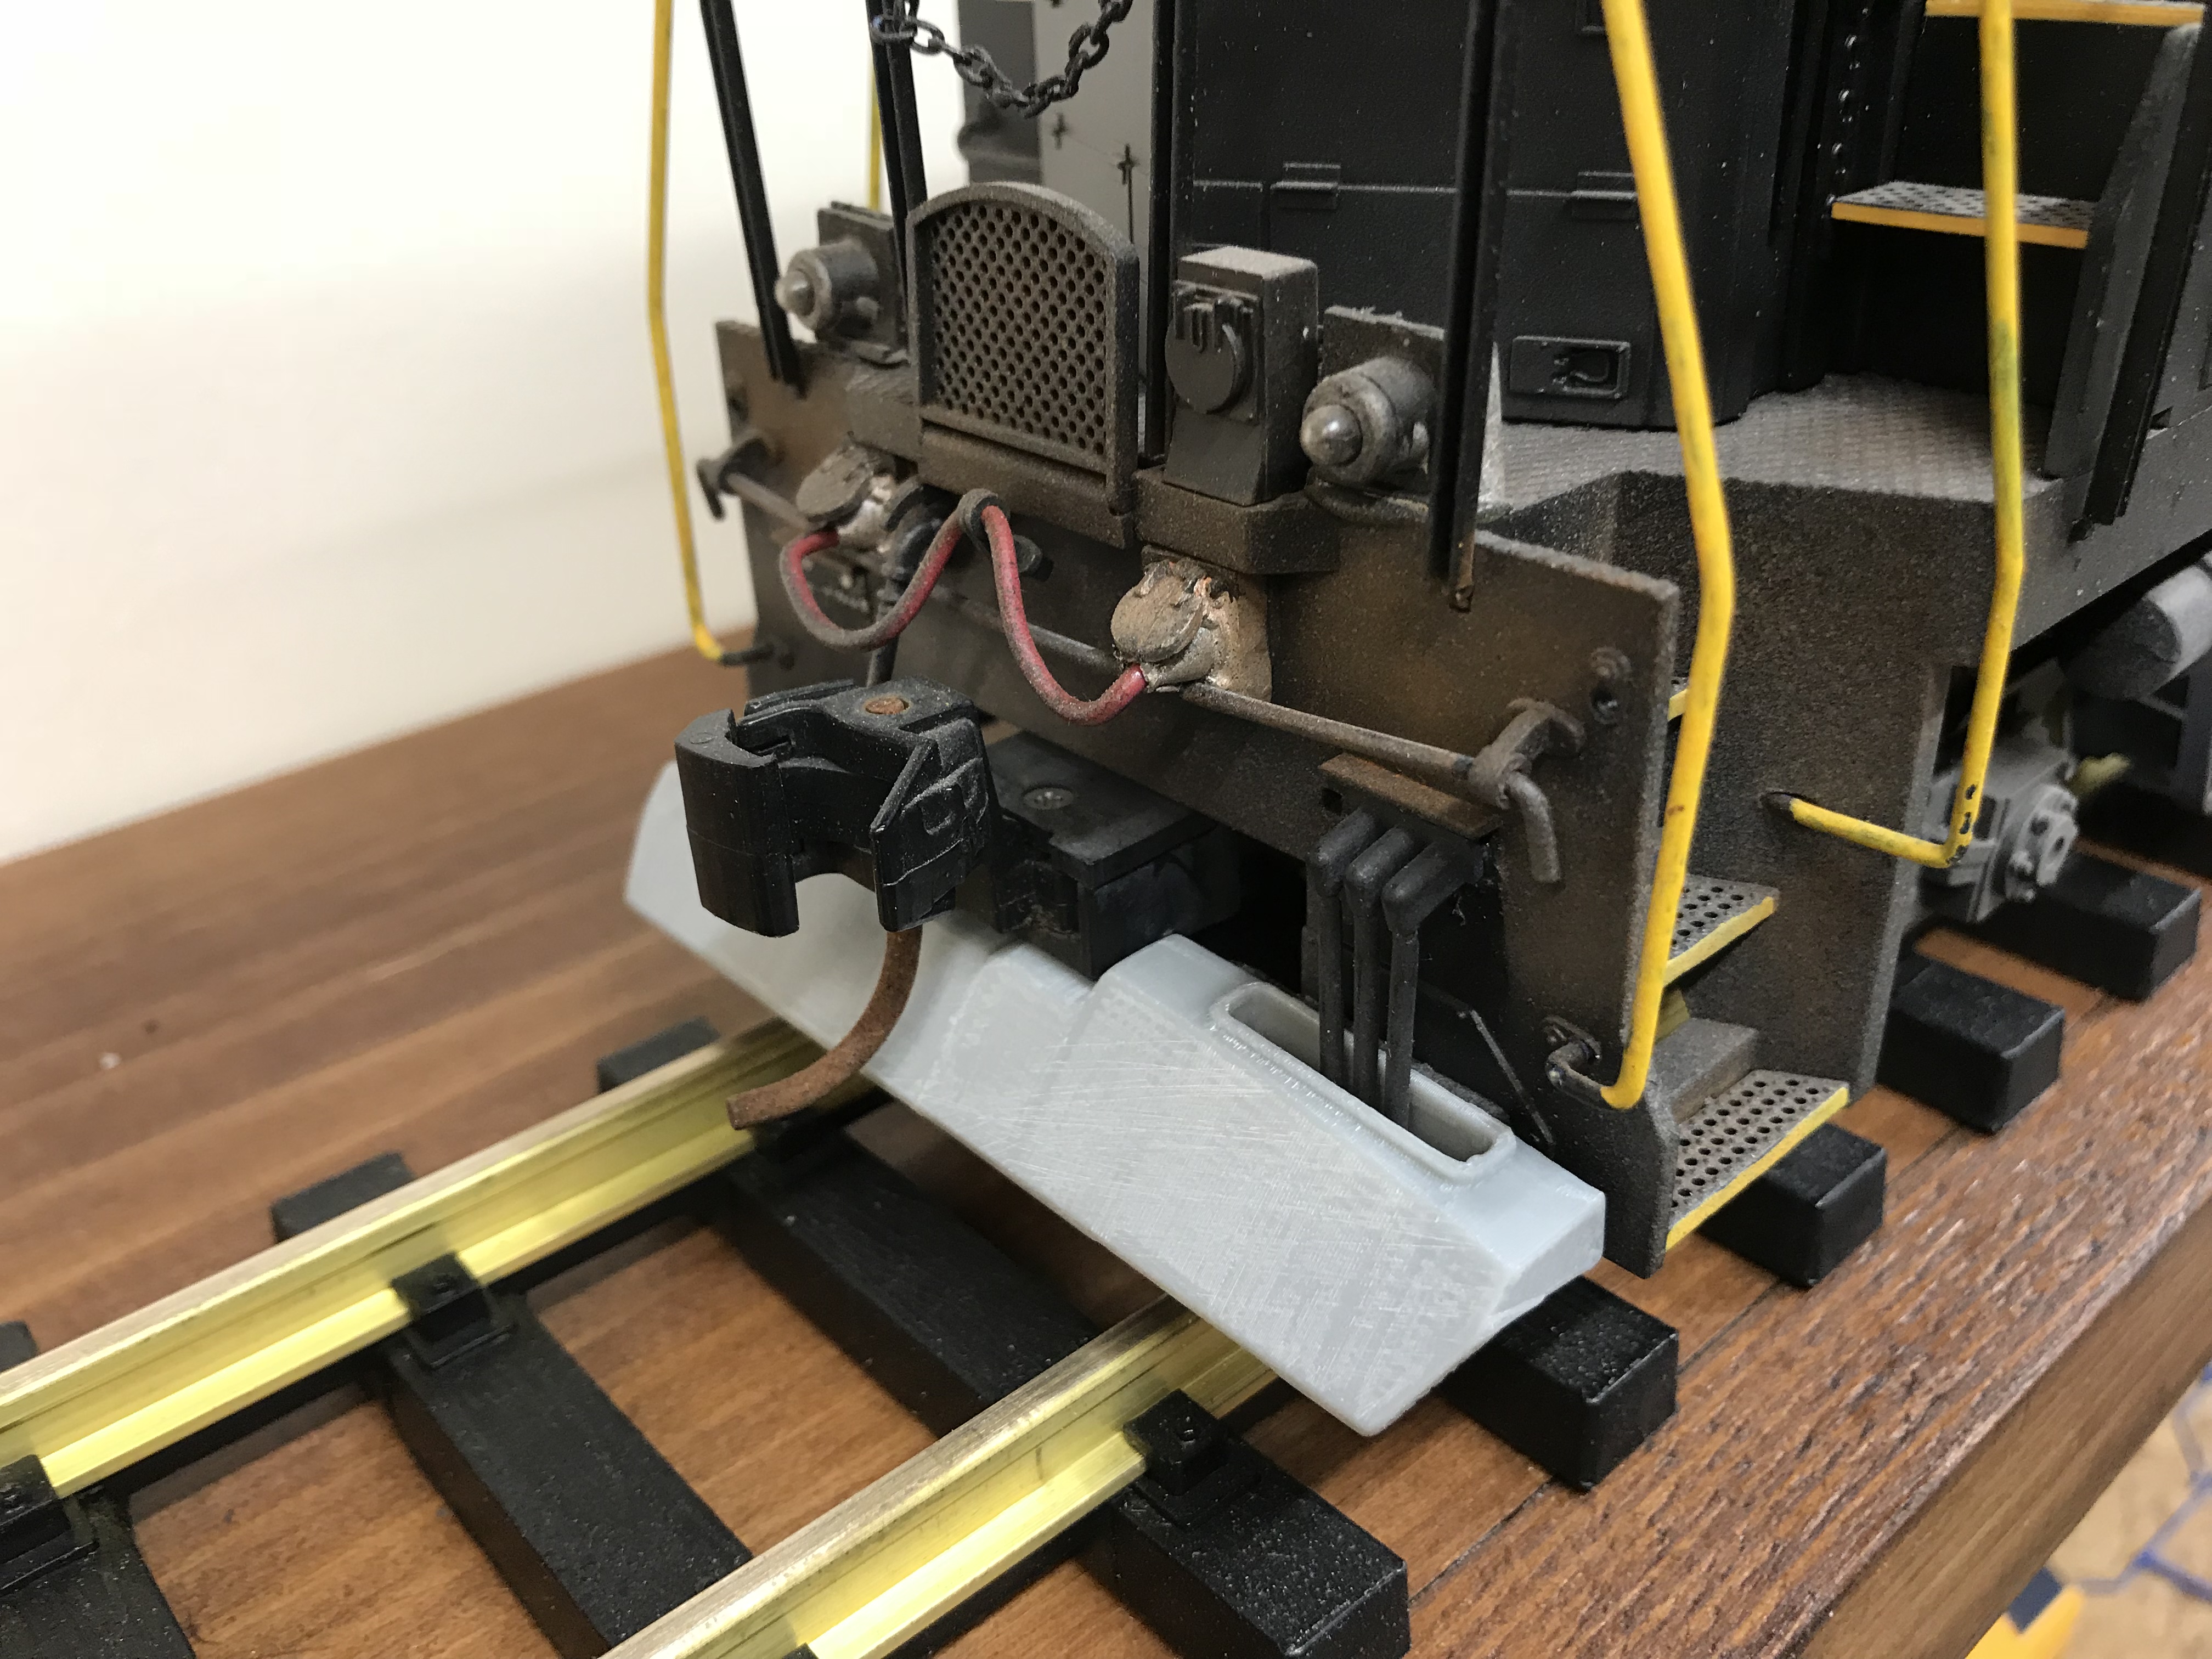
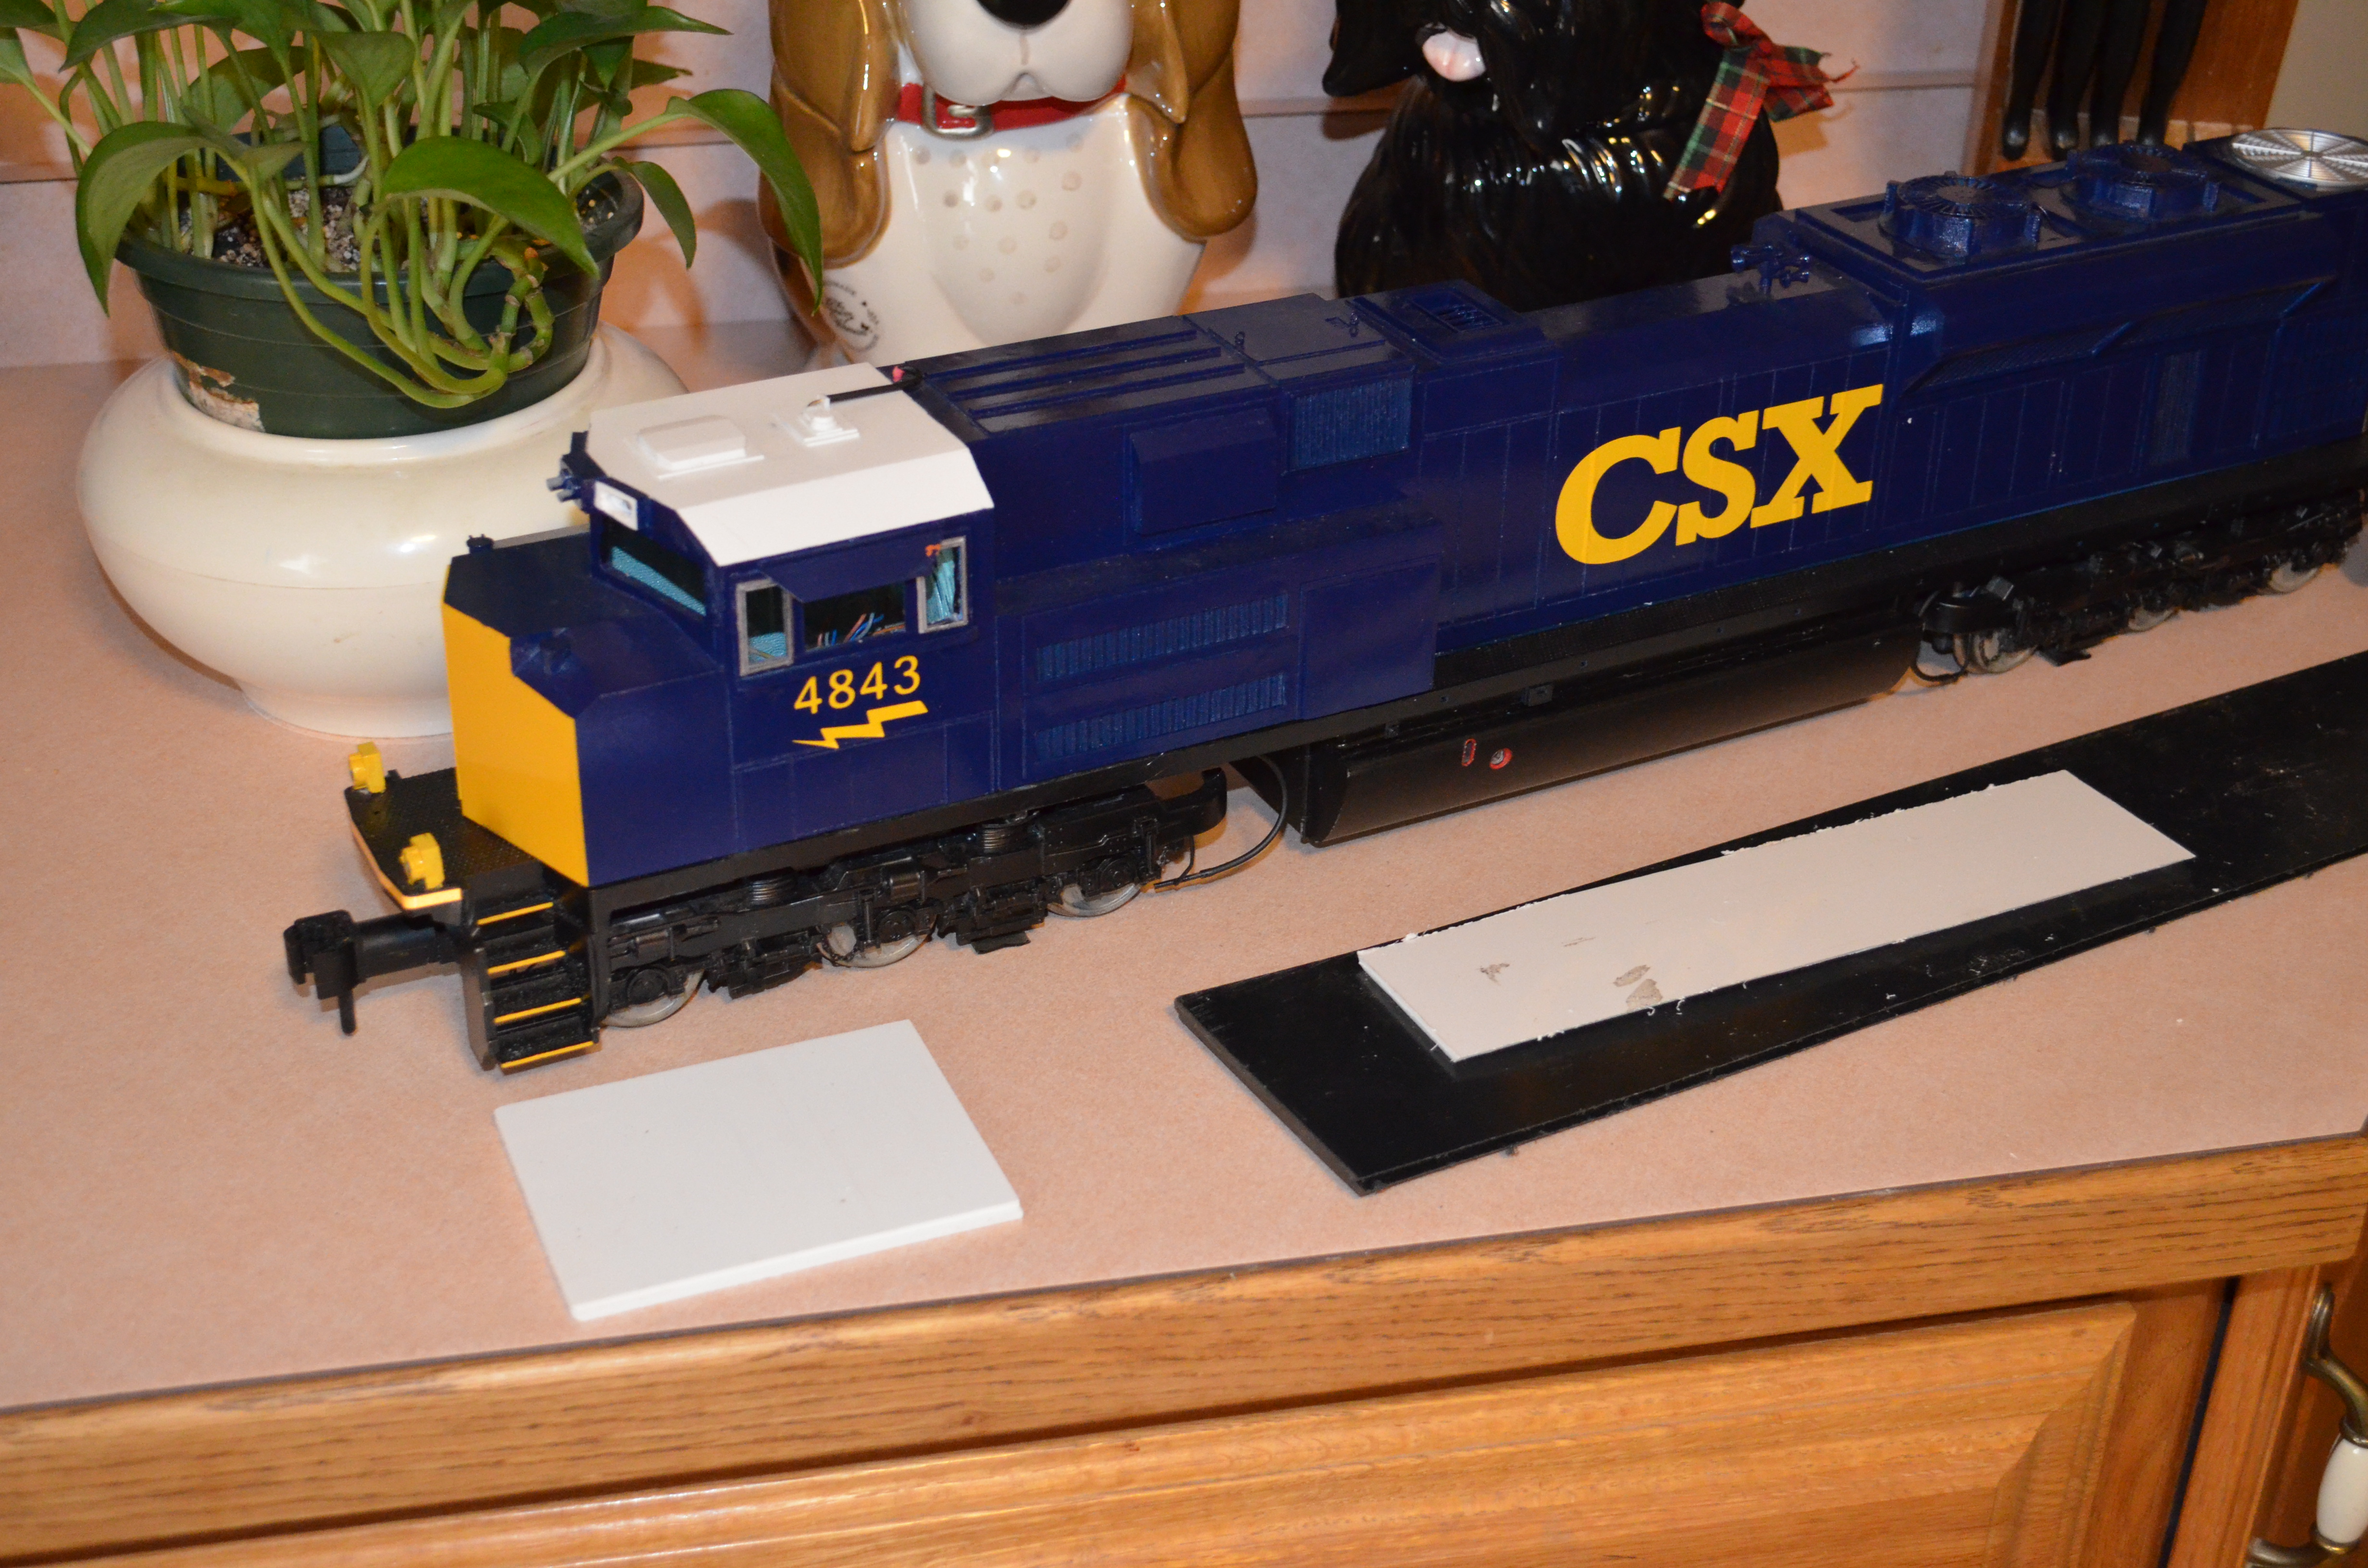
Cool, I’m glad you like it. Yes just email me, it’s in my profile. Let me know which style you want. No special prep needed. Acetone will melt the abs plastic so just use alcohol to degrease before paint and enjoy. Great idea for a cool accent. Post a pic when you get it finished.
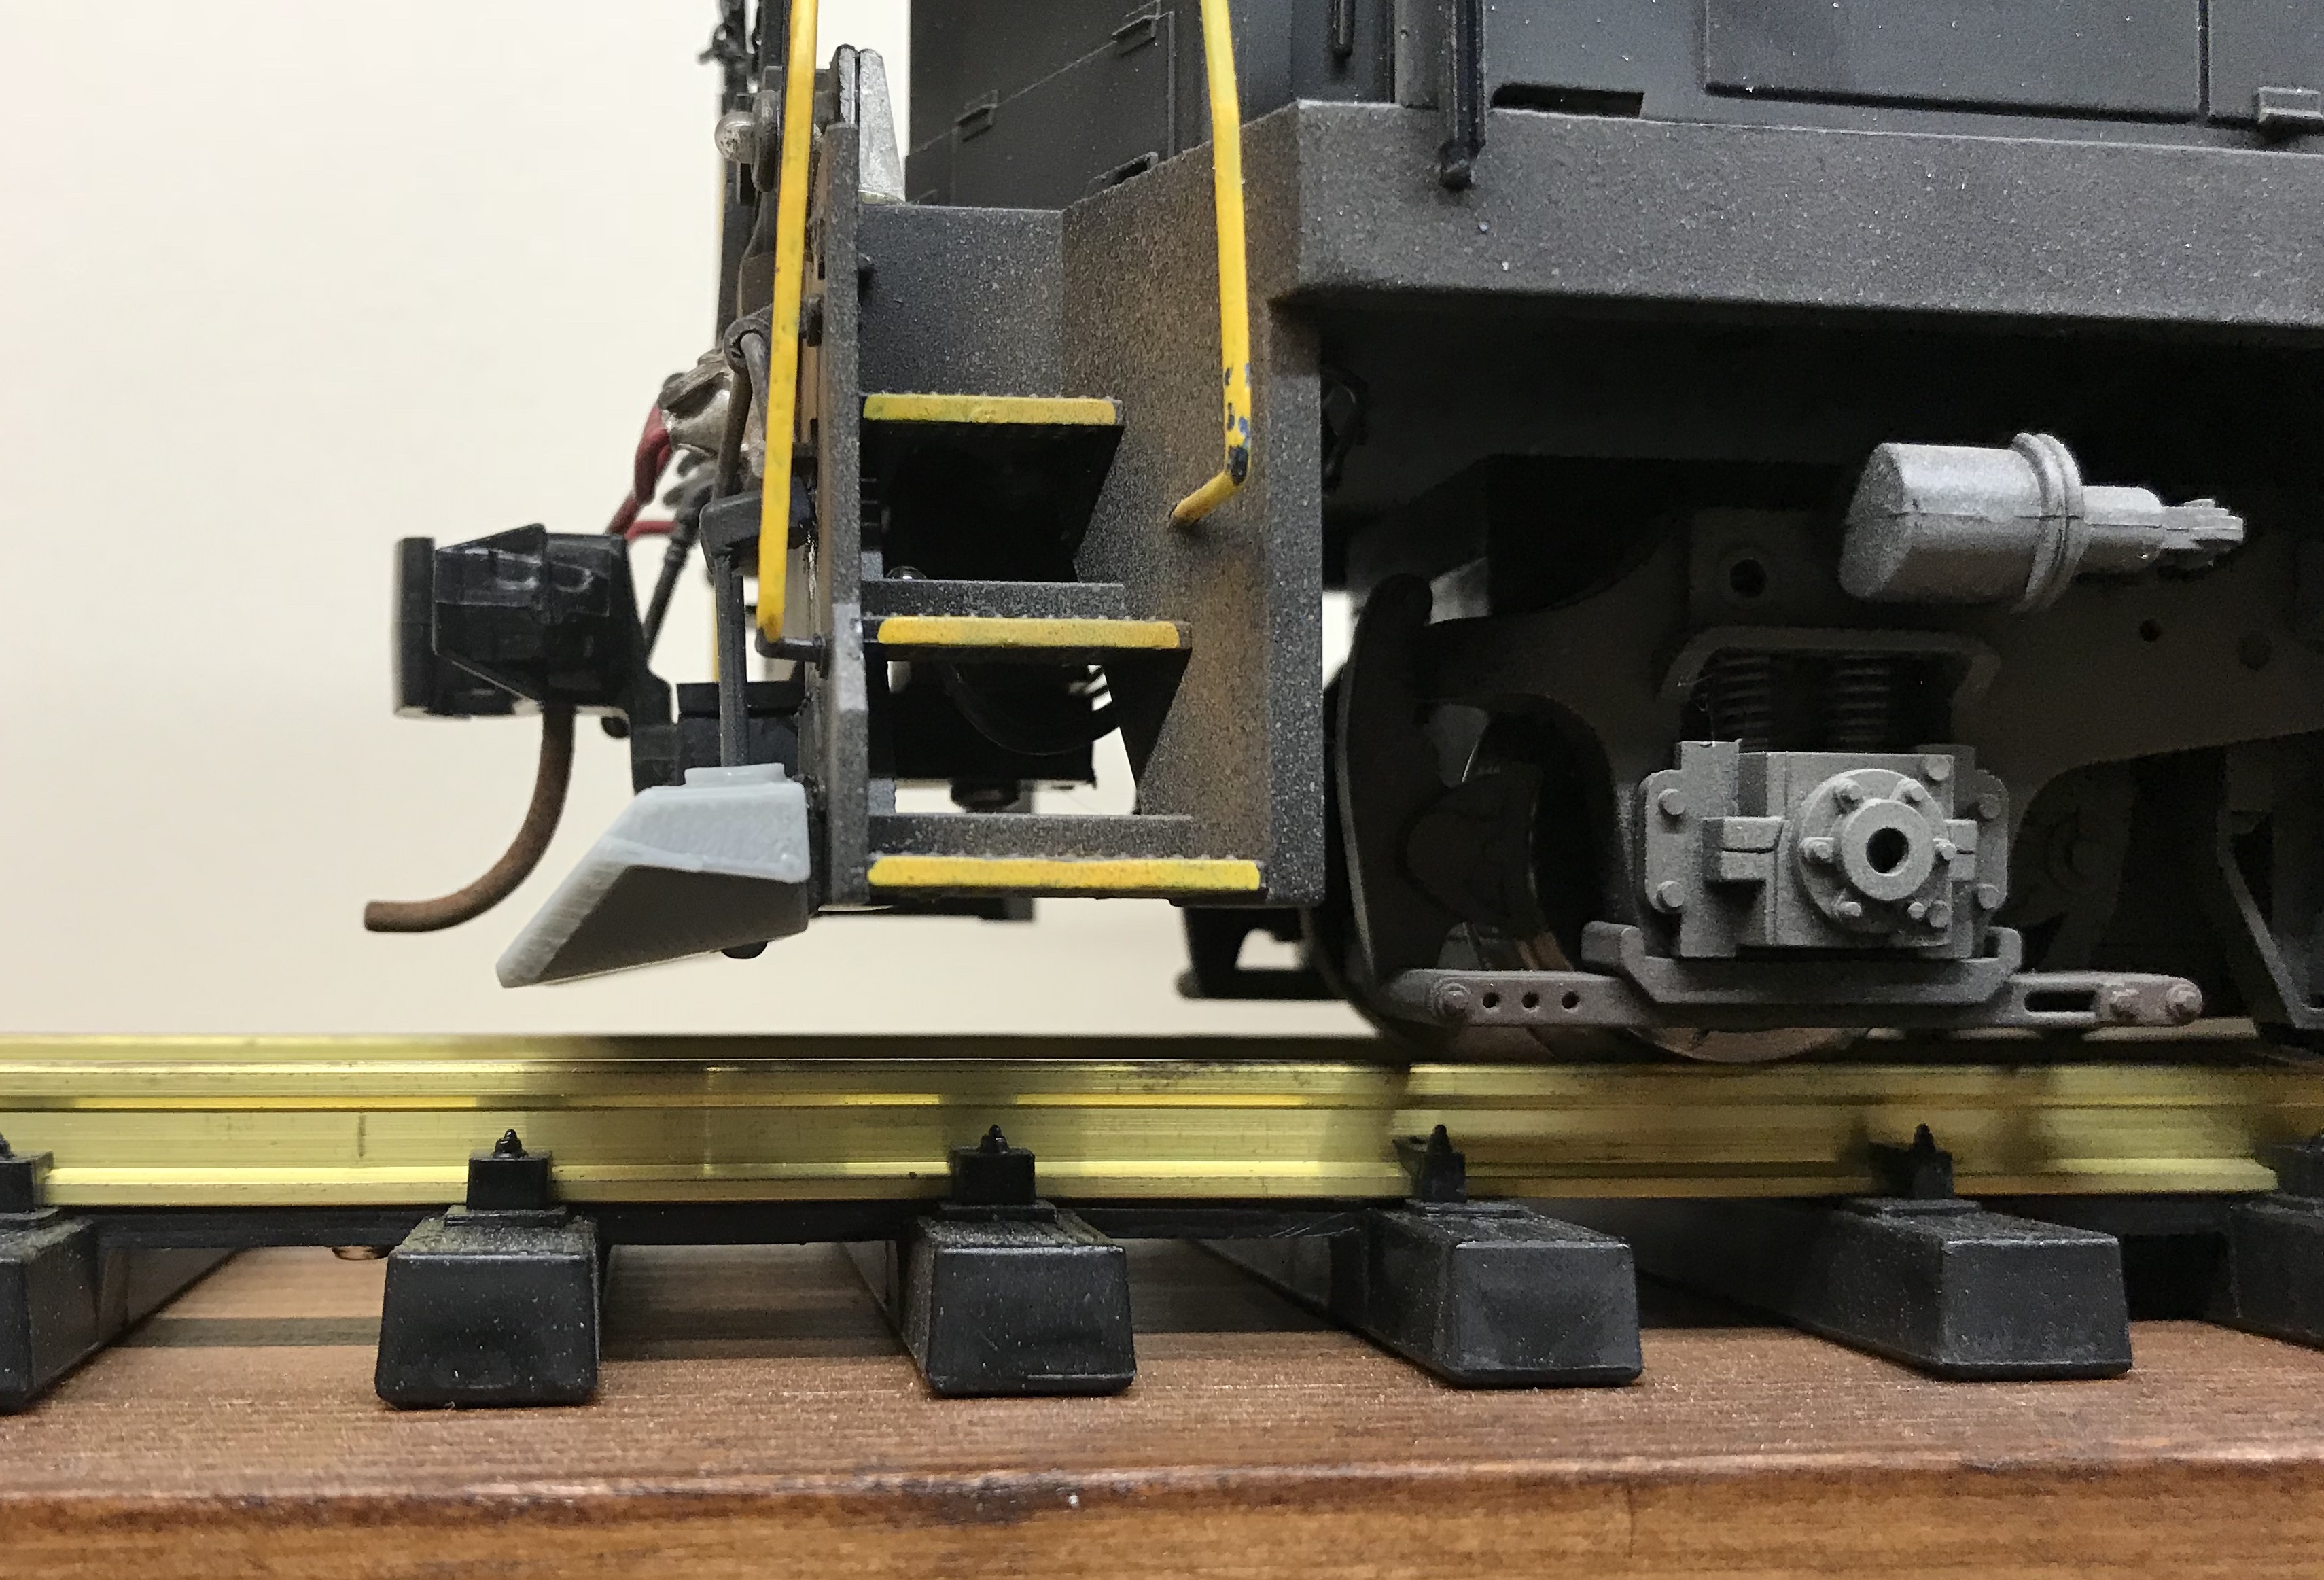
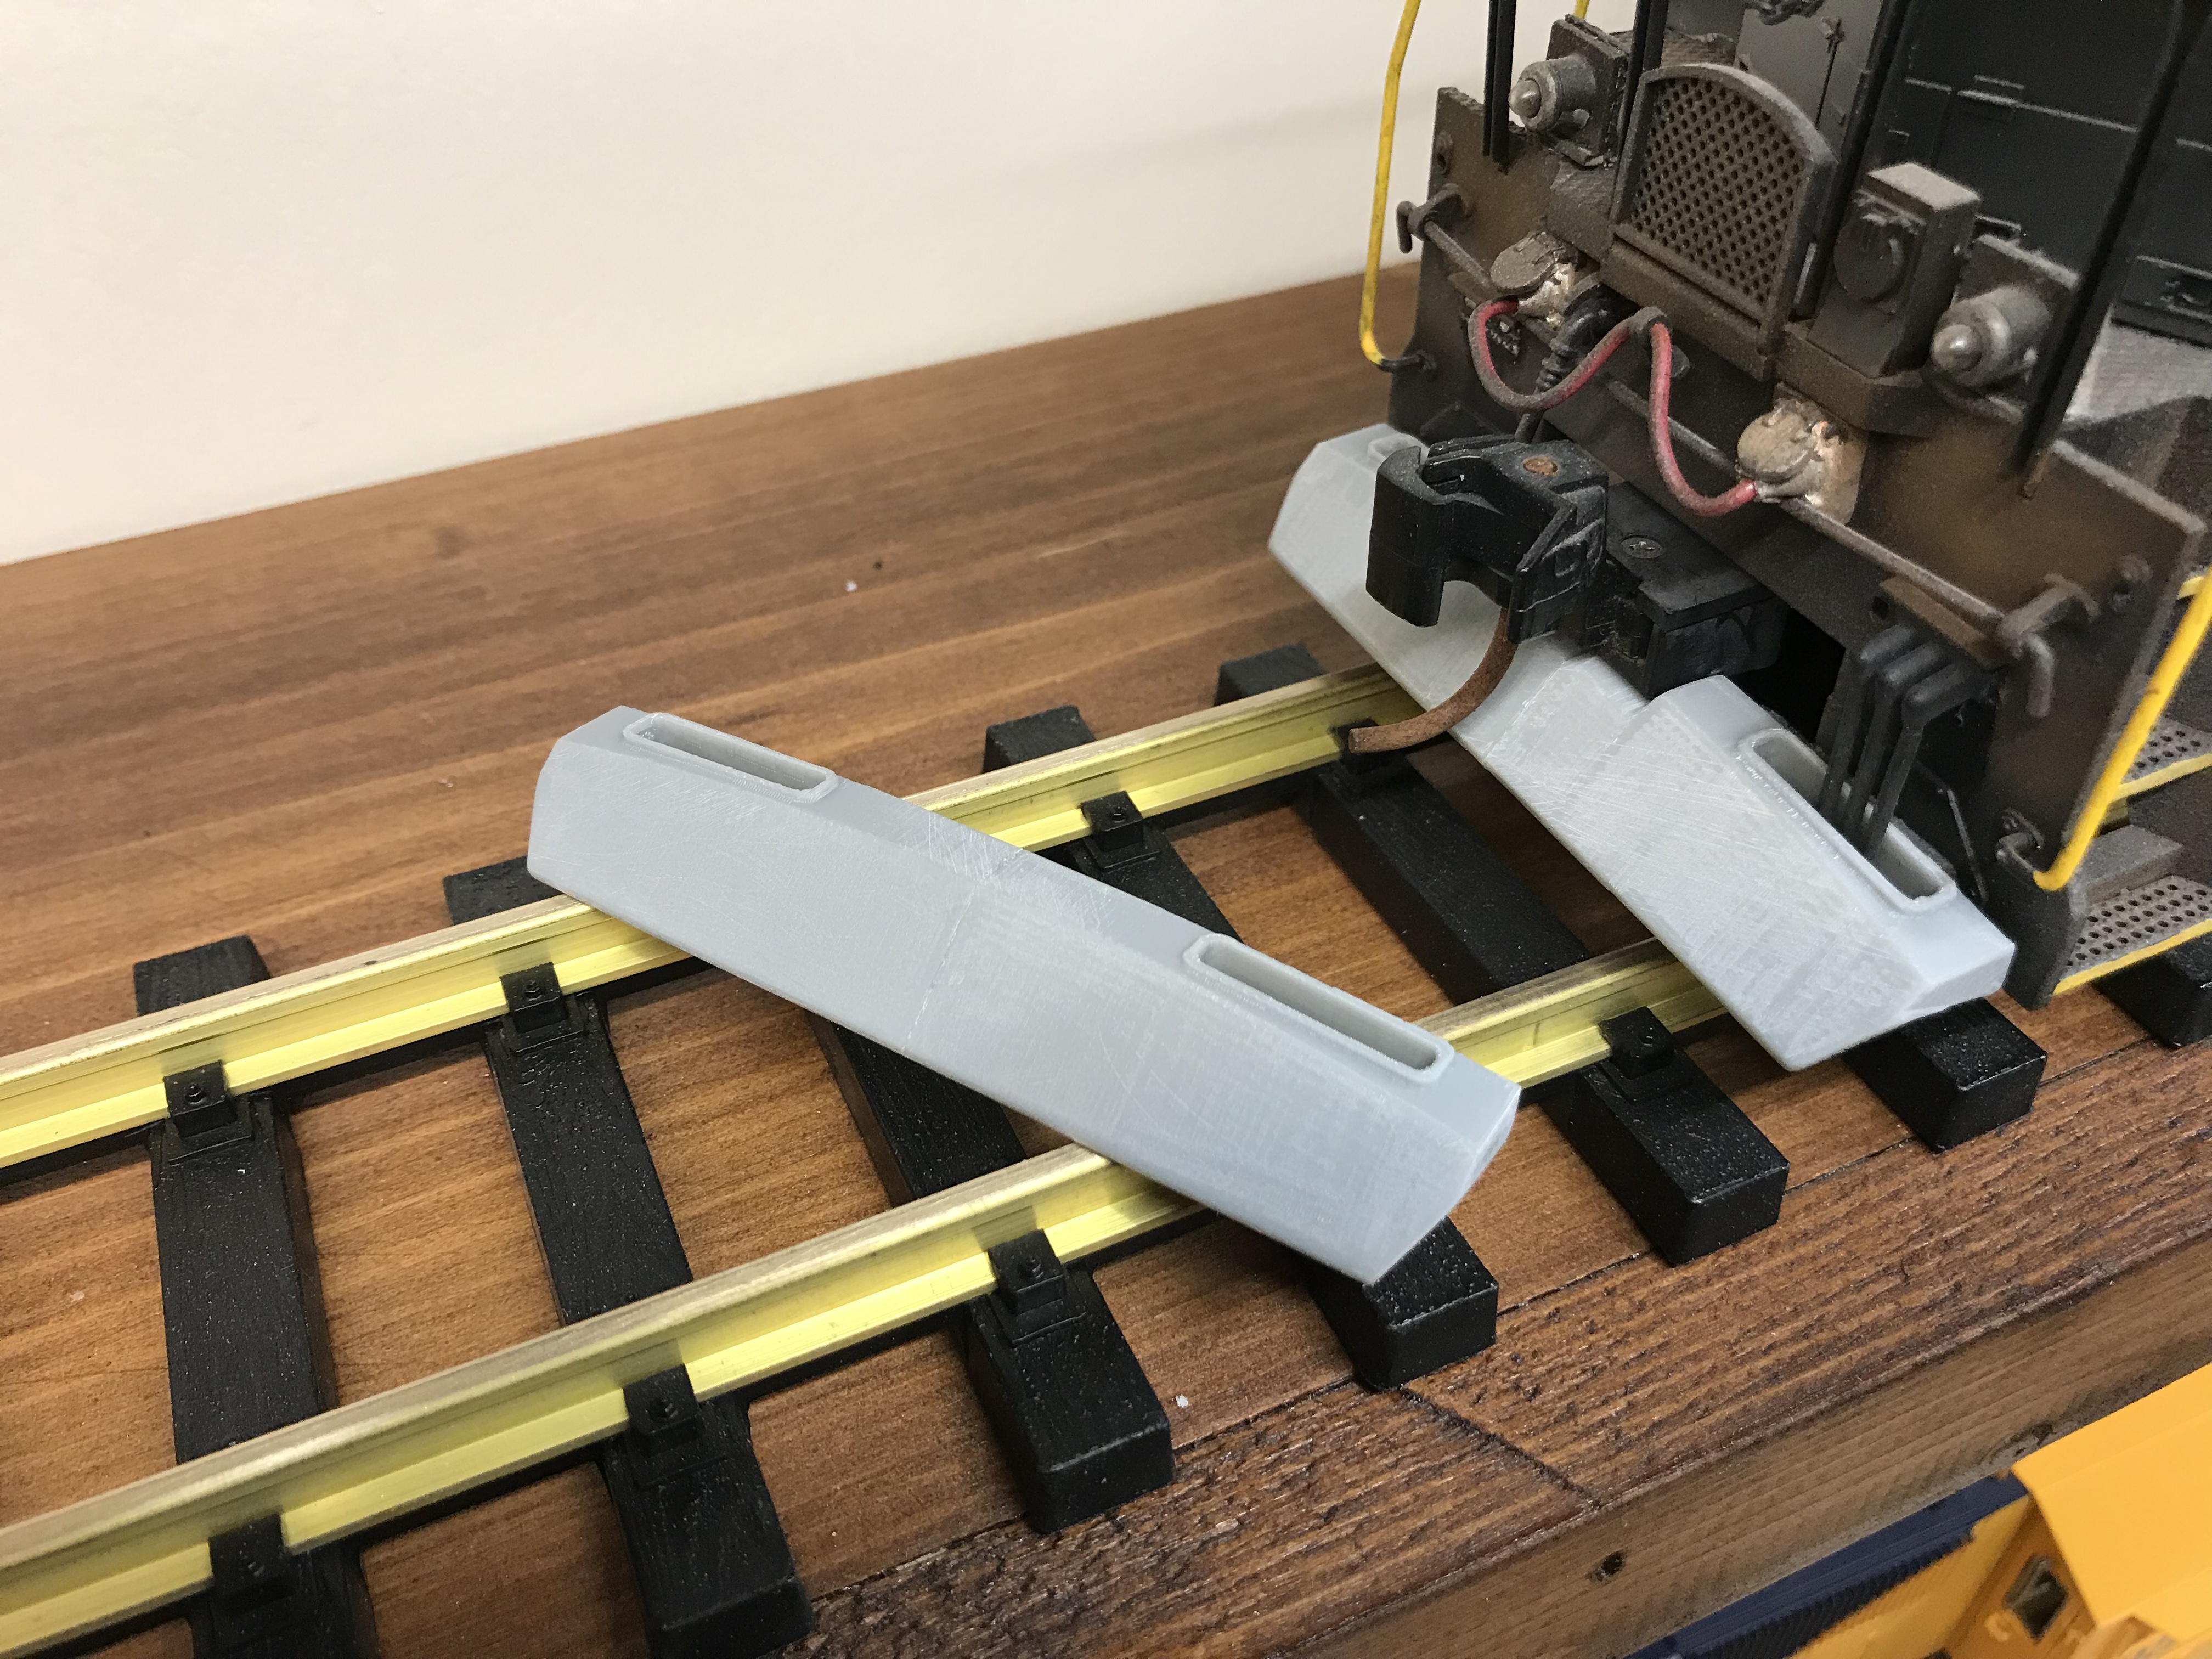
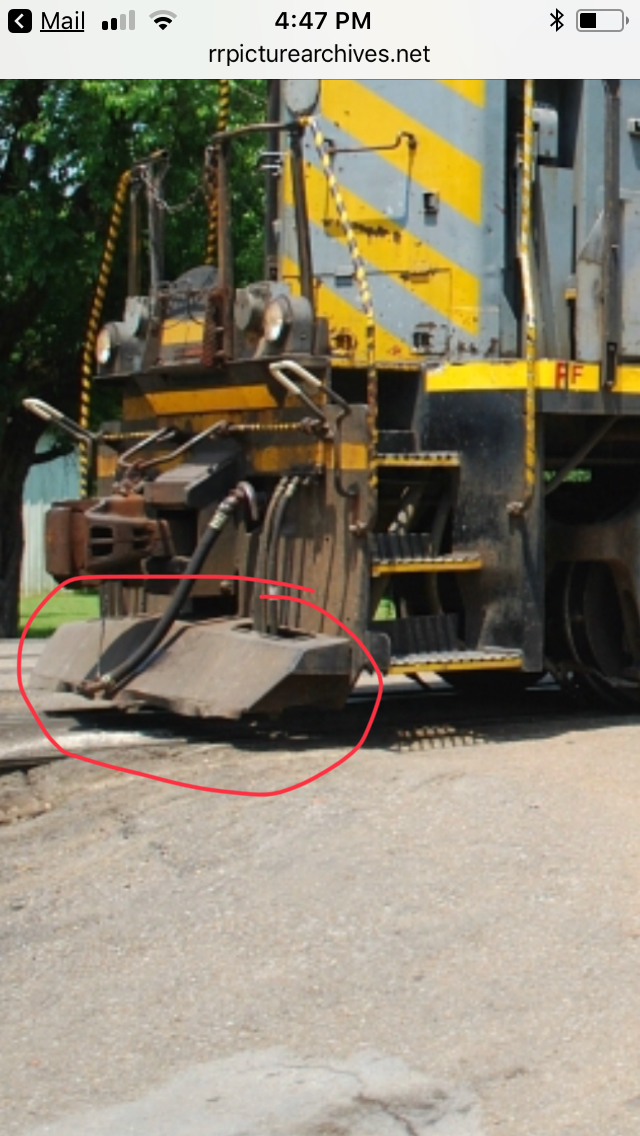
Here’s what I came up with from the picture. There’s one with a cut out to go around a Kadee, and one without. I used double sided tape to attach this one to my GP and decided not to put holes for mounting so it’s not engine specific. Made of abs and printed at .15mm layer.
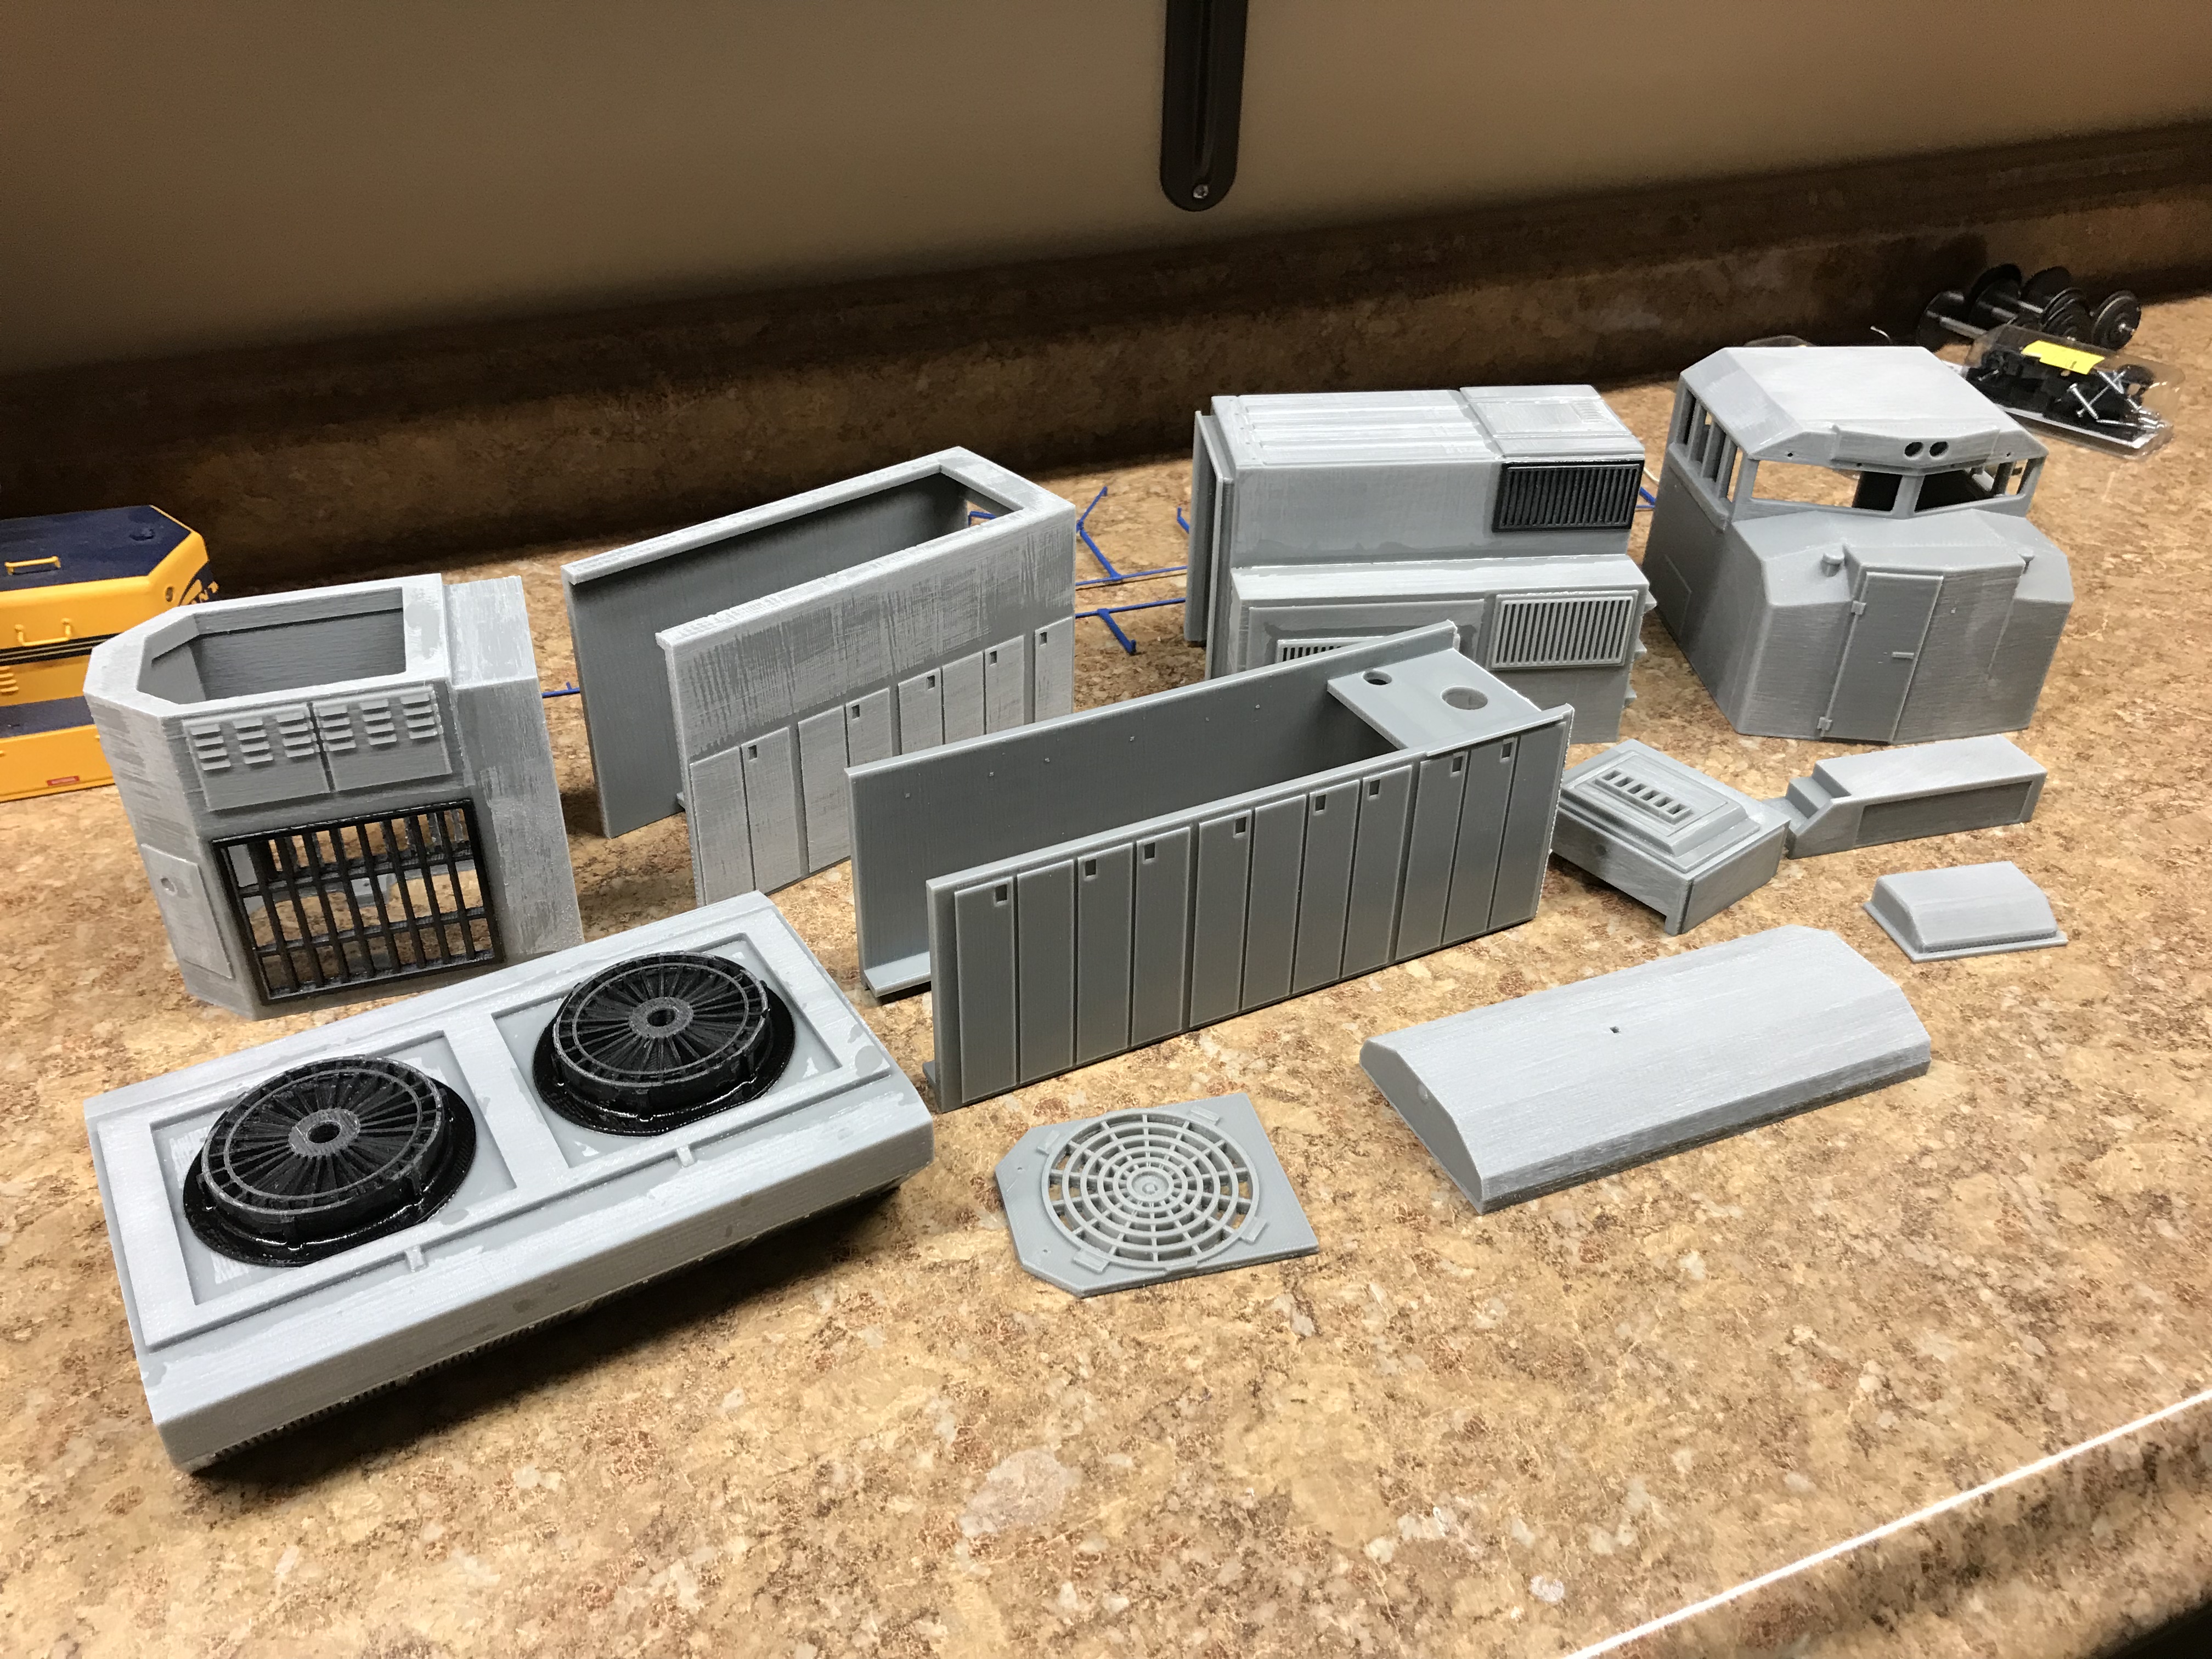
Im looking at roughly 120 hrs of print time at.2 mm layer height then there’s post print cleanup, sanding and assembly of the many separate parts, not to mention materials. 450.00 would be a target price for an assembled body ready for electronics and prepaint prep.
2 hours ago, Jerry B44 said:
Looks good, nice to see how this area is expanding. Fun if engines are printed that no company makes. Way the hobby is going, might be the only way to get anything.
Thanks Jerry, I feel the same. I’ve started printing my own cars and accessories. Sky is the limit now.
Thumbs up to Raymond. I have had him convert 9 G scale locomotives to DCS control for me over the years and I do believe his first USA Trains GP 38 conversion was one of mine. I’ve always been pleased with his work, help and professionalism. No question that he has changed the hobby in a huge way with the services he provides.
Man if love to see one of those painted for KCS or BNSF.
Well if I can get serious over the next month and get a few made up, I’d like to see one in KCS paint too..
15 minutes ago, Chuck said:
I'm in...that is if you'd consider selling me the .stl files perhaps??
Which brand printer did you buy?? I've been looking at the Creality CR-10s or whatever the newest model is. I sold off a cheap Reprap CTC i3A clone.
No sale on files.. I’ve been asked that a few times on some of the other big builds I’ve done in the past..Hard to sell a great recipe after all the hard work that went into it.
I've had a few afinia h480s up until the new printer which is an UPBoxPlus, same as Afinia H800. 1350.00 right now vs 1500.00 H800. Hard to beat and I’m loving its size and abilities.
Yes thats all I need for right now. That is until I can figure out what is on the cab of these units as well. That and a K5LA24 or RS5T horn... Which don't exist in G. I'll never complain about the lack of parts in N scale again... (...to a point anyway. )
I’ll get something made up by the end of the week and post it up here to see if you like. How do you want to attach it?
I don't really know how I would get dimensions for it to be honest, its kind of hard for me going off of photos and no one seems to have dimensions online either. I think it was produced in HO, but I can't figure out who made it.
I have been trying to kitbash one and have failed several times. Probably doesn't help I am trying to use the steps that came with the GP38-2.
Ok just to clarify, your looking for just this section? Is this going onto a USA Trains gp 38-2?
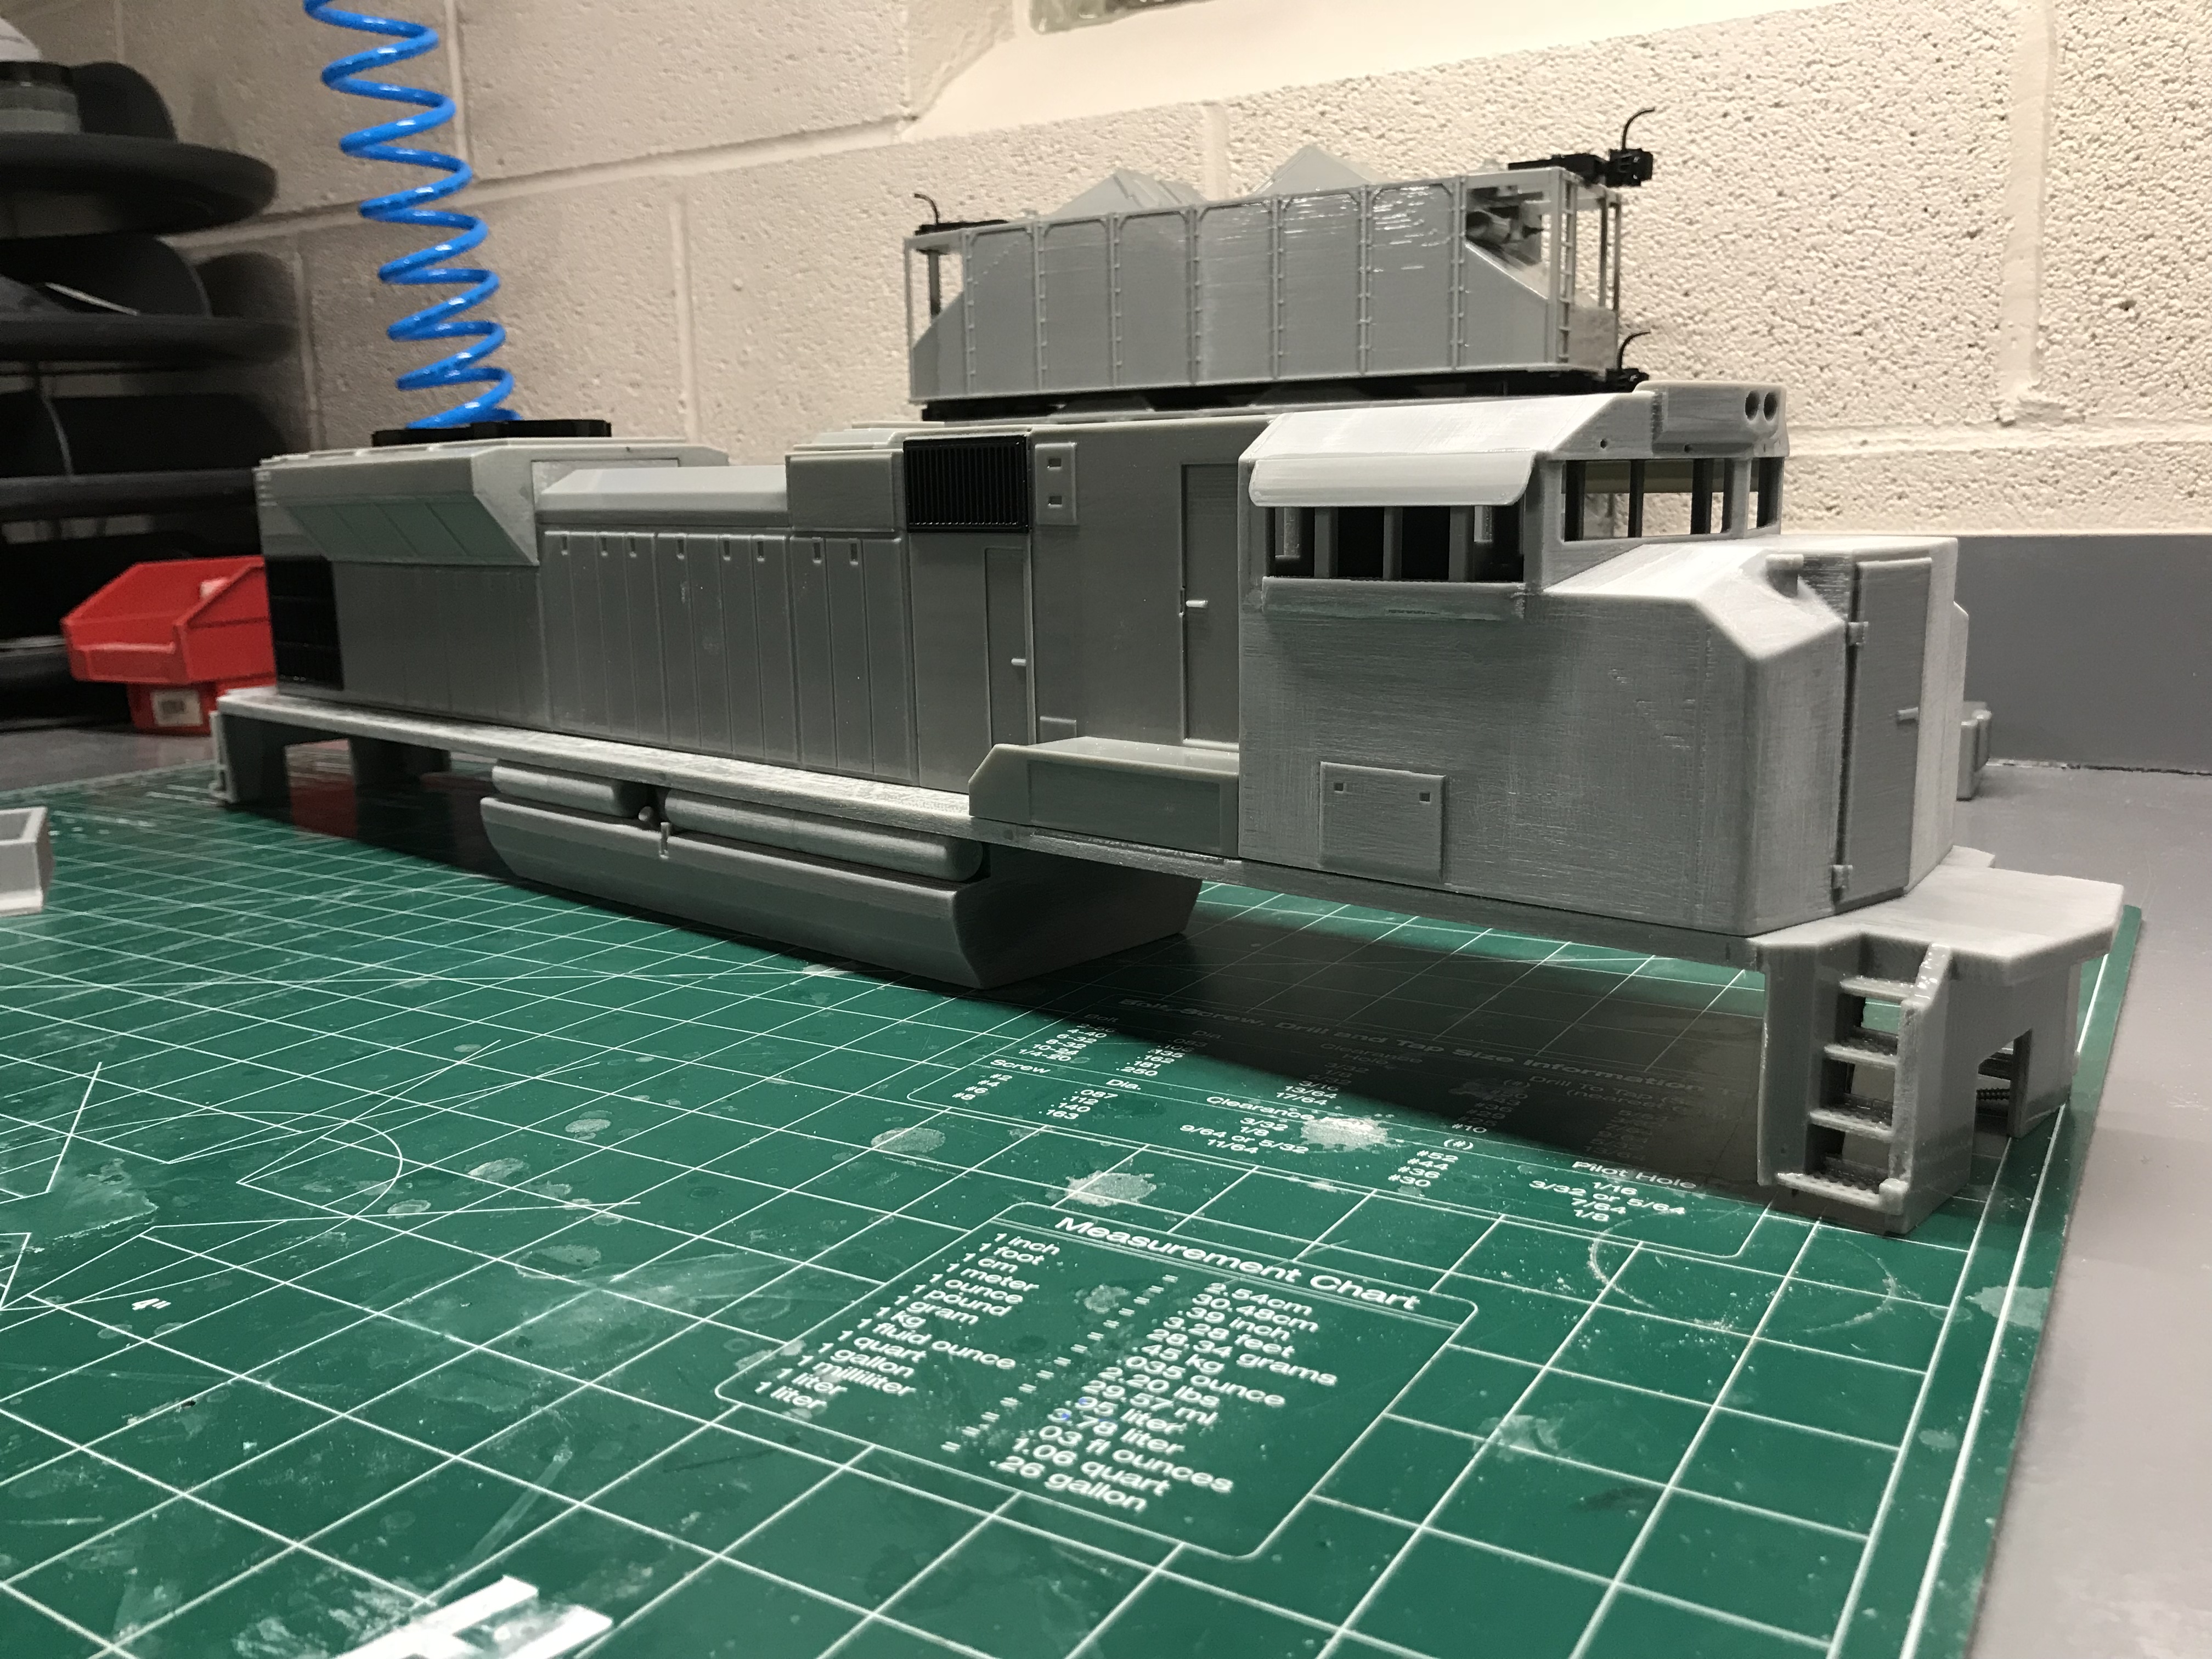
That looks great! Seems like a very high res print job. What model is it? Almost like this one
Thanks Joe! it’s an sd70ace. I figured I was gonna get asked for more pics so I posted a new thread in kitbashing about it so not to hijack this thread.
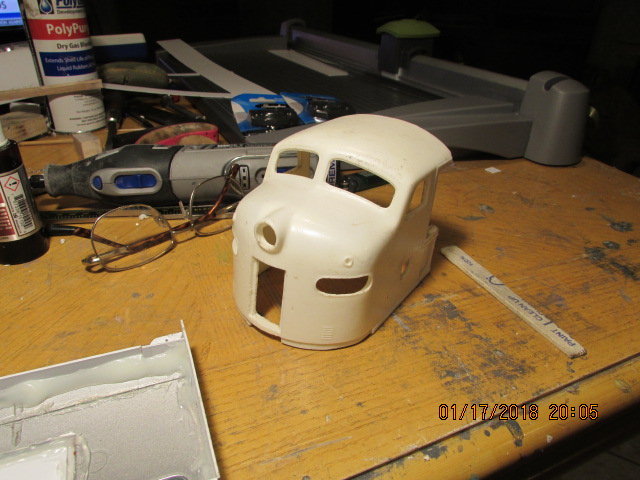
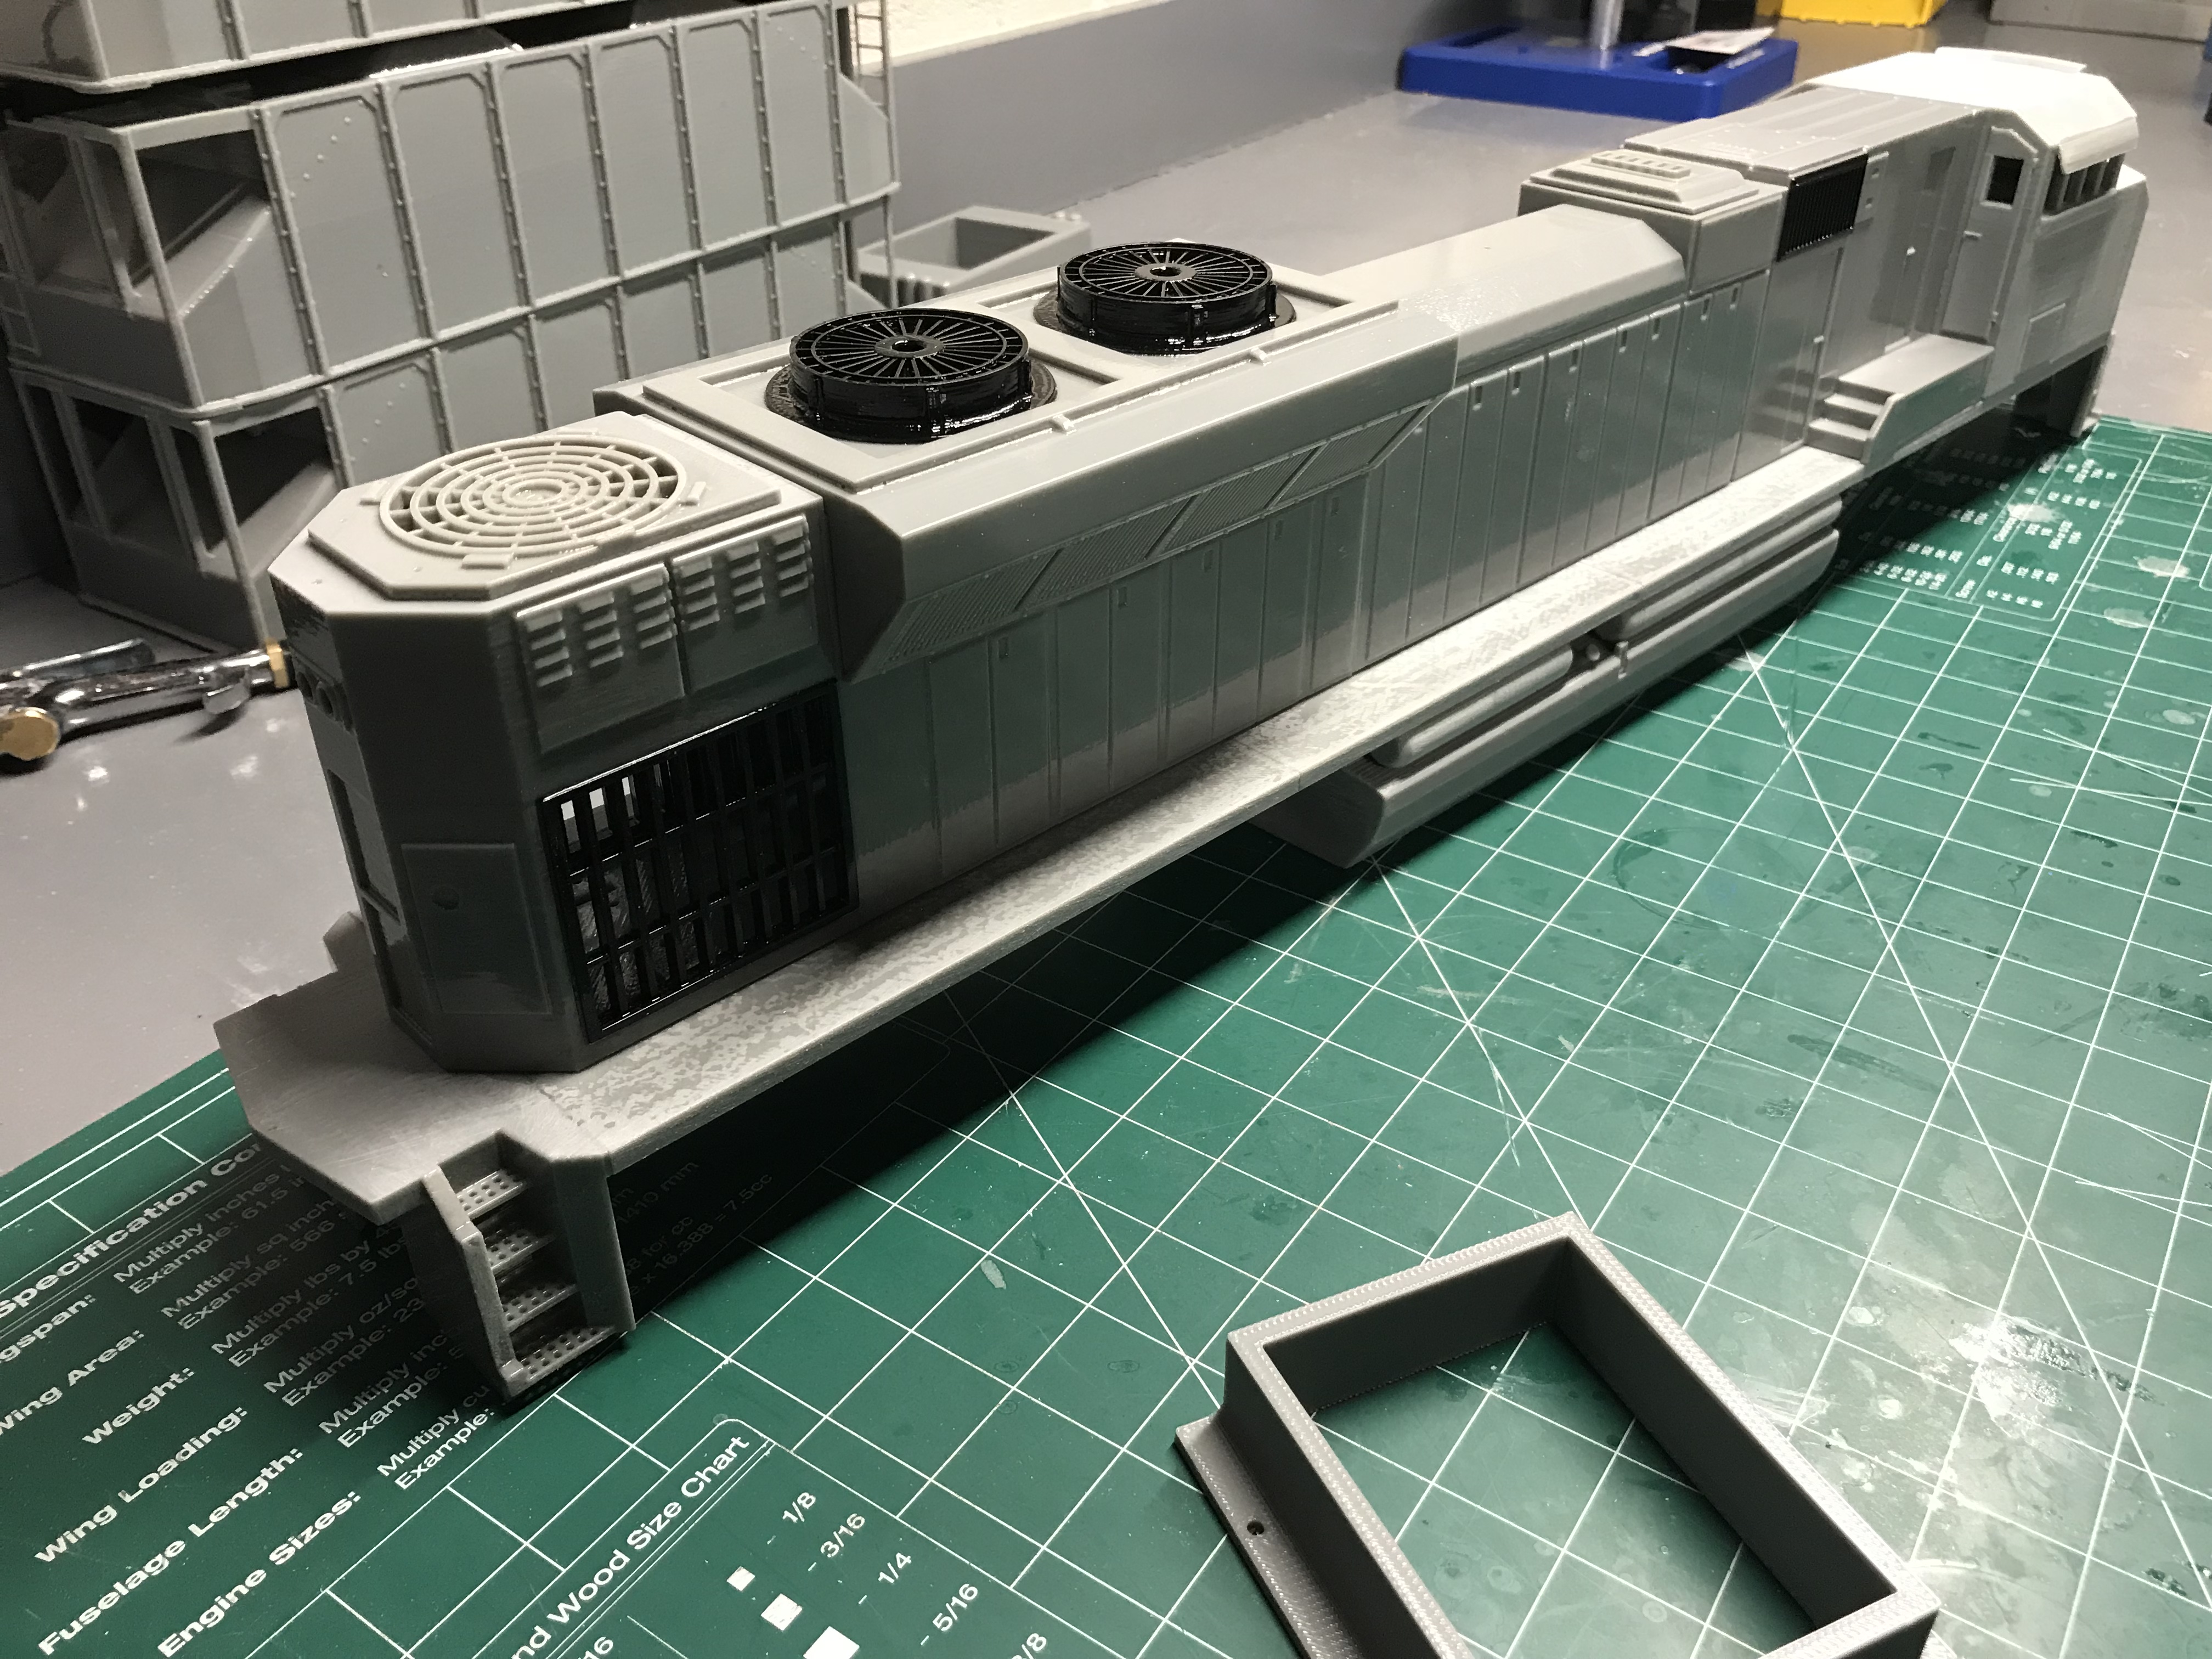
Been designing this on and off for a while, and recently bought a new 3D Printer with a larger build platform so im giving it a workout on this. Shown is a my first rough printed model which helped familiarize myself with the new printer and will also help me to realize any changes that need to be made before printing a final model. I will be using USA sd70 motor blocks to power this unit and will be controlling via DCS PS3. Printed in ABS at .2 mm layer height.
Hello, I could help you with printing a plow. I looked at the link you posted and I would just need a some dimensions and how you want to attach it to the locomotive. Rayman4449 notified me of your post as he’s planning to do a DCS install in a project I’m building.
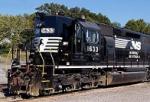
Just passing this on in case anyone was interested as I was looking to buy a new sd40-2 in NS paint but have noticed they have not been in stock for a while, along with a few other popular schemes. So I sent an inquire about eta and was told they will not produce more until after 2015.
Chuck, Thanks, I go back and forth between the 1:14 scale and G scale stuff. Those Wedicos are pricey but neat. Im a fan of the Tamiya rigs myself.
Sean, Thank you, you guys both had some sweet pickups. I have yet to find the right 1:1, so explains the 1/5 scale build, and it fits in the garage nicely
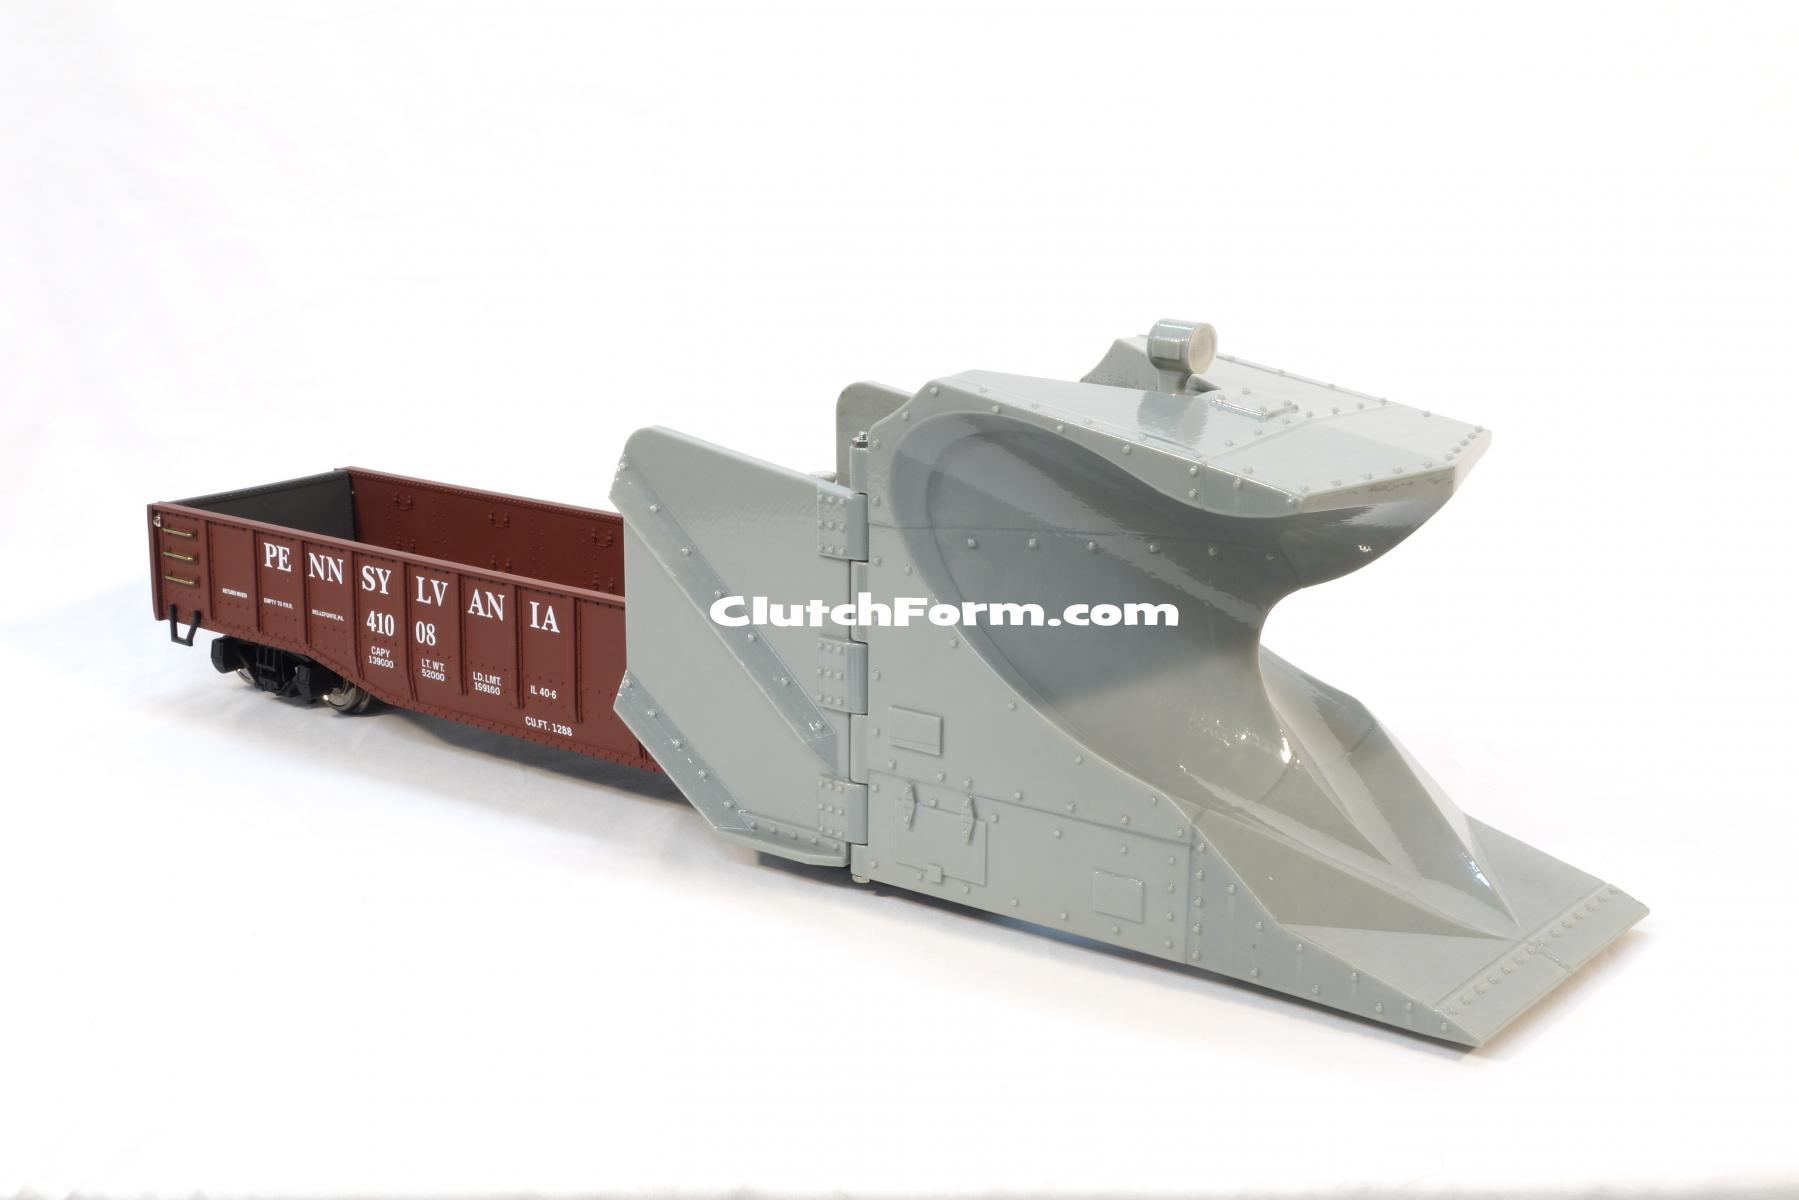
Been busy recently, Ive been encouraged to put together a website displaying some of my designs to offer them for sale. My most recent project which may not be for everyone but you outdoor railroaders may be interested in knowing its a new take on the snow plow Aristo used to offer and I added a bit more function and versatility to it. Ive spent that last 4 weeks or so prototyping this model/kit and am almost ready to unveil it and put the website online. Just trying to fine tune a few other items i will list that i have had good feedback on in the past as well. The rush is on as i realize the snow plow season is about half over soon.
I will list the site under the vendors section when i get caught up, but heres a quick sneak peak of the plow which is sort of the crown jewel of the items that will be offered. The price will be on the high side so be prepared for a little sticker shock, but keep in mind the time to produce one of these is near 40 + hrs of print time and its composed of 21 separately printed parts which then need post print attention like sanding and breaking sharp edges, clearing out locating holes and setting locating pins for assembly..blah blah blah. Theres quite a bit of hands on work involved in a piece this complex. I know the general thought on 3D printing is its hands free production. haha, i wish it was but in a case such as this, complex models need to be sliced and printed in separate parts to get the best possible result and finish. Anyway I hope the design and website is well received.
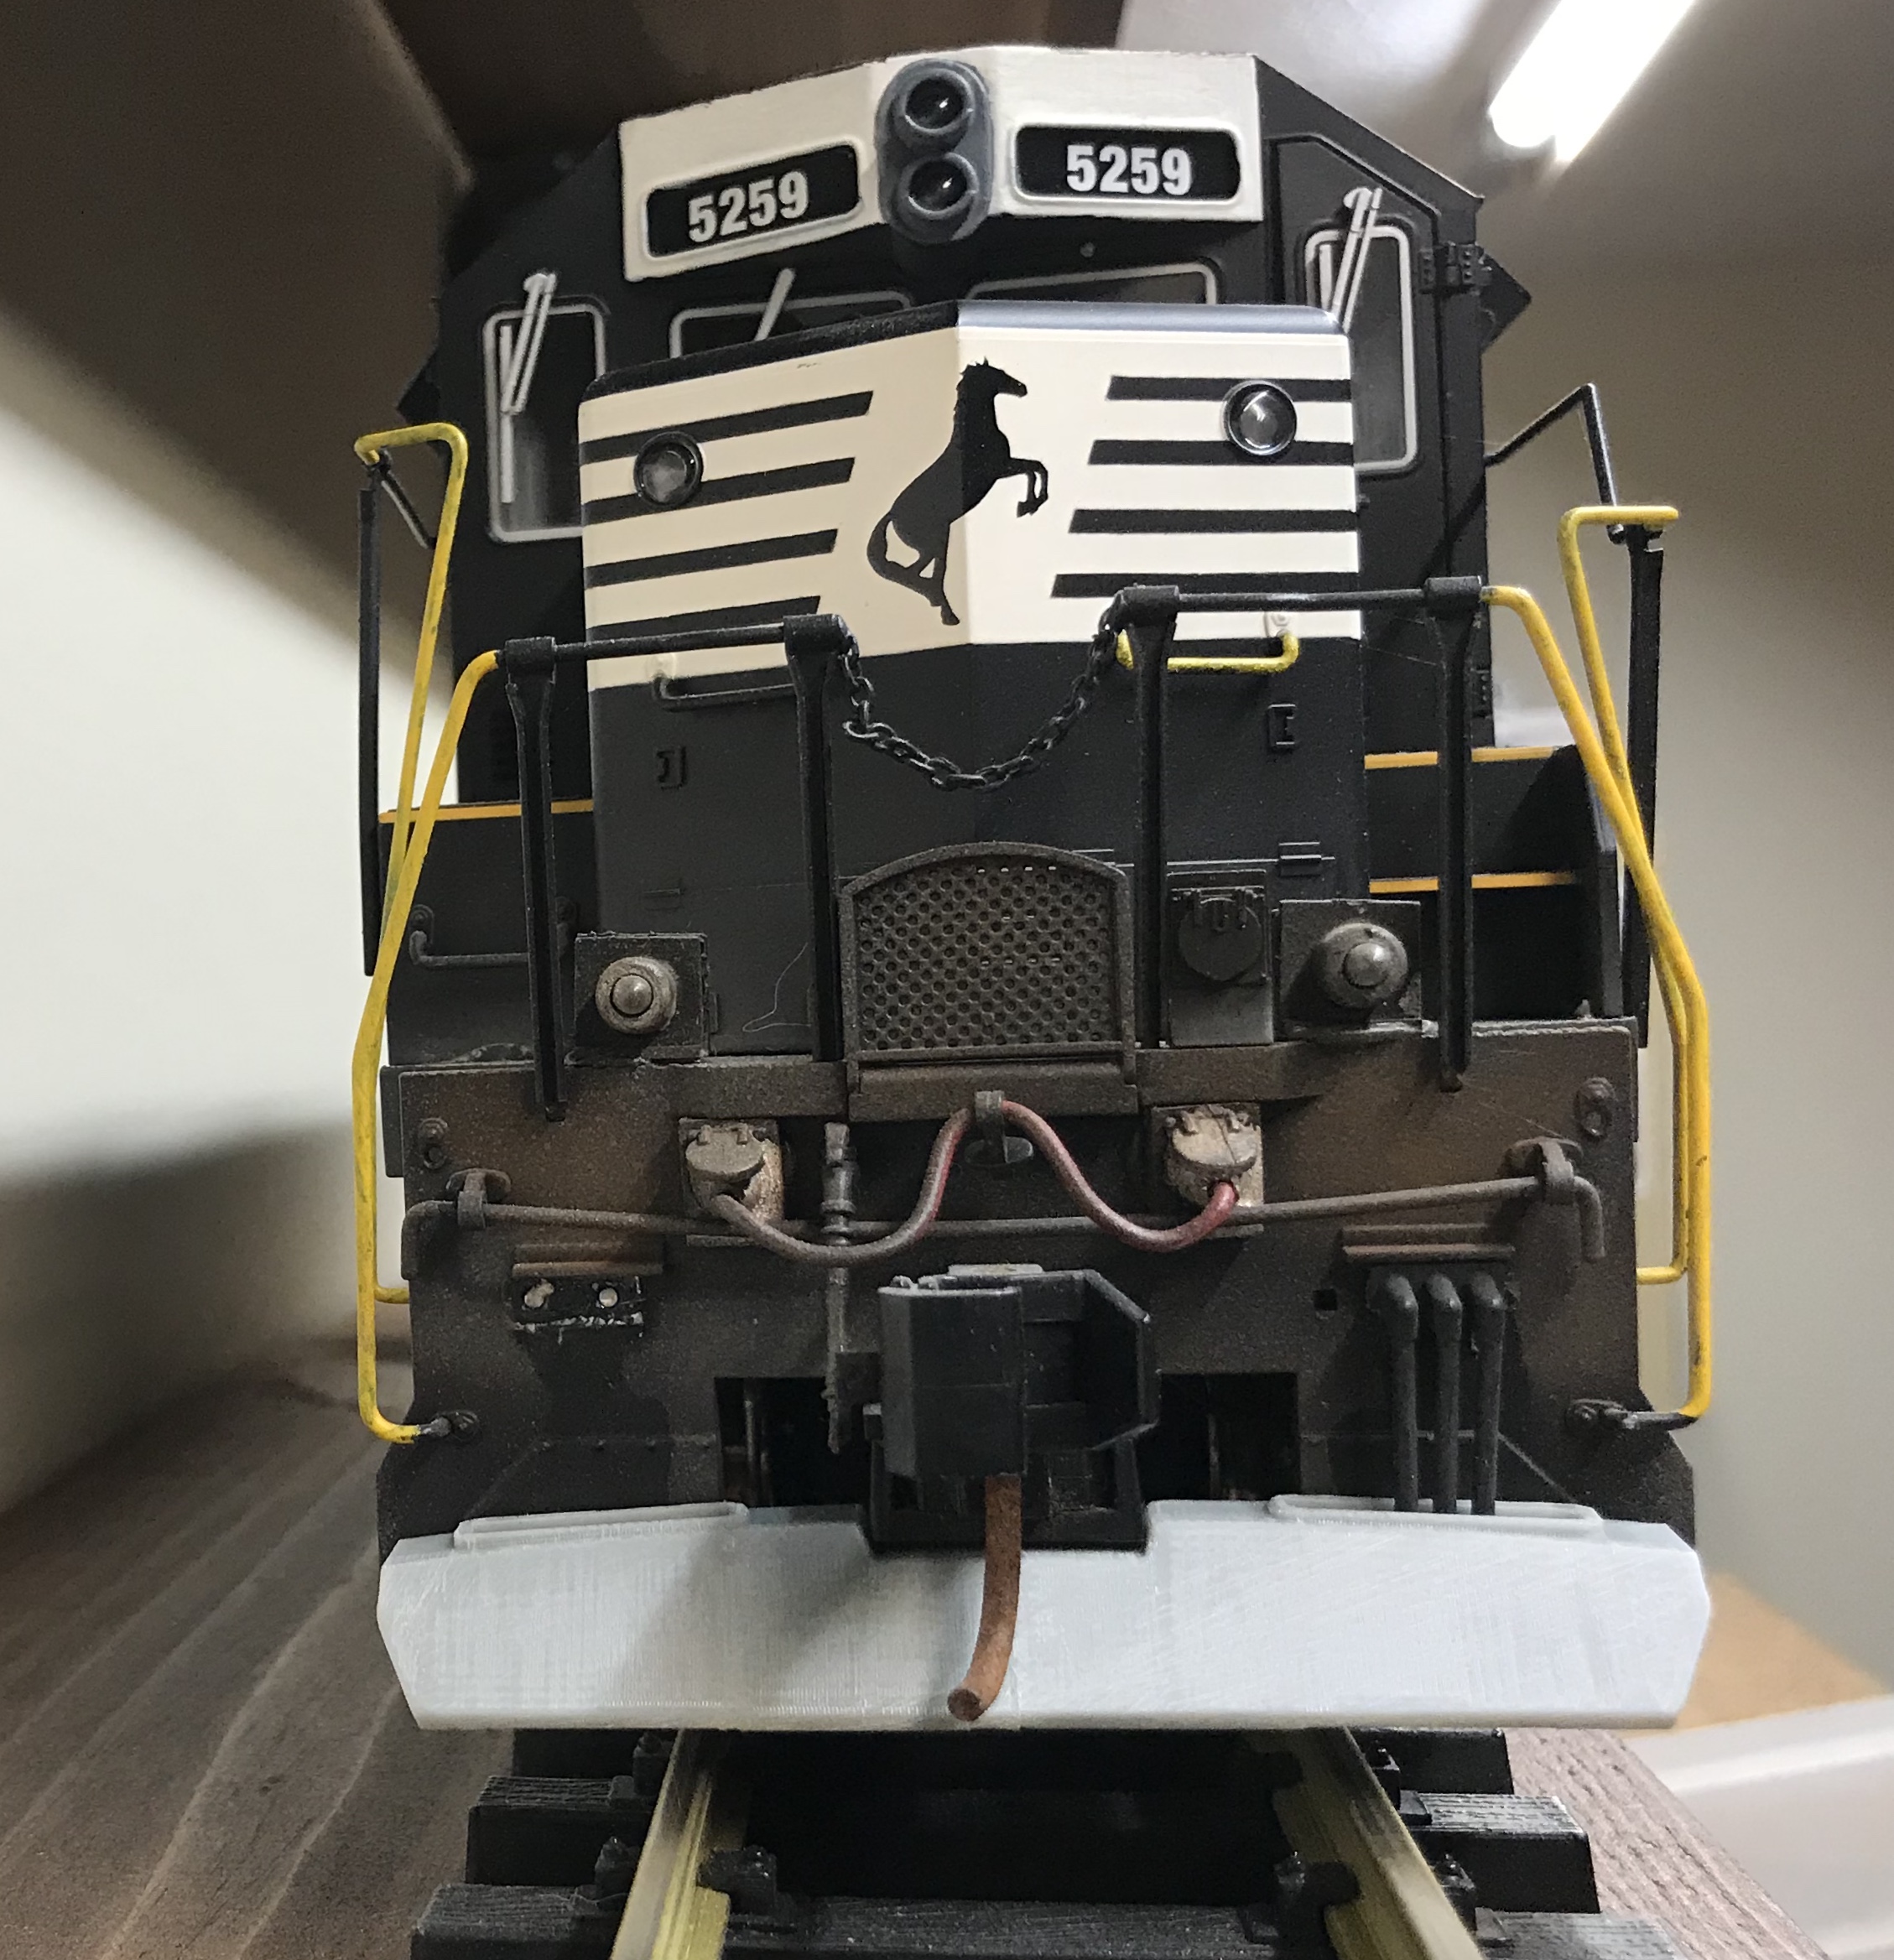
Plow details- 1:29 scale, will be sold assembled as pictured, unfinished (need prep and paint), designed to mount to Drop End Gondolas but has a universal mount which will allow for custom applications as well. Sturdy construction ( will outlast similar products), and 4 way independently adjustable flanger blades, so after the first pass you can then go back through and adjust out the flangers, one side only or both in different positions, and widen and clear the sides of the track. I believe the design will also cut through the snow better and funnel it out the sides easier do to the blade contours like the deflector profiles up front on the blade and more gradual slope overall. Comes with a removable light housing you can install your own LED in if you prefer.
Not balsa, but Midwest Products sells sheets of basswood that are scribed. The thickest I've seen them is 1/16", which might be too thin for prototypical flat car decking, but if it's just the look you're going after, it will work. Most folks just use appropriately-scaled sticks, and glue them down. Coffee stir sticks are a popular low-cost (free?) option. So are popsicle sticks. It sounds tedious laying a bunch of planks across a flat car, but it actually goes very quickly.
Later,
K
Thank you Kevin. Thats a great help. I considered using individual pcs, if there was no other alternative. Yes the 1/16 looks a bit more HO scale. I guess ill have to get some stirring sticks. That pic you posted looks great. Perfect scale. is that coffee stir sticks?


.jpg.aaaac710b422a07d50d9a87f42ab7fdb.jpg)
.png ":Smiling_Face_Emoji_large(24x24):") )
)
.jpg.0df1b013322f2679c7eb9ec8c3e64999.jpg)
.jpg.6c9acfef8af2edc2562f44dd2cc89ac9.jpg)
.jpg.65716aff2c6e0575de13e89065155583.jpg)


3D Printed 1:29 SD70Ace
in Kitbashing & Model Making
Posted
Will do, look forward to checking those out.