Nick, Yes the USA couplers are mounted way low. Then again the Kadee gauge is set "high" for the "automatic" uncoupling over a track magnet. "Air hoses/ trip ins" are metal and will pull away from each other in theory. I like them because they look like air hoses but other folks cut them off so they don't jam on junk between the rails.
This is something that I've been thinking about doing for years and that is converting the USA Trains streamliner passenger cars over to Kadee couplers. I've had all these cars apart over the years fixing interiors that come loose in shipping, adding people, upgrading lighting, repairing wiring and power switches etc. Always looked at upgrading couplers and though ugh!
I like Kadee Couplers as nice looking with that feather touch coupling action and well the USAT style knuckle couplers are more of a slam bang affair...and my passengers deserve better!
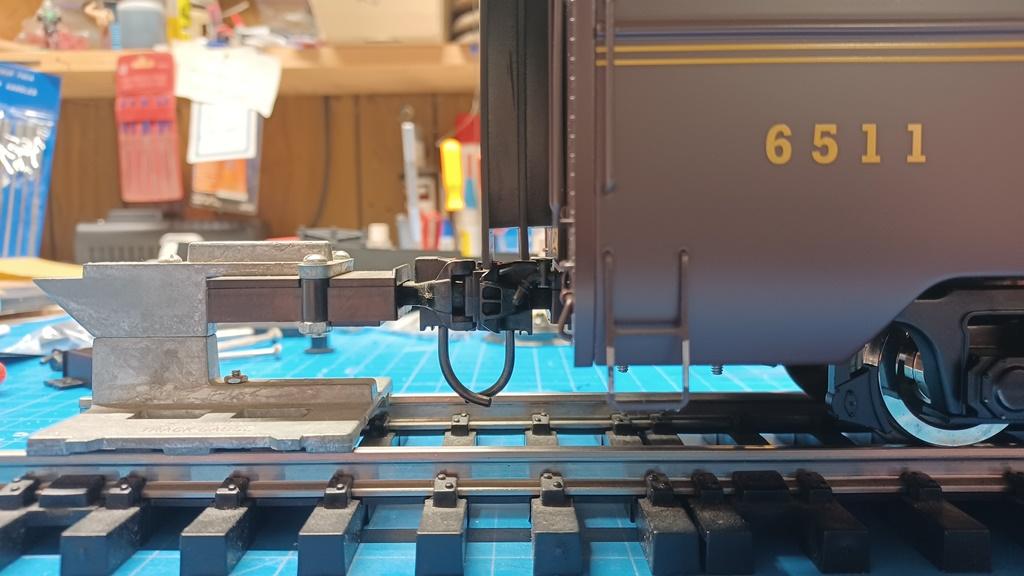
And the USAT stock couplers are mounted way too low for me.
I started in converting my great aluminum fleet the other day and it turned out to be a rather simple affair!
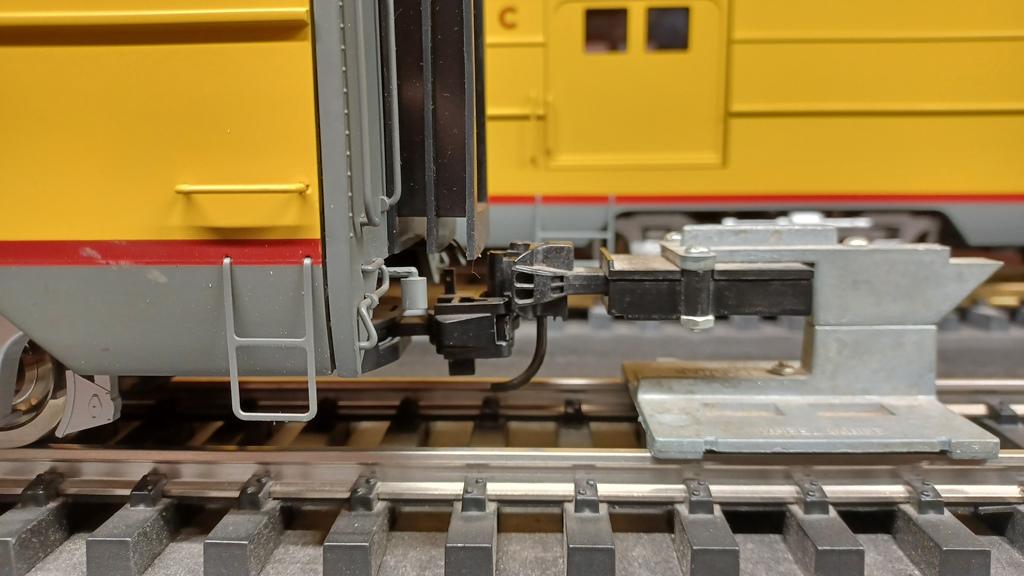
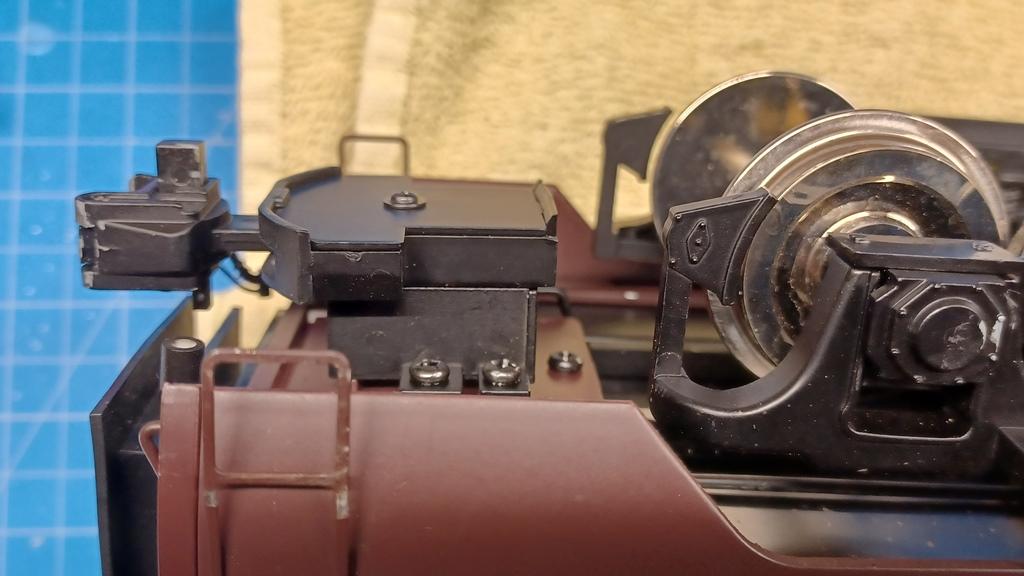
Here's stock coupler compared to a Kadee height gauge which isn't a "set in stone" standard as I use it as more of a reference. I use the oversized "G" couplers and not the small 1:32 couplers. The 1:32 are so small that they'll slide apart vertically when a long car goes thru a dip in the track.
My test car will be this PRR RPO as it'll be repainted next Spring.
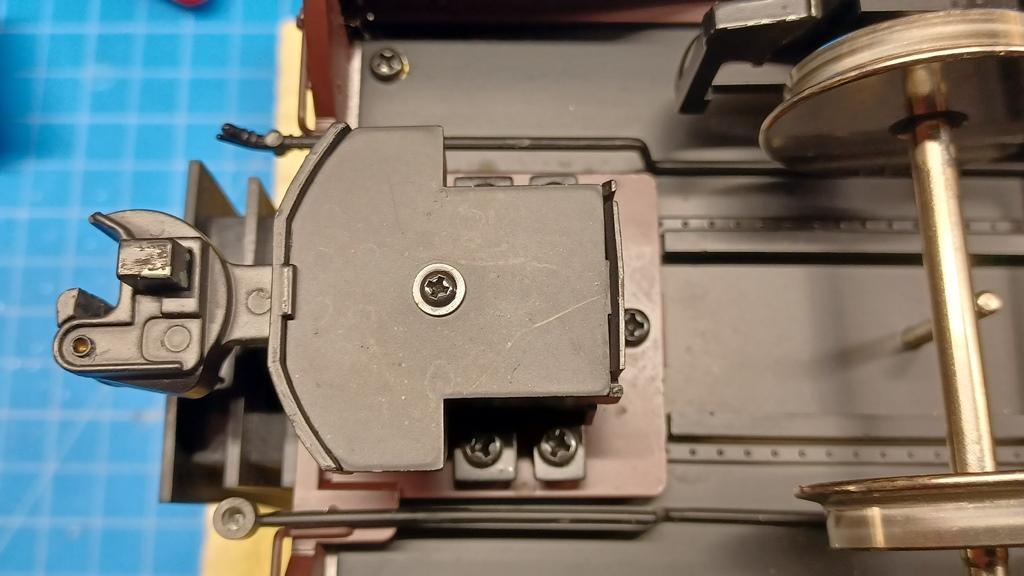
Stock USA coupler install.
Remove center screw and pop the cover off. I use 2 small jewelers screwdrivers to disengage cover at rear. If you use a bigger screwdriver it'll break the thin plastic where slot is.
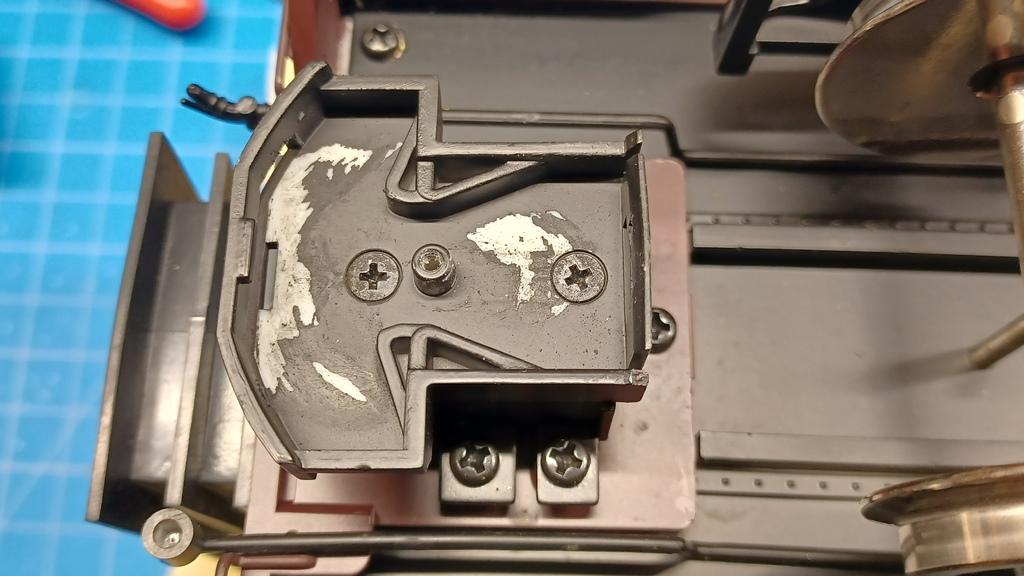
After cover removed then removing spring and coupler reveals coupler body to mount screws.
Remove those screws and coupler body. I reassemble couplers then stow away in the cars box.
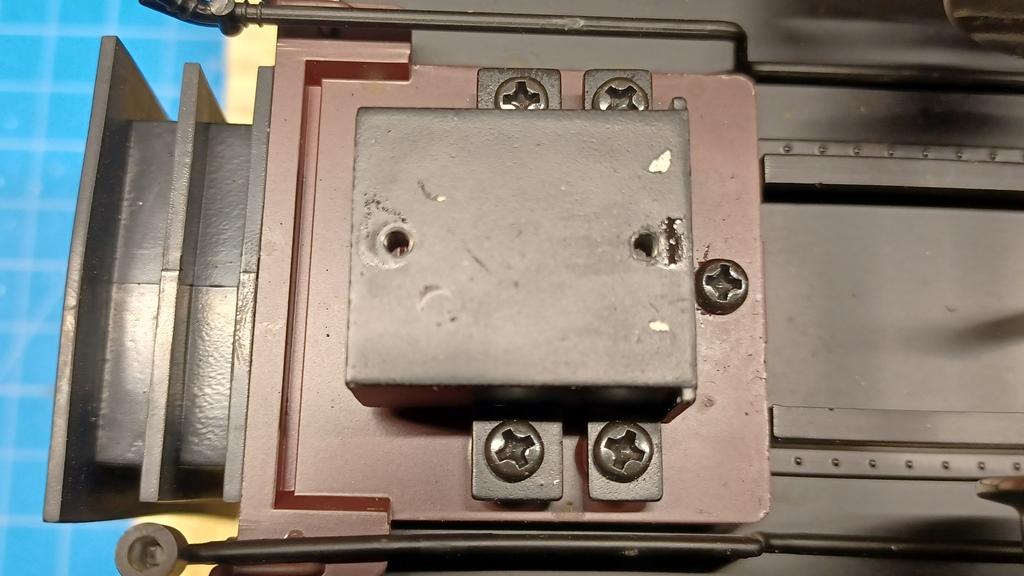
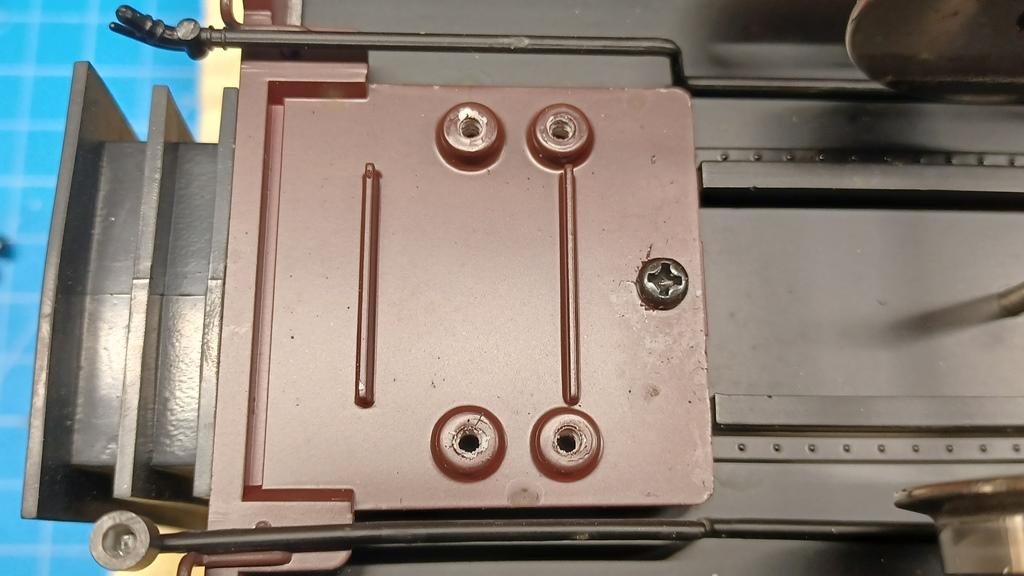
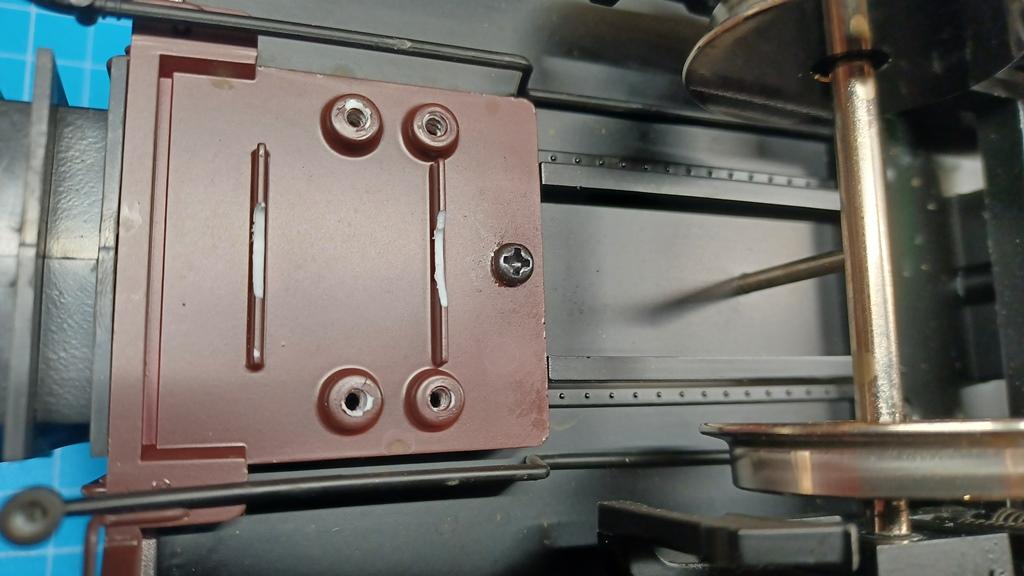
What's left is the die-cast metal coupler mount. I'm sure this is the same design as what's used on the heavyweights.
Remove the 4 mount screws and mount comes off leaving a very nice spot to mount Kadee's!
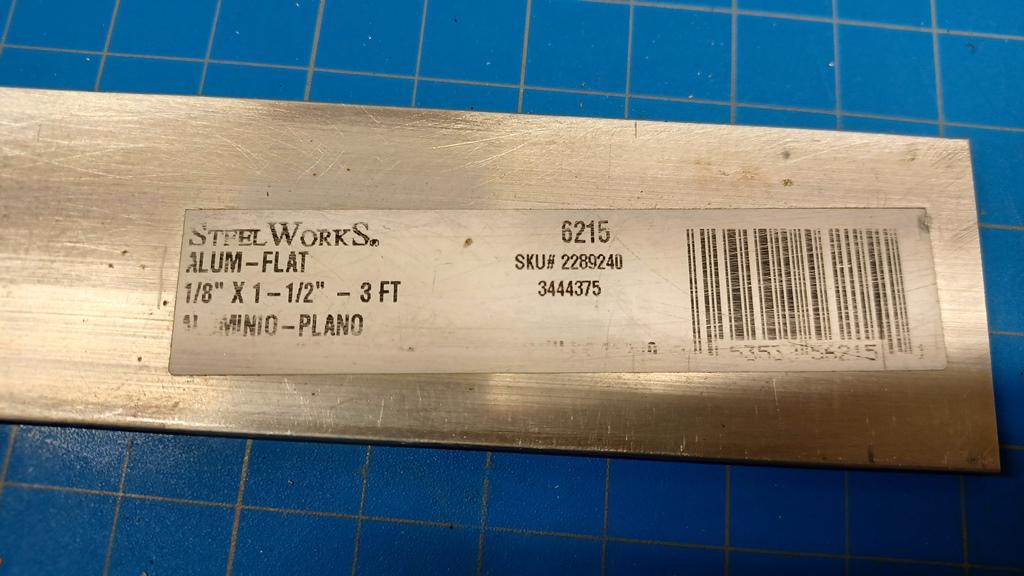
I start with a piece of 1-1/2" wide x 1/8" thick aluminum flat stock that I buy at Menards. A 3' long piece is like $10. Sure it's the same that can be bought about anywhere like Home Depot, Ace Hardware, Farm & Fleet etc. as it's all provided by Hillman.
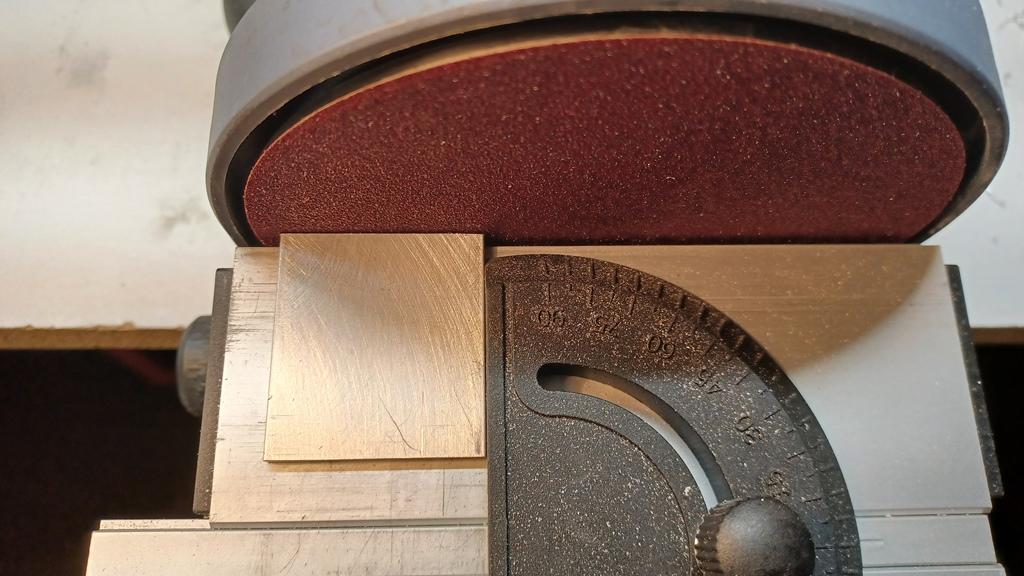
I cut a piece 1-5/8"+ long with hacksaw then square up to size with bench sander.
I then mark piece with a line 1/8" up from one end. If you rough the aluminum up first with say a 220 grit sanding block then a line drawn with a mechanical pencil will be a bit easier to see. Could use blue layout ink and scribe the line but then may as well use a milling machine to perfectly drill the holes but hey, this ain't rocket science.
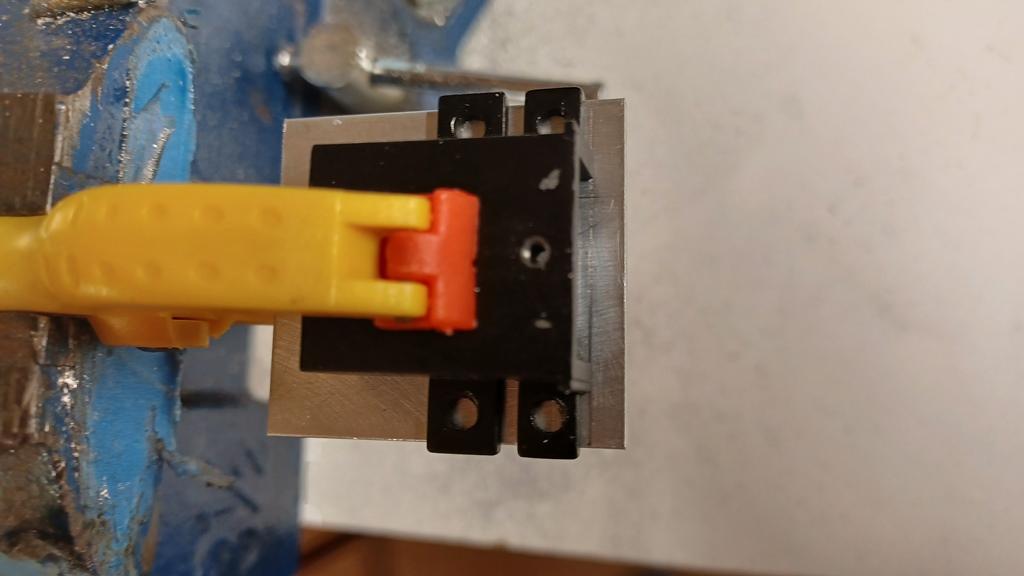
After drawing line then I use the coupler mounting bracket to locate mount screw holes. Align the back edge at the line you just drew and fix with clamp while drawing holes with mechanical pencil.
I left out that I also drew a centerline for where the Kadee mounting holes will be. I forgot to snap a pic of that layout. I use #907 Kadee's on these cars as they're bigger and beefier where it counts. Others may use the #906's. I plan on this train being at least 12 cars long with a Express boxcar or two at frontend so it's be a heavy hard pulling train.
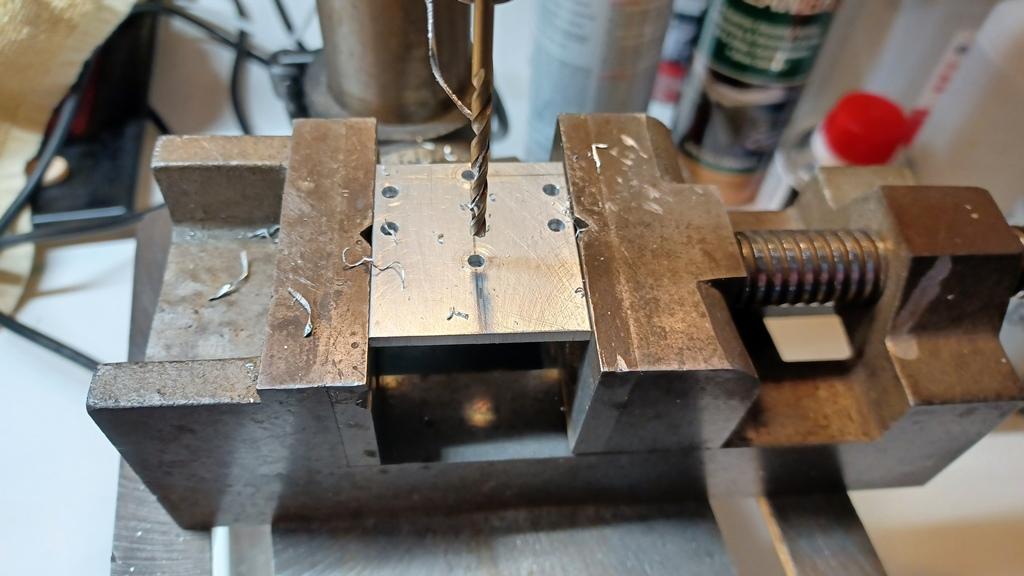
In drill press, the 4 adapter to car body holes are drilled 1/8" and the 2 Kadee mount holes are drilled #33.
Here had to notch out the 2 ribs to make room for the 4-40 screw heads that I use to mount coupler to adapter.
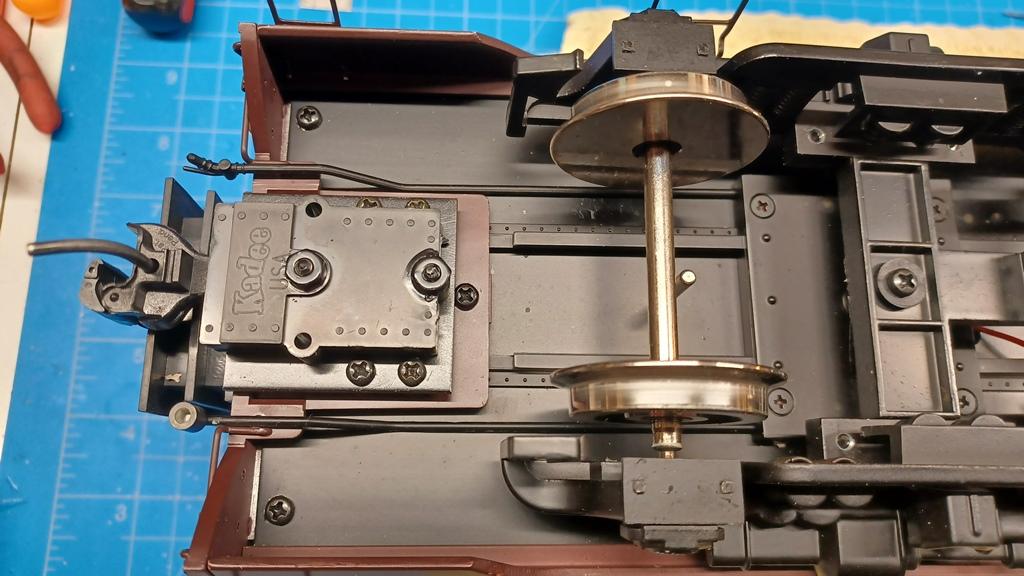
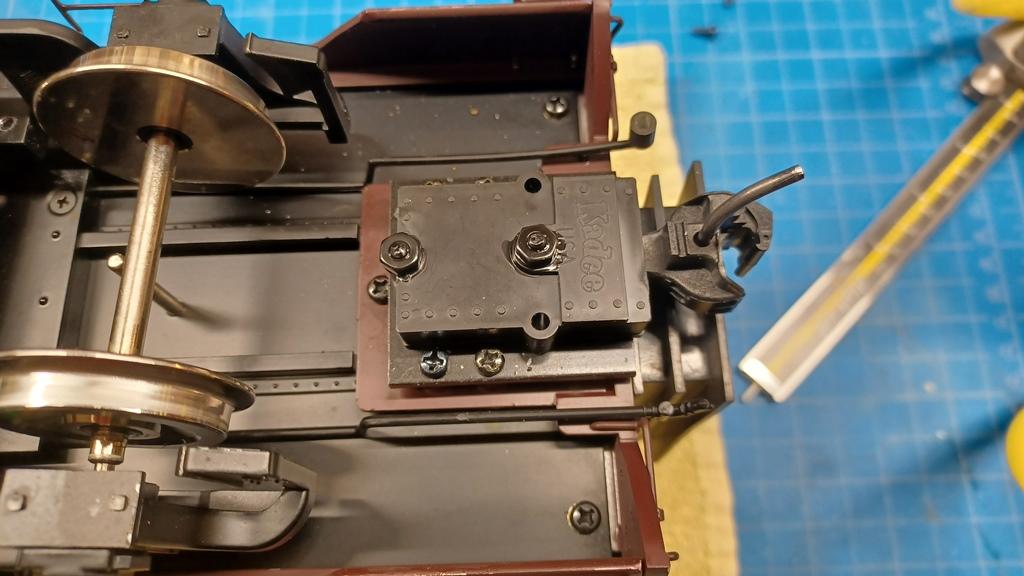
All mounted. I used 4-40 machine screws to mount coupler to adapter plate. I had originally planned to thread the adapter for 4-40 screws but decided on thru-hole mounting using nuts.
Gave adapter plates a quick shot of flat black paint as have plenty around here. I changed the 4 x 3mm diameter adapter plate mounting screws from like 6.6mm long to 8mm as I buy those by the 100 count in various lengths up to 16mm long. Black thread cutter/ thread rolling screws as they're VERY hand to have in stock.
Opposite end
Good shape when checked with height gauge
Few closing thoughts. It actually took me longer to writeup this posting than to make those 2 adapter mounting plates.
Material price maybe $2 per car esp. when buy the hardware by the 100's.
None of the above is "set in stone" as I may re-mount couplers further "under" the car.
If you wanted would be just as easy to use the stock USA couplers as they'd be raised and they will work with the G Kadee's. Would have to drill and tap the for the original USA coupler box flat top screws.
After doing a bit of research the Juicer(s) are rather interesting but not ready for use in the DCS world. Wired as shown in your drawing will result in severe DCS signal degradation. Installing a 22uH choke/ inductor on each wire between juicer and rail would help but they'd have to be rather large or at same rating or higher than the load the Juicer is carrying.
I'd speculate the reason why it doesn't work reliably is because it's designed for use with the DCC AC sine wave as opposed to straight DC. And is to be wired on the DCC Buss which is a steady 24 - 30V in large scale?
Thanks much! Yes lots of work but in the end it's worth it! Just was a bad year for painting outside either too cold, or too hot & humid...no really "nice" days. Infact I have more enjoyment working on trains than running them.
Good topic and a bit surprised by no replies??!! I'm sort of a bit like you as have had them all including Accucraft/ AML over the years. Buy sell and keep changing my mind between 1:32 or 1:29 though have settled on 1:29 lately as I really like the USA Trains big passenger cars and Autoracks.
Been in large scale since whenever MTH started shipping the first Hudson's, Challengers and Dash-8's. Infact started even earlier as in late '99 MTH announced in the o gauge magazine that they were getting into 1:32 and the ad showed some guy holding a Challenger and some kid holding the tender for less than what I was paying for a o scale equivalent! I was heavily invested into o scale Lionel & MTH and started selling to make way for MTH One-Gauge.
The real large scale cincher for me was in the early 2000's at the local monthly train show. A dealer had the newly released USA Trains Intermodal car with containers and that sent me over the top! Next dealer had some engine can't recall if it was a LGB Alco or a USAT GP9 painted black and white like a cow and it was moo'ing!
Years ago a friends dad who had hearing aids pulled me aside and said "I usually turn them way down as don't really want to hear anything this family has to say."
Nick, Great hatch cover retainer...very prototypical!
I searched and seems these were first announced in like 2010? Been 11 years going on 12 which seems to be Accucrafts time frame. The 1:32 Alleghany took at least that long.
The shocker was the 1:32 Big Boy as they made that in a few years. St Aubin financed that project as Pat jumped into the MTH vs USAT BB war.
Which brings me to the 1:29 NYC Dreyfuss Hudson. I called and inquired about it as see RLD dropped listing it. Was told yes it's dead but considering 1:32 live steam. He did say they were considering a 1:29 SP Cab Forward. Well that's interesting but no thanks. 12 years from now I'll be in my late 70's and won't be looking for anymore big steam...if I'm still around.
Great news as I've been hearing nothing but good about the newly revamped parts system! Only downside is I see they've been raising parts & shipping prices in the last week. That flat out shipping price is ridiculous esp. when anything under 1 lb. can go out First Class Mail.

(149xauto-130).gif.067990352f01d5c948df18827a12623f.gif)
.png ":Slightly_Smiling_Face_Emoji(24x24):")
.png ":Thumbs_Up_Hand_Sign_Emoji_large(24x24):")
.png ":Smirk_Face_Emoji_large(24x24):")
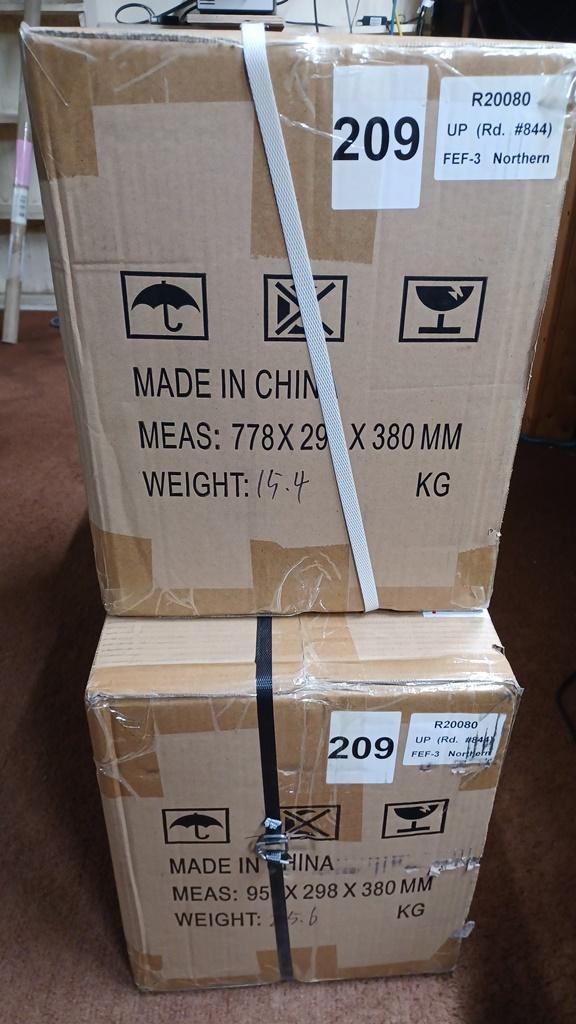
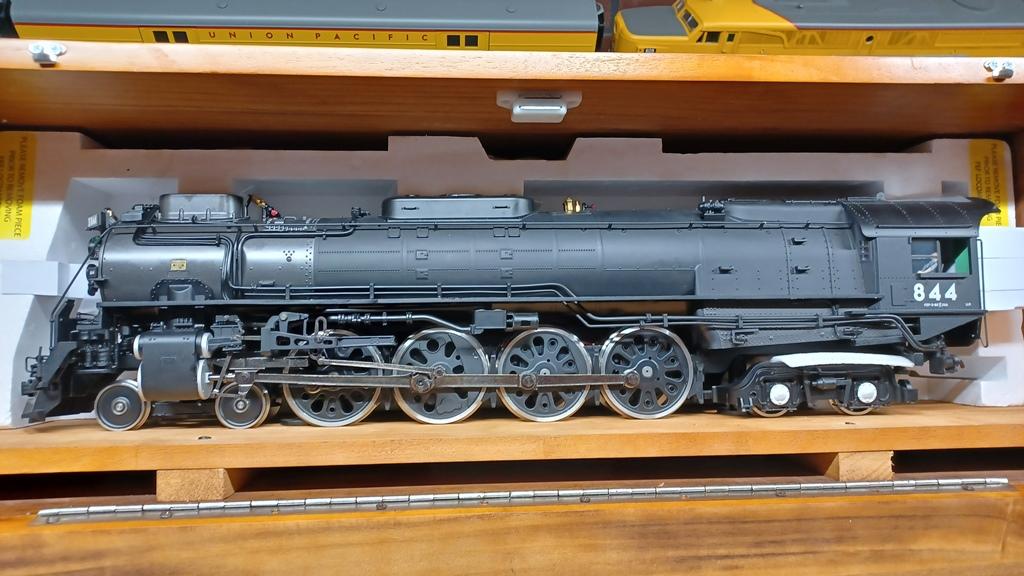
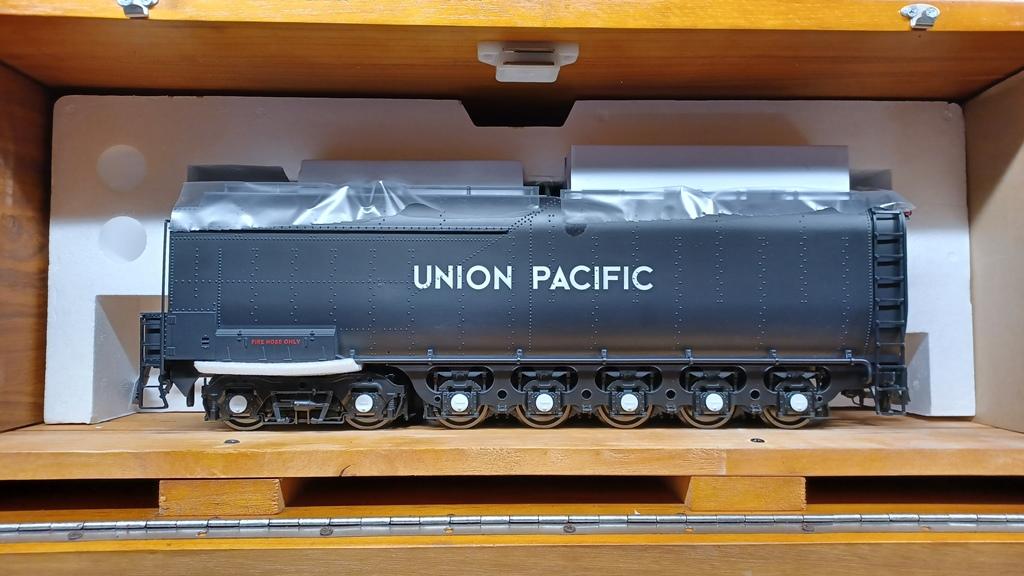
New USA Trains Locomotives!! (UP 4-8-4 Fef $3799.95, Heavyweight cars, etc)
in General Discussion
Posted
A local showed up to check out the new power!
Even Santa showed up!