Rex, That car will be great when you're finished! Would you believe I'm working on same car but UP version? I'm working on tail end changing markers and drumhead lights to Led's. I got my parts in from Ro today as well. Well all it was is Led lighting board and rear side steps. I usually convert the incandescent lighting board over to Led's but I have some of the new cars and want lighting to match.
Great on the boat tail car. I recently found a used UP boat tail car and bought it. After I opened it up I realized that it's the very car that I sold some 10 years ago! I had a squared off blunt end car and sold it. Passenger trains just have to have the rounded boat tail car!
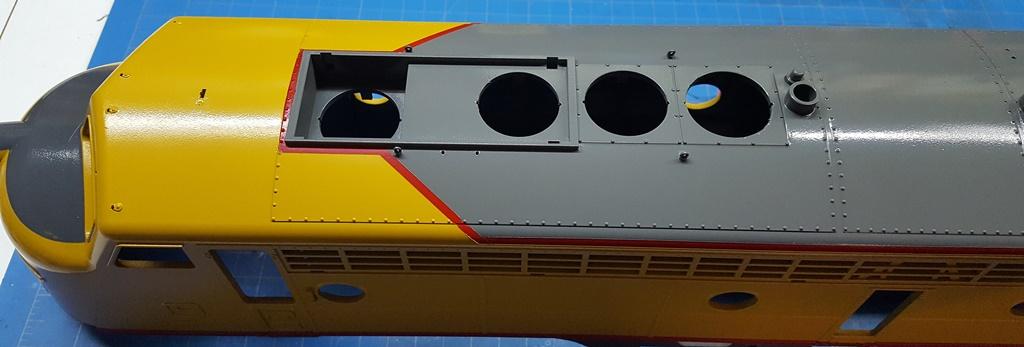
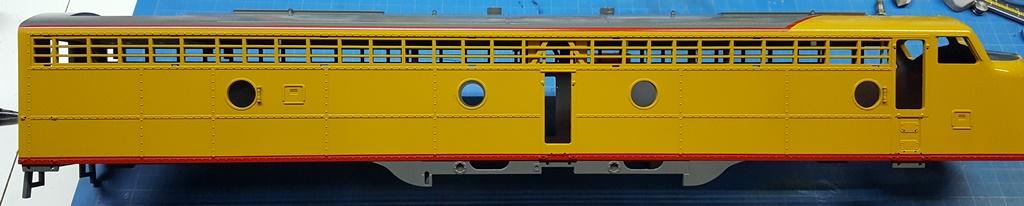
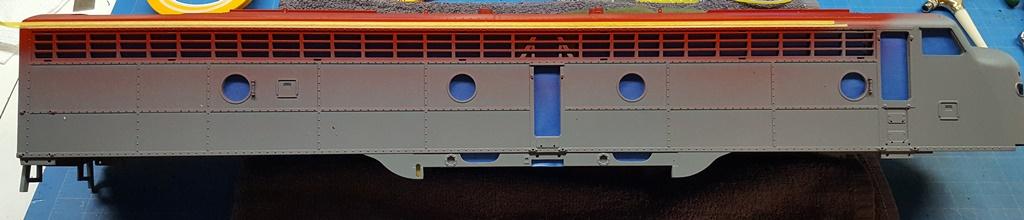
Well yesterday I basically "finished" painting the shell. Needs touchup but that's typical. I was "pushed" into finishing in one day because of the poor quality masking tape I chose to use. Soon as new paint was applied and after left to dry a few hours the tape started curling and lifting. That is not a good place to be so I pushed and finished in a rather long day.
What I did was mask out the yellow and spray grey on roof and lower skirting. The grey I used was Tru-Color Harbor Mist Grey but too me it appears way to "green" so I added 4ml black to 2oz. grey. I have some 12oz. HDPE plastic bottles that I use to mix paint in when tinting so that "batch" is consistent. I've always had trouble with color perception when greys and yellows are close together. I can take 2 MTH UP Challengers in the 2-tone grey paint scheme, one with white stripes and one with yellow stripes and to me the yellow striped one has greys that are "greener" even though I know they paint shades are the same. To me the Aristo grey that they used on both the UP Dash-9 and E8's looked green...almost dark olive green. Weird as that's the only colors I have problems with and only when in close proximity.
I'm a bit surprised how well it actually turned out. I had to remove and reapply the upper red stripe tape as started coming lose. It's always a real battle to apply new tape perfectly in the same spot but somehow I did it.
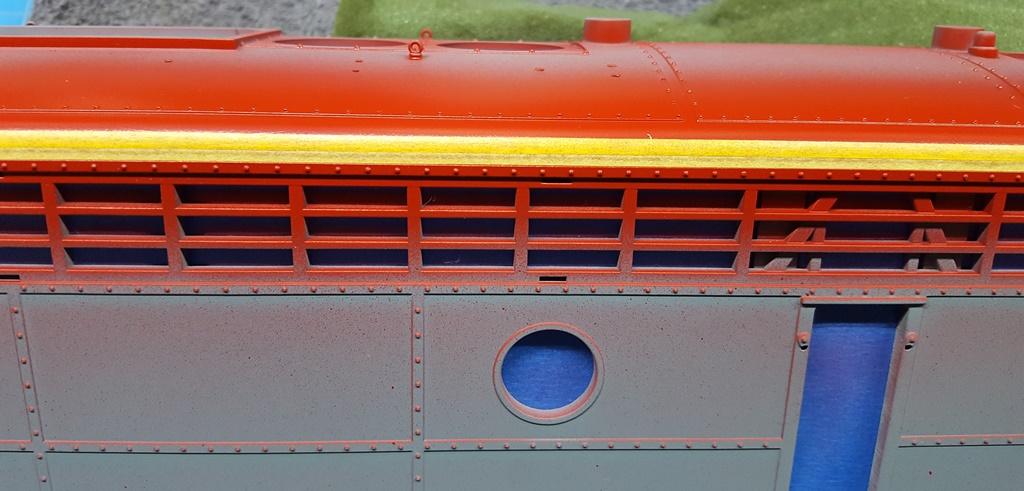
The paint "flash" left over leaving the rough edge after removing tape is easily removed by running my thumbnail over it the next day...go figure??!!
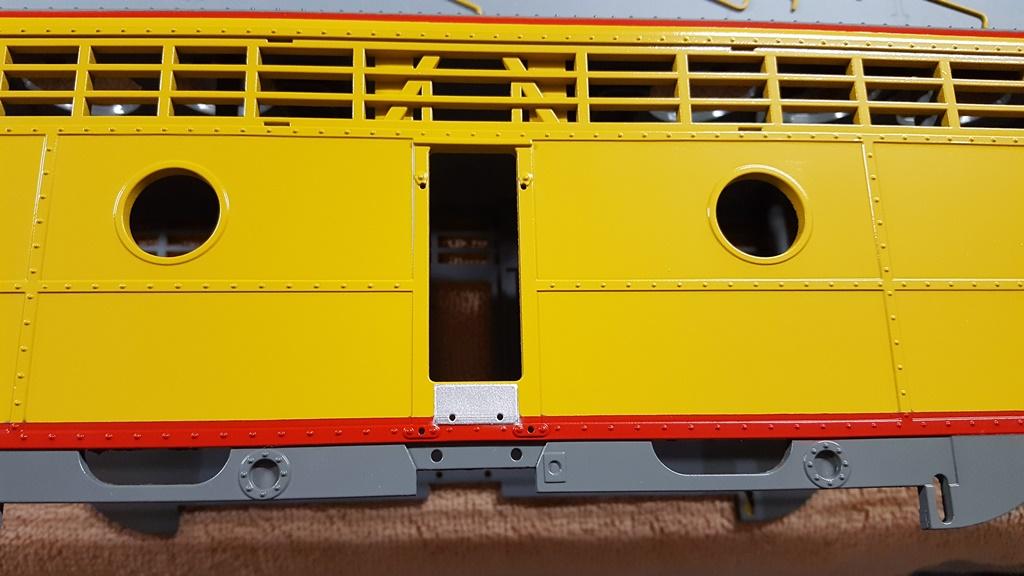
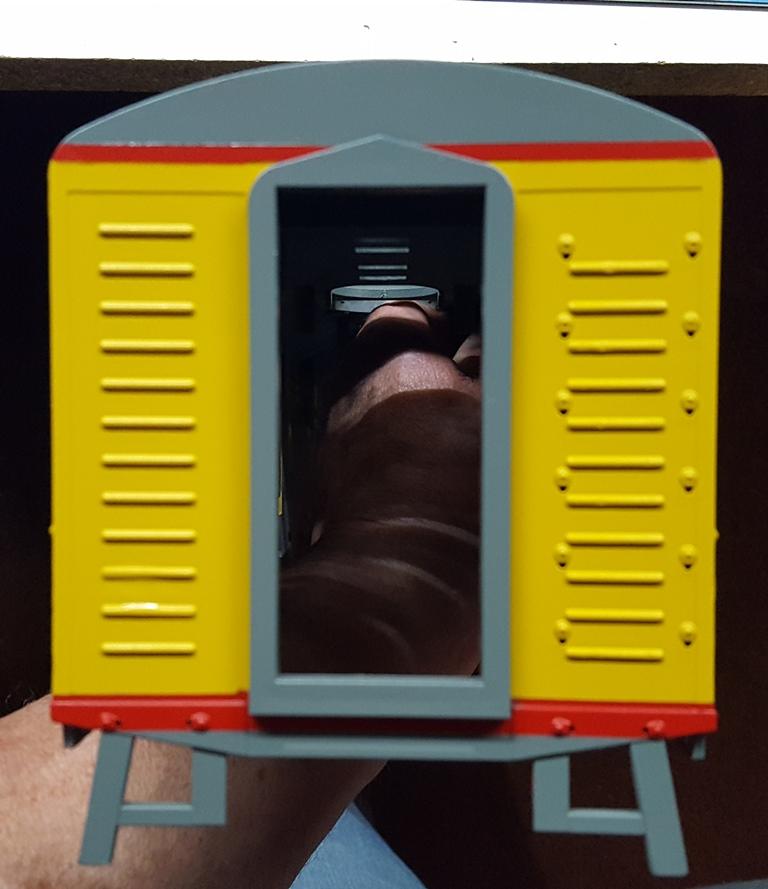
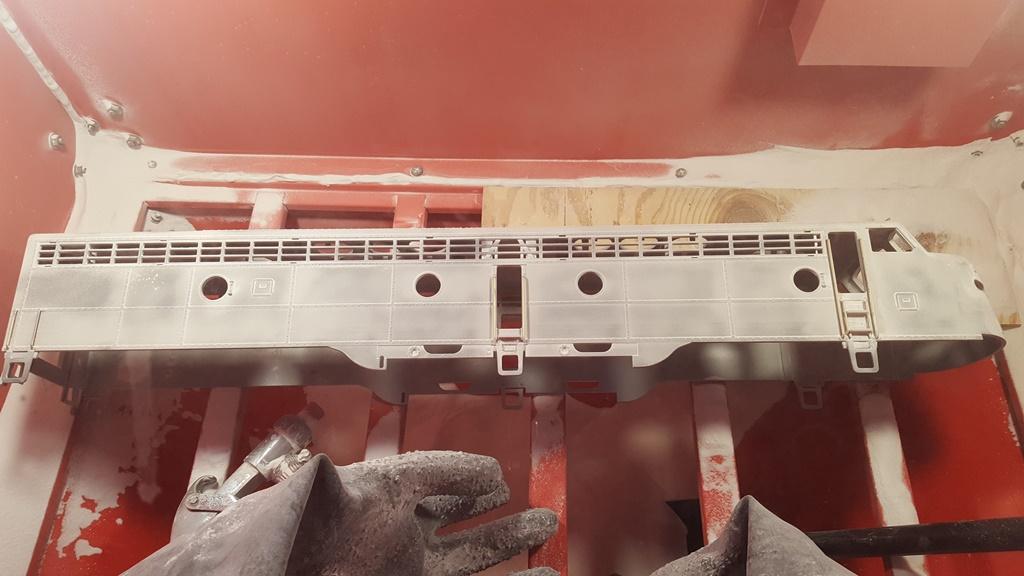
The rough surface as shown in pics is actually a result from both blasting and the plastics natural surface. Plastic isn't mirror smooth when in the raw as when comes out of the injection machines unless a lot of time was spent smoothing the mold interior. Manufacturers "hide" it by using flat paints and the clear coating in either semi-gloss or matte/ dull.
Oh here's the masking tape to avoid using at all costs! I did like the wide assortment of widths but this stuff is crap. I'm ordering in a whole assortment of Tamiya tape as I never had lifting problems with it.
Yes the same baking soda just bigger grains and in fact made by Arm & Hammer which is now Armex. They used it to blast the Statue of Liberty years ago.
Can only use it once as it fractures and turns into dust. That's the beauty of it though as fractures so easy it doesn't remove any cast in detail like silica sand would. Downside is the dust created is very fine like talcum powder. That stuff goes everywhere. The 2" exhaust system I made for the blast cabinet first goes thru a cyclone to spin separate the dust and that sits on a 5 gallon bucket. A Shopvac powers it all and it has 2 filters in it. About every hour or so of use I have to stop and clean the cyclone as it starts choking as dust clings to the inside of hoses etc.
I primed everything with self etching grey in rattle can from Harbor Freight but guess didn't take any pics.
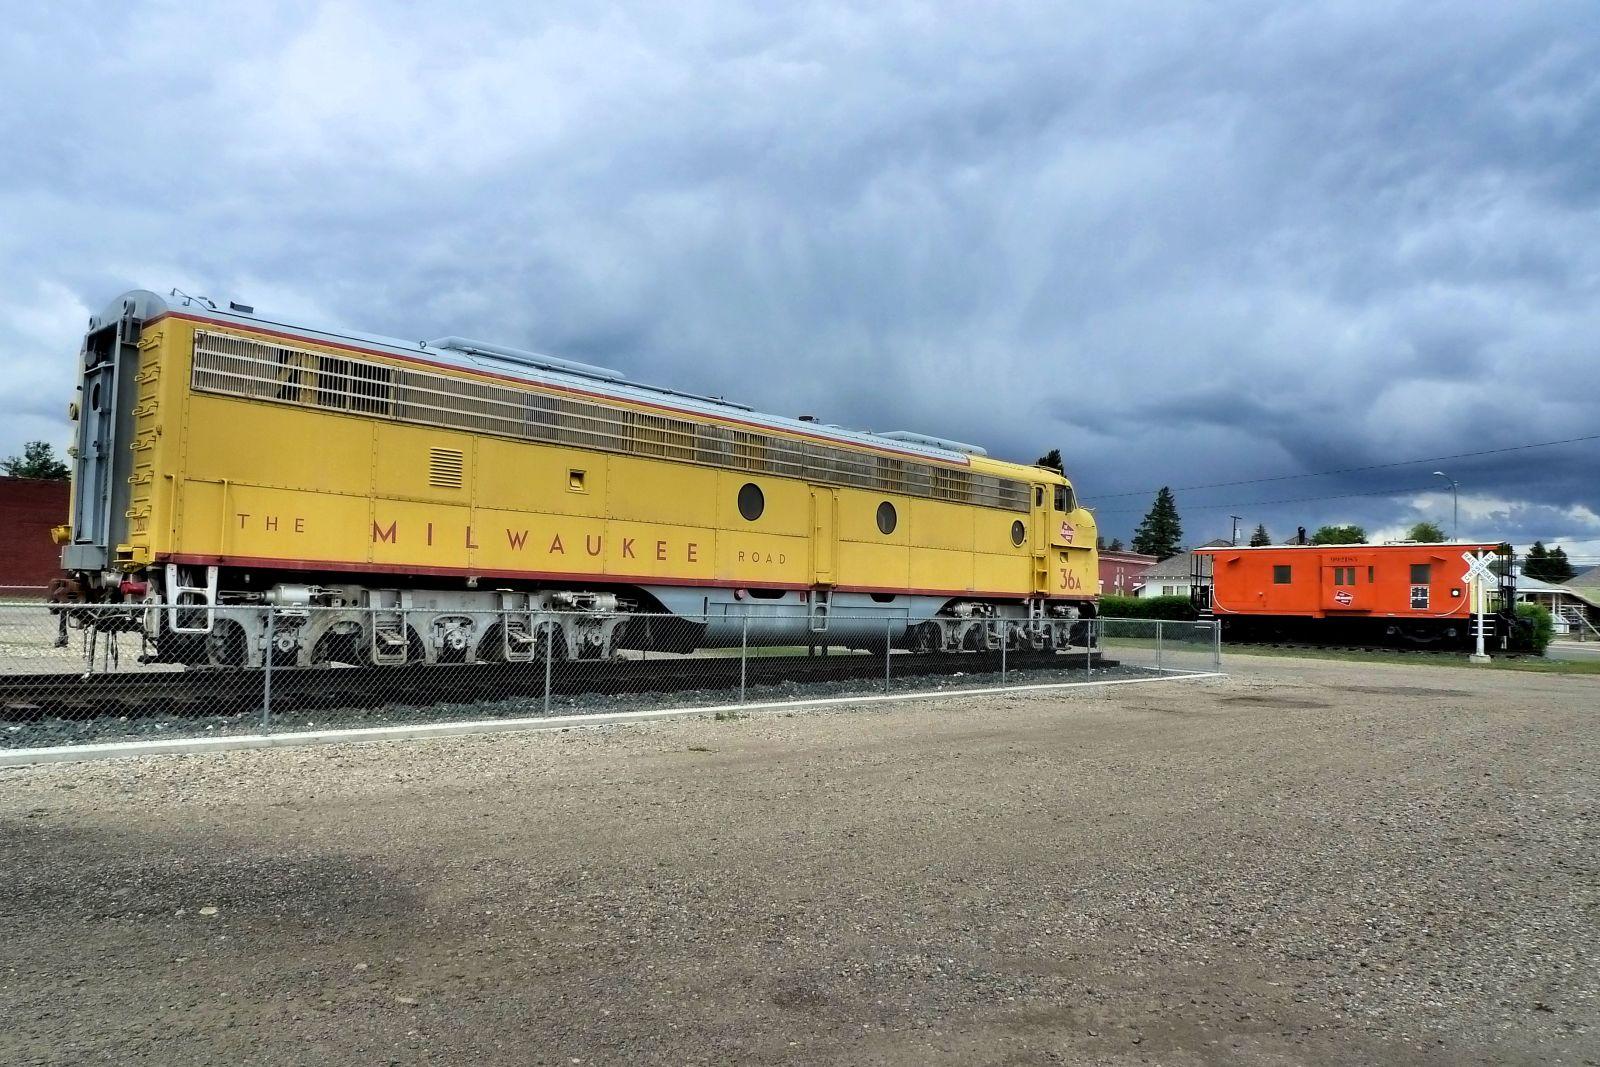
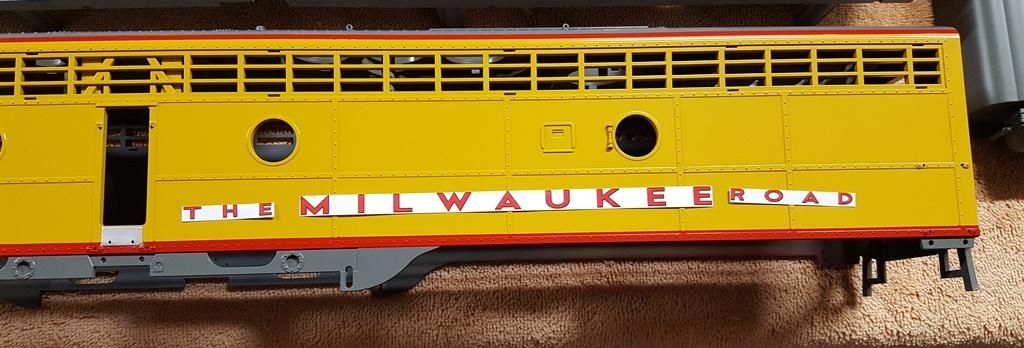
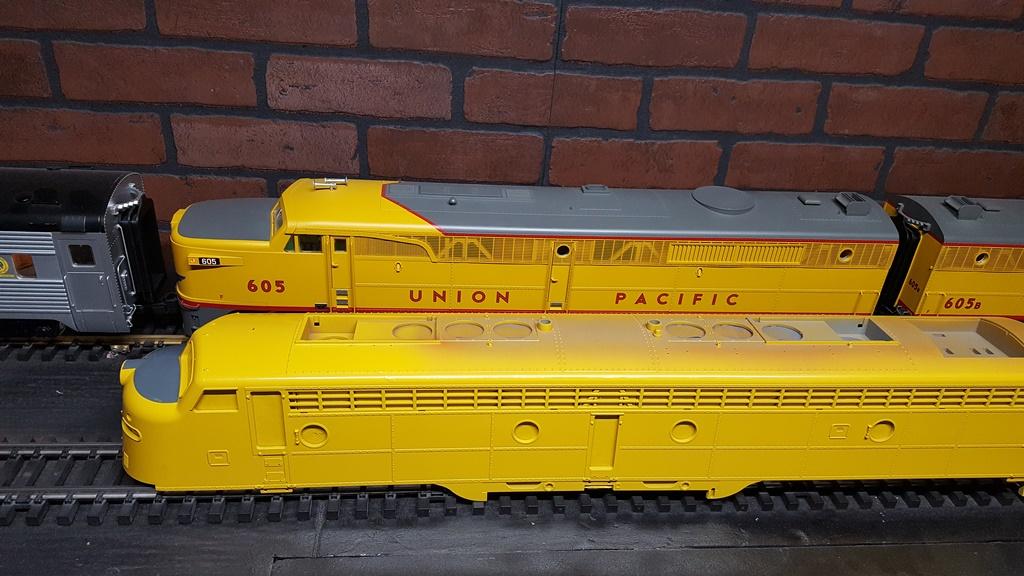
Anyway painting this for Milwaukee Road which is same paint colors and scheme as the Union Pacific. The Milwaukee got the contract to pull the UP passenger trains from Council Bluffs, Iowa to Chicago Union Station so Milwaukee painted most all the passenger trains and equipment to the UP scheme.
Anyway after primer first color I applied was the red for the upper stripe. Red paint is leftover Tru-Color reds that I have which was SF & Chinese (CB&Q) mixed together.
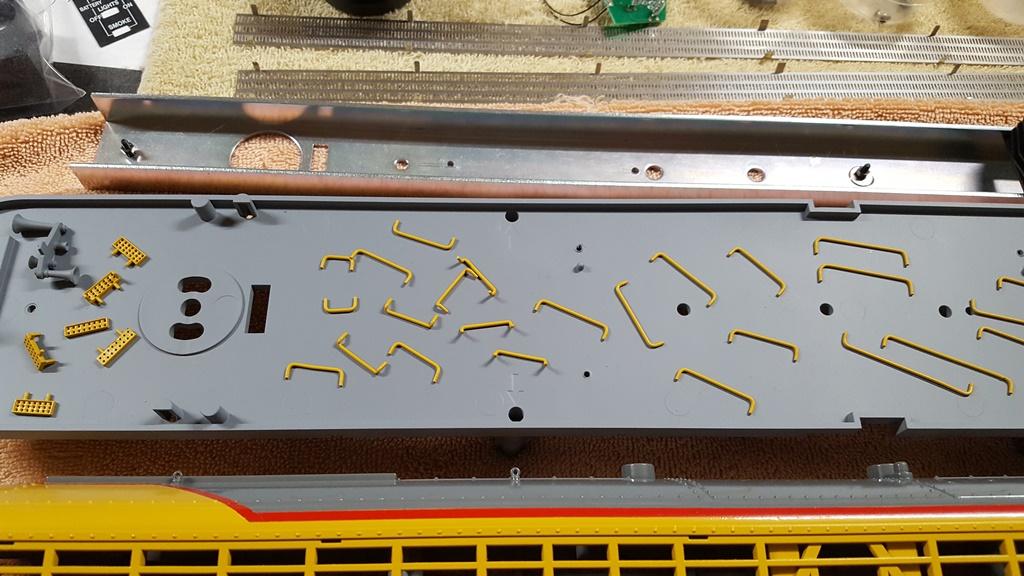
Here I'm using 2mm tape as a spacer for the 3mm tape.
2mm tape removed.
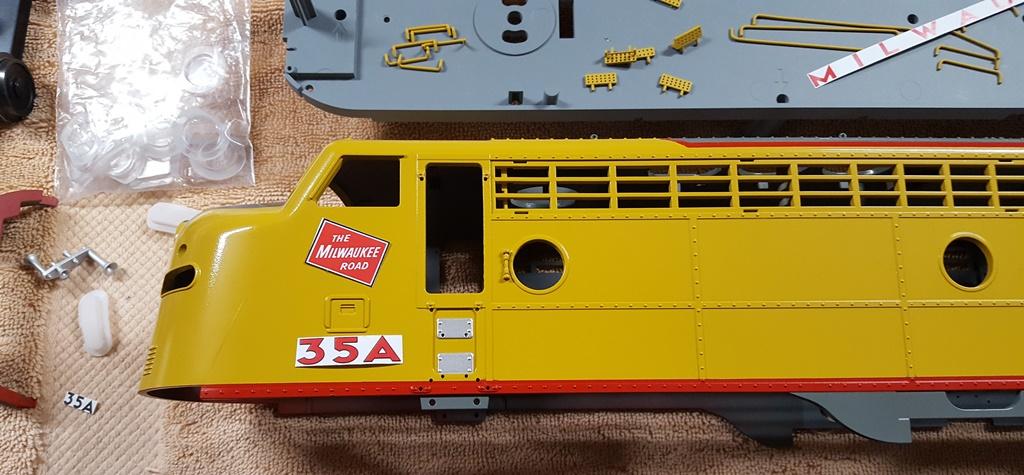
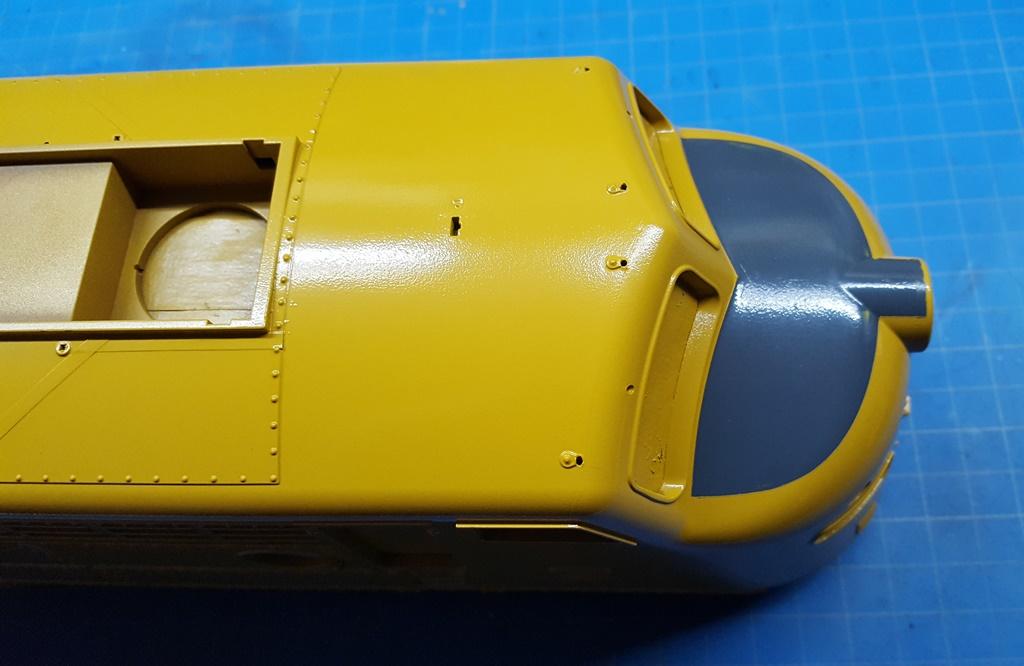
After that I mixed up some dark grey for top of nose. UP used green but Milwaukee used grey. Researching online found sometimes the UP used grey and Milwaukee used green. Also see where Milwaukee used black. Also seen where the paint started above the bottom of windshields. Guess it was all up to what mood the painter was in that day. I used grey as that matches my USA PA units.
Here I already sprayed grey then masked it out and shot Tru-Color UP Armour Yellow.
Tough to judge paint colors until clear coat is applied but close enough for me
Next (today) is to mask out the yellow then spray Tru-Color Harbor Mist Grey to the roof, rear and lower skirting.
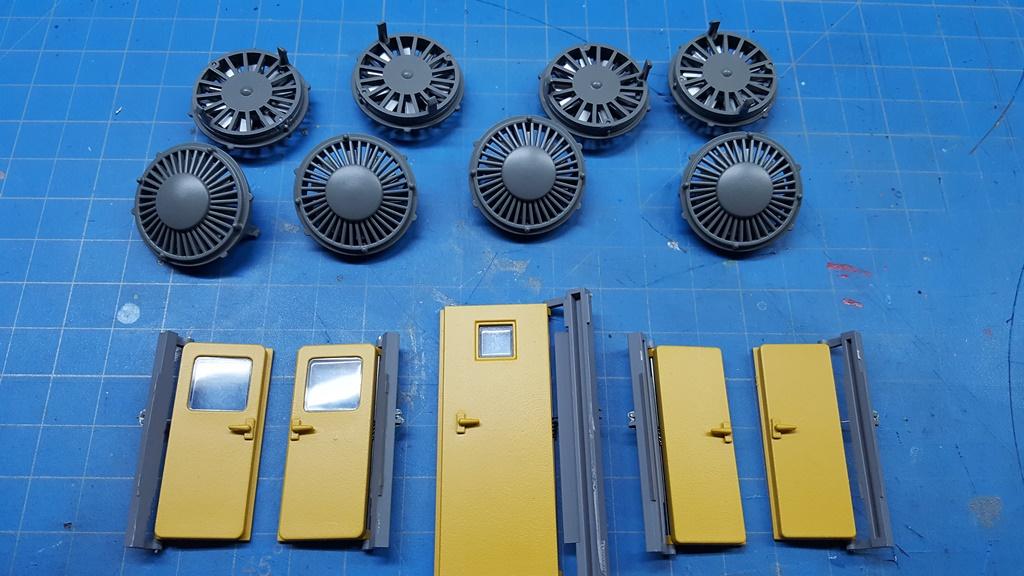
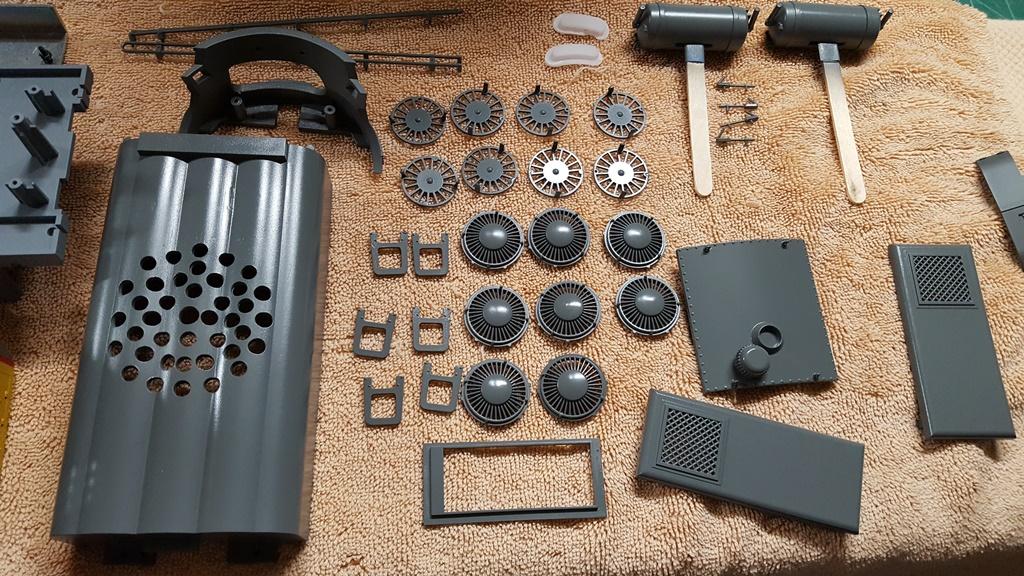
Well I did it and stripped that SF E8 paint in the blast cabinet using Armex baking soda.
Kept track of time and cost of materials. Took 4 hours of actual blasting and includes about all the parts including fans, tanks, doors etc. Went thru a 40lb. bag of blast media and that stuff is up to at least $50. Still the best way I've found to strip paint as once I'm done that's it. No left over toxic chemicals to deal with. Just some backing soda dust.
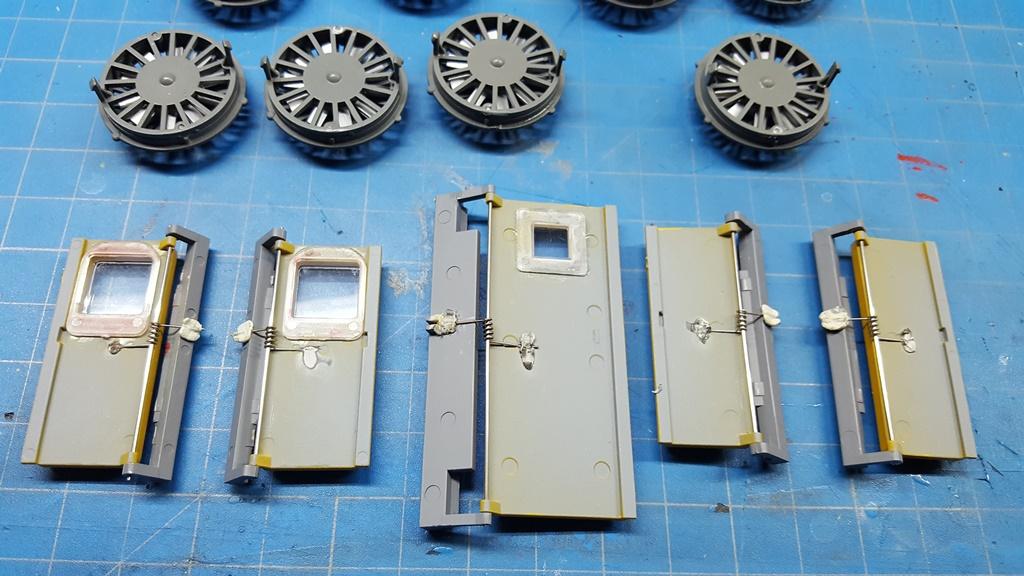
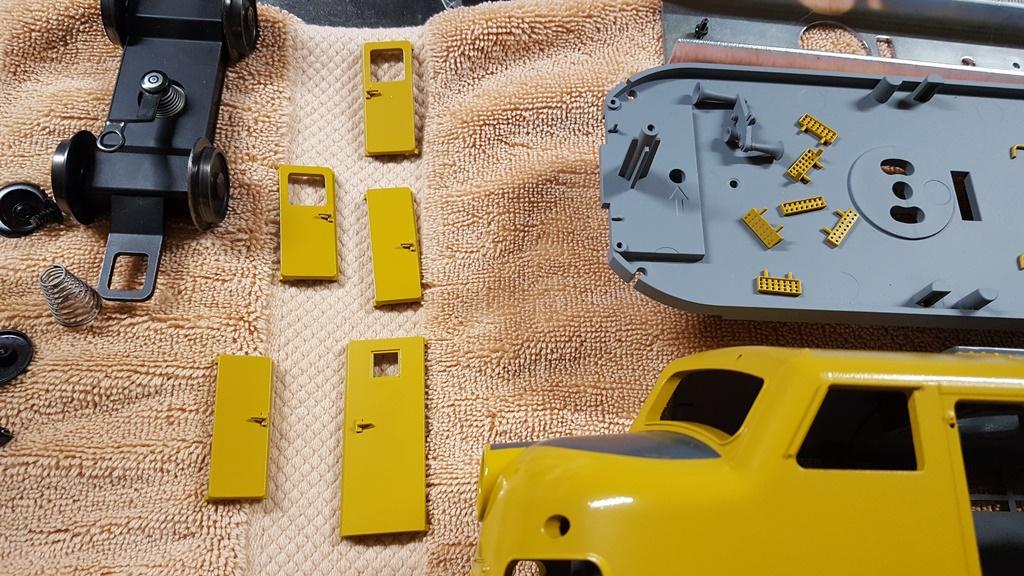
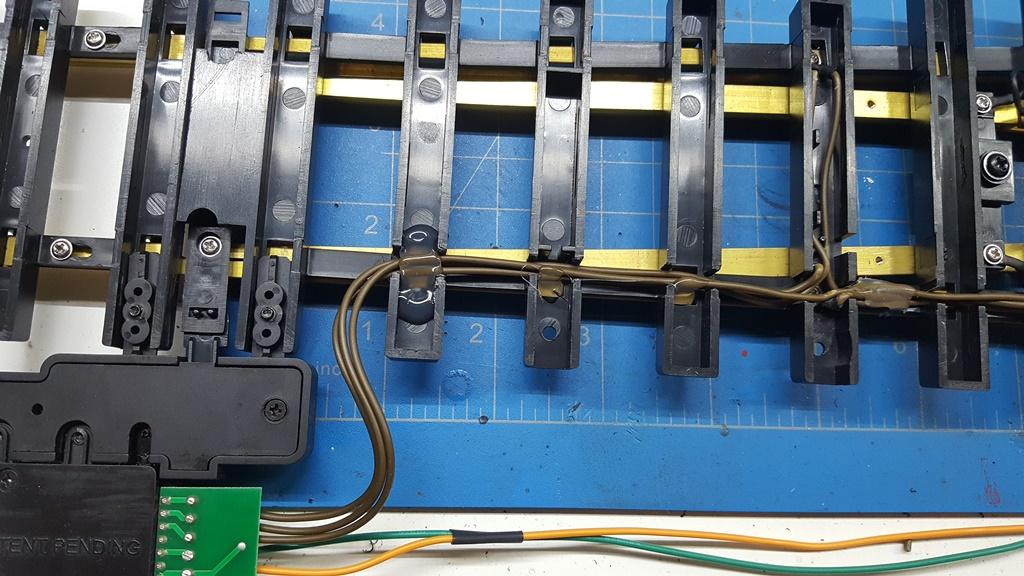
I leave the handrails on as easier to blast paint off.
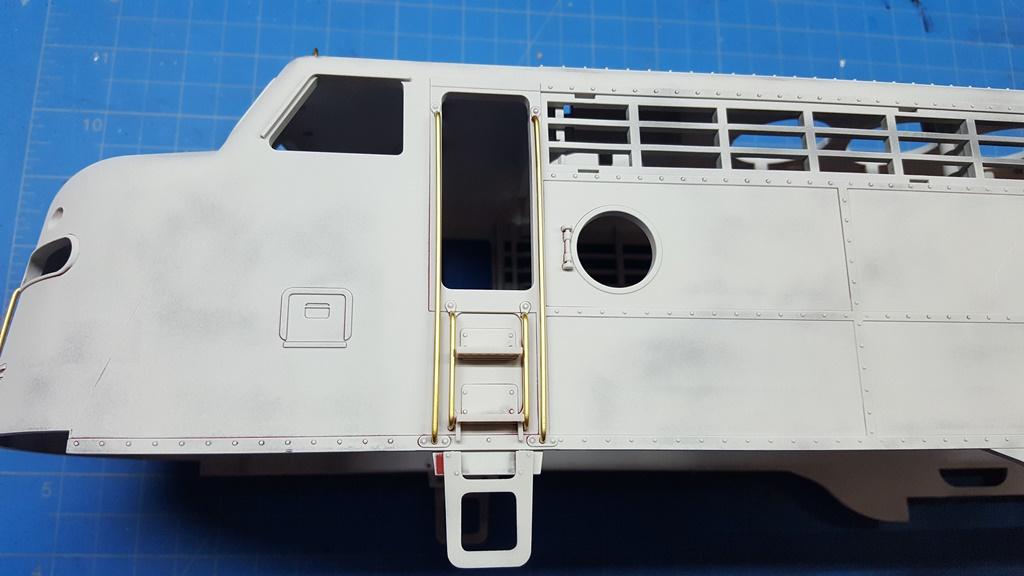
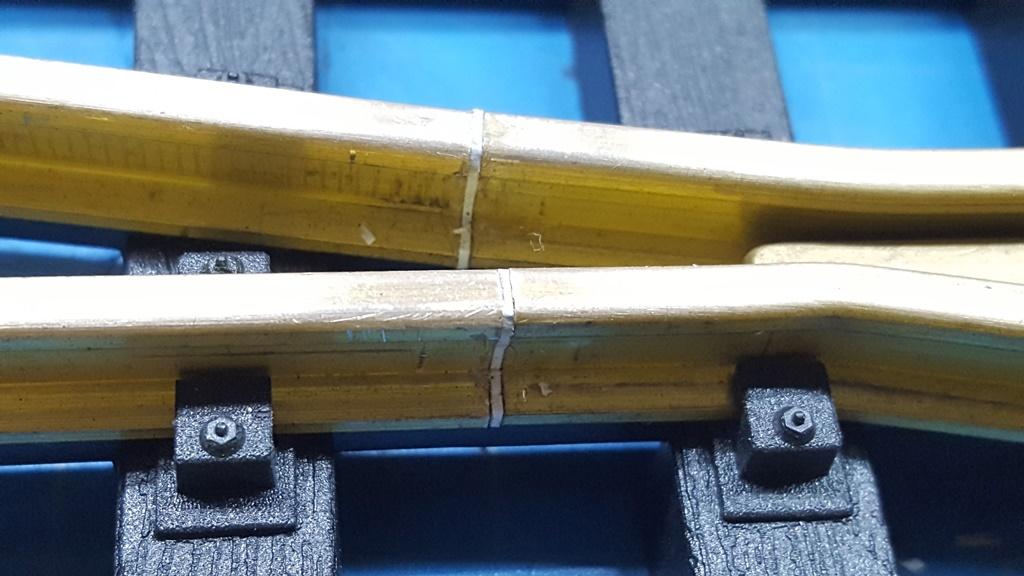
This is interesting as shows how using baking soda leaves all the fine detail such as rivets.
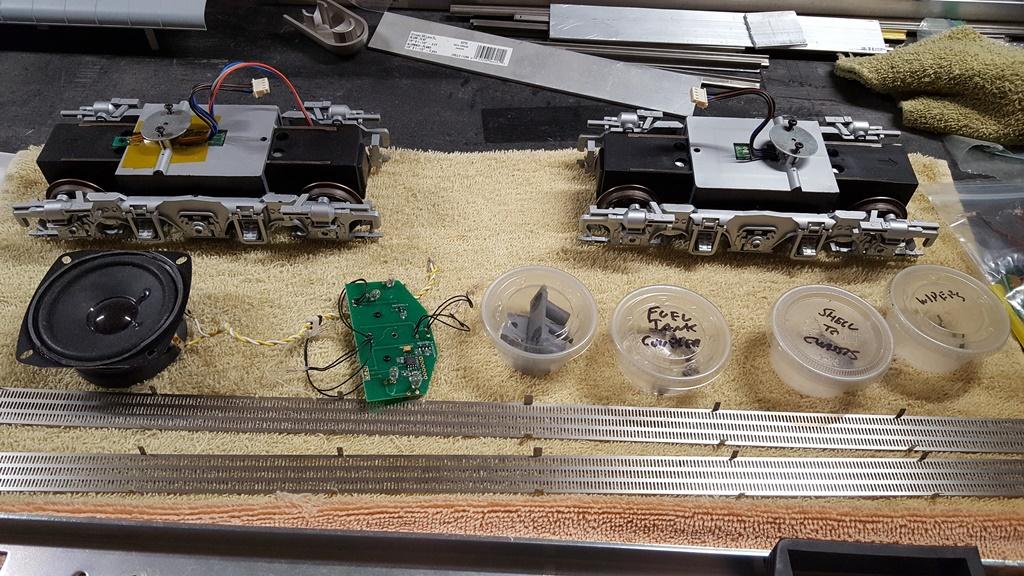
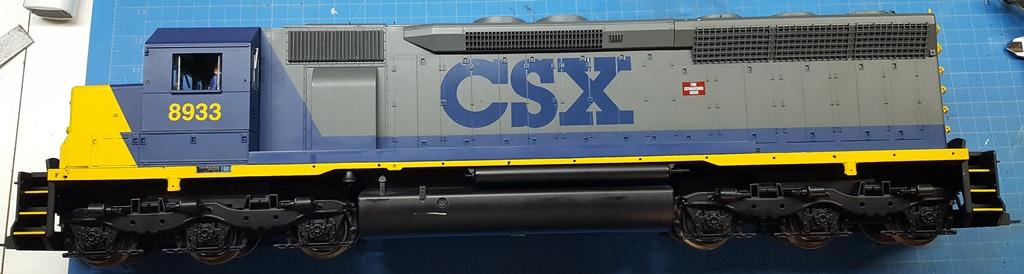
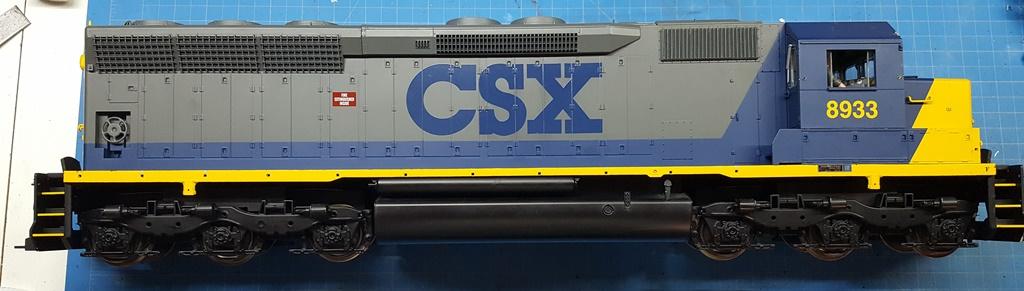
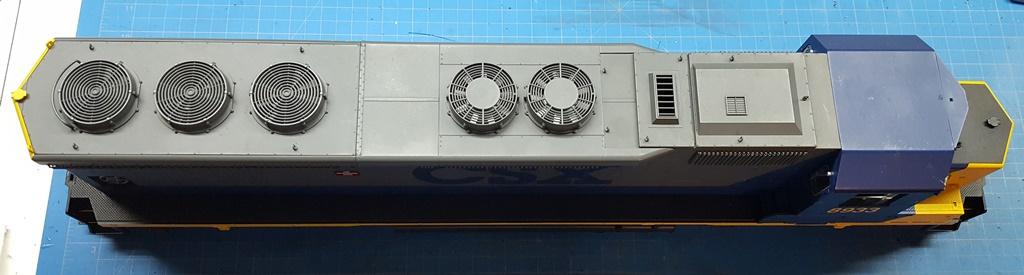
Have a decent used Aristo-Craft SD45 in CSX paint looking to trade for Burlington Northern, Montana Rail Link, Chicago NorthWestern, Wisconsin Southern, Great Northern Big Sky Blue etc. All mine is missing is the 2 mu boxes, 1 air hose and no speaker. This one has box. To make trade easier far as lighter shipping just remove the drives.
Hello, Nick I used the bolder font at the top right, looks better :).I hope that bug likes his new company, he has two helpers with him. What I'm going to do is a bit dirt etc.

(149xauto-130).gif.067990352f01d5c948df18827a12623f.gif)
.png ":Slightly_Smiling_Face_Emoji(24x24):")


Let's See Your Aristo-Craft E8's!!
in Locomotives
Posted
Very nice!