I appreciate that. Yes, I felt as if I was flying all of the time. Here is my experience with pad printing. I bought a pad printer, modified it from an open well to a closed well and proceeded to learn the method, but after many attempts, I quickly figured out that the pad printing system is for producing many parts in rapid succession. If you just hesitate for a second too long, the ink dries on the plate. There has to be a rapid movement of picking up the ink and placing it on the part and found that just producing one part without the rapid sequence of movement didn't work out for me, so I went back to making decals, or actually printing with a cnc directly on the locomotives. You can see some videos on YouTube, search my channel: omiateeful and you will see some videos of my printing, still a work in progress. As far as the tender goes, you might find an stl file on the web, or you could learn a 3d drawing program and draw your own. It takes some patience to learn to 3d draw, but, very rewarding. There are a few good free programs out there, better than paying a lot of money. Fusion 360 is one of them as well as Blender. I am trying to learn Blender, with great difficulty. Remember, if you find an stl or obj file, even if it is HO scale, you can rescale it to 1:29 easily, especially with this Bambu X1C with just clicking on a few buttons. Bob.
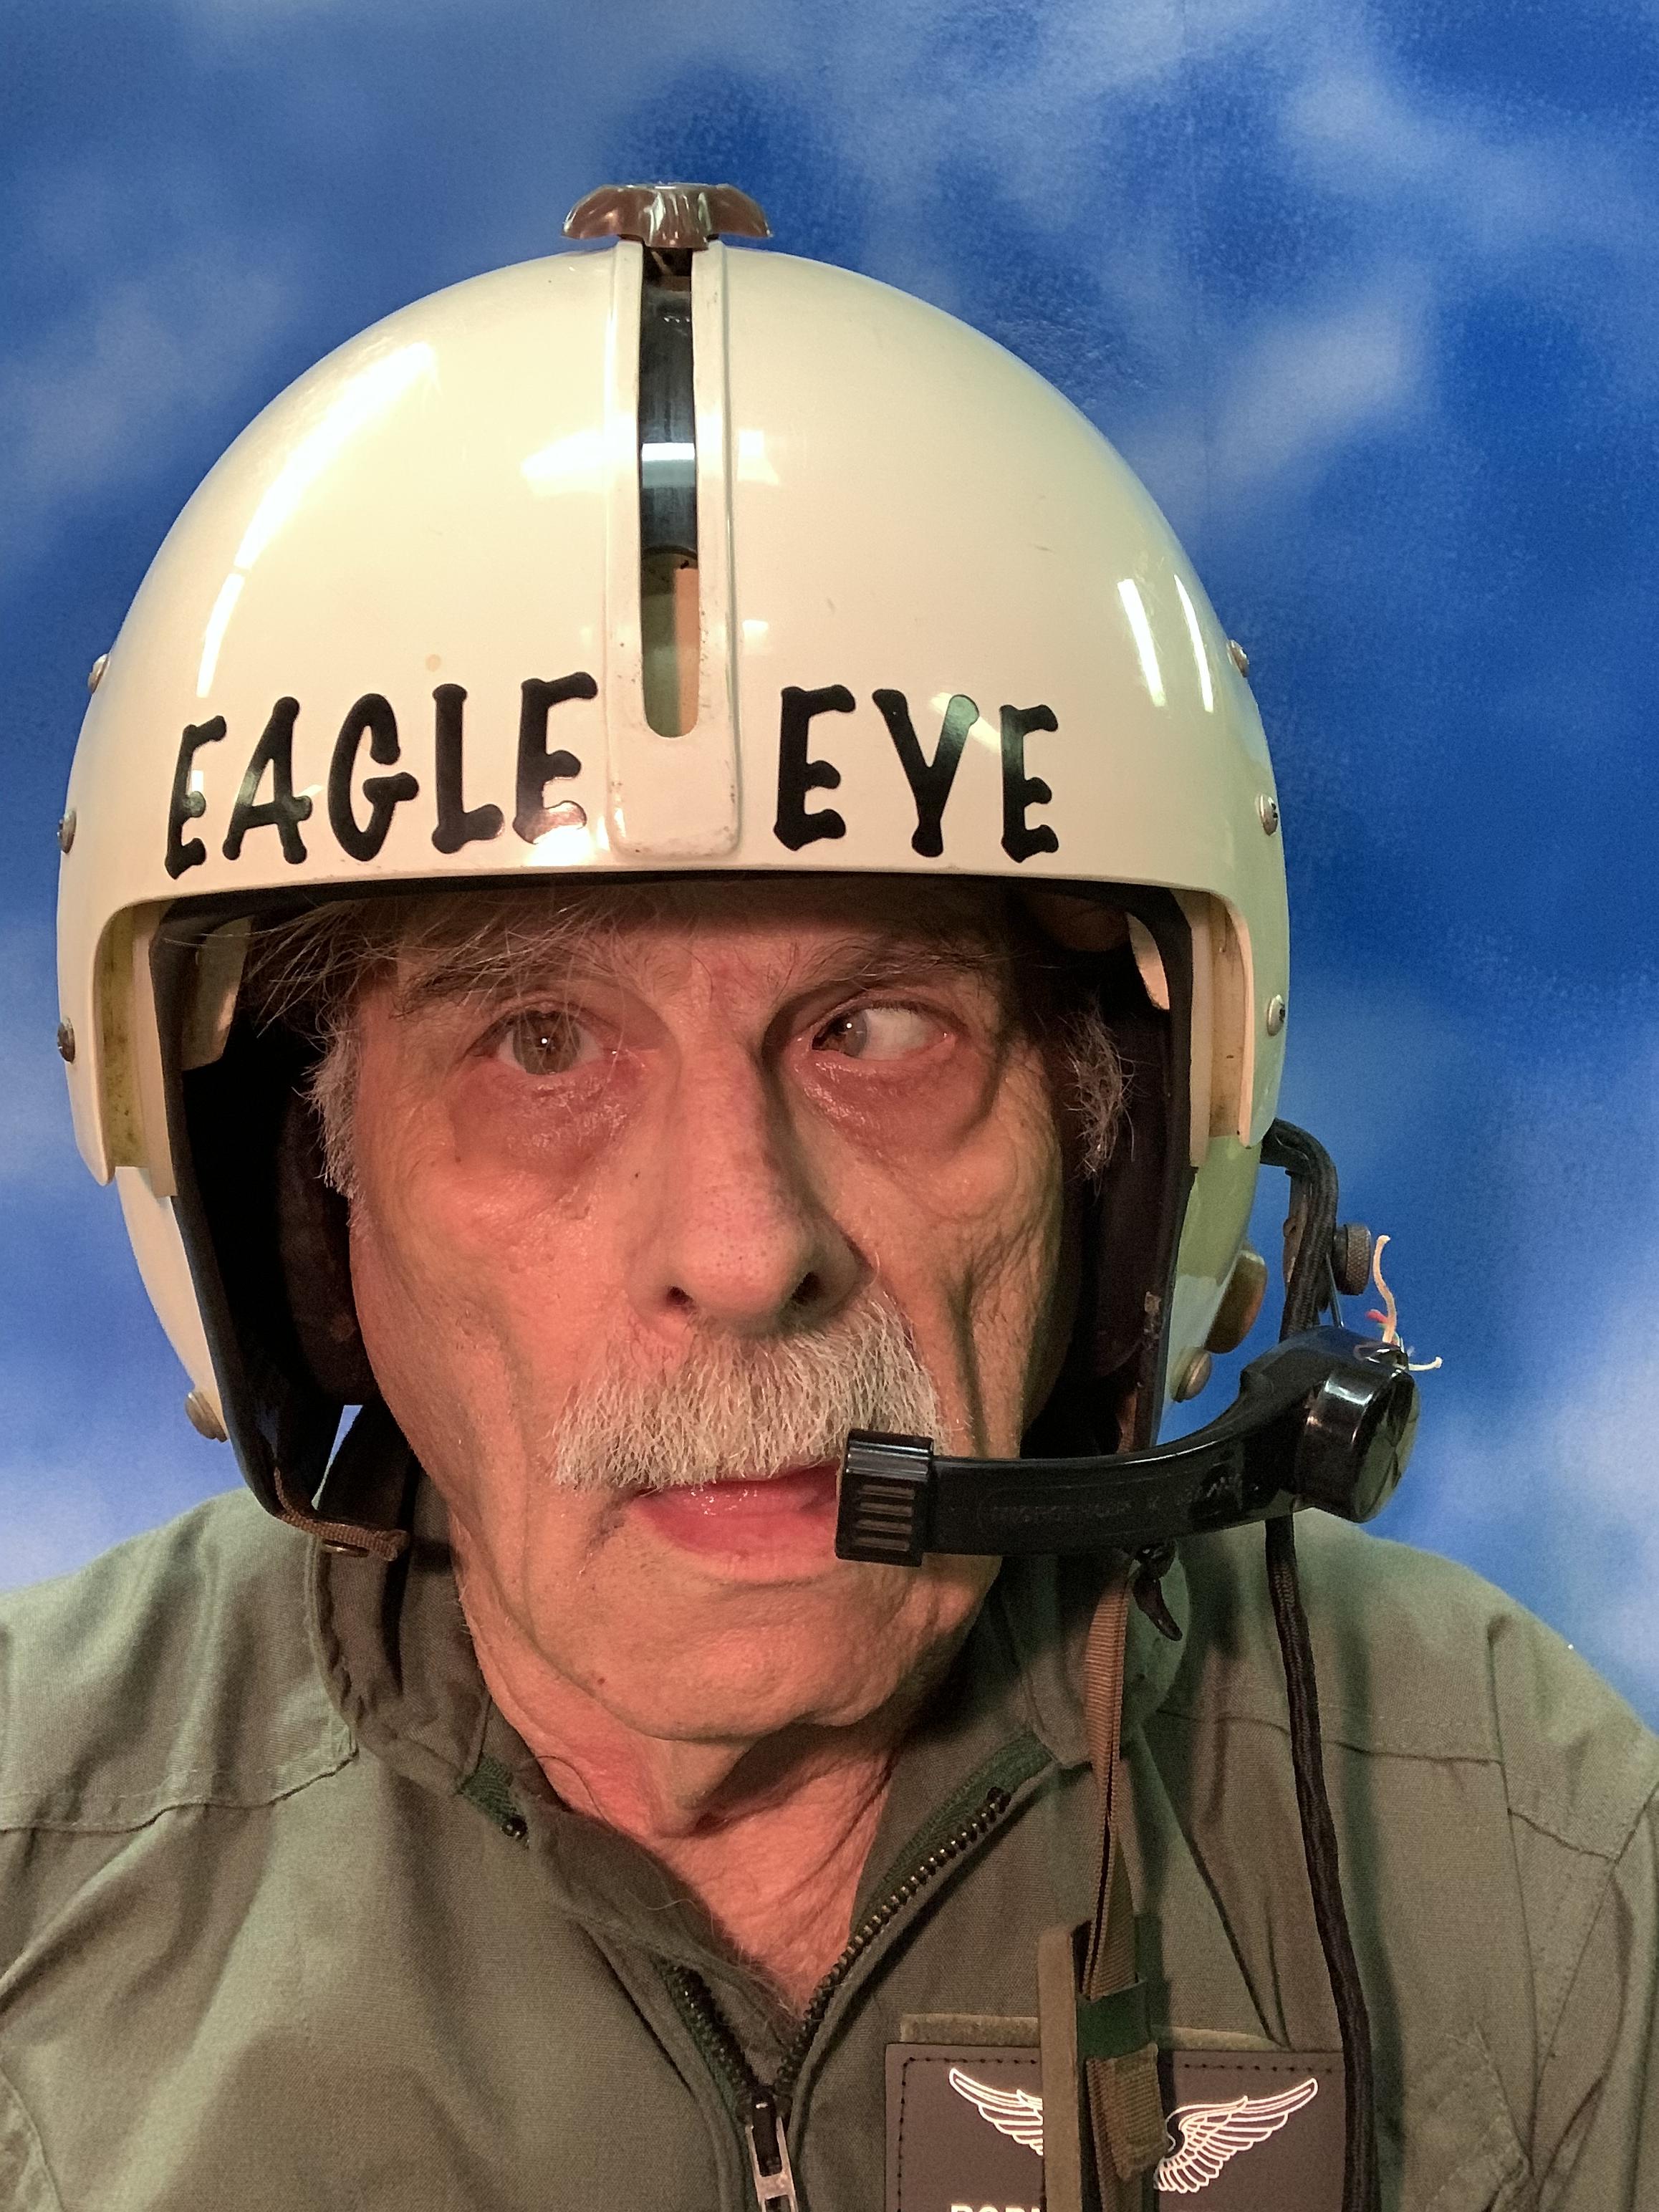
Size: 256mmx256mmx256mm, about 10 inches cubed. Very easy to scale, by measurement, just plug in the size in mm., or change the percentage size, push enter and that's it, done. It uses .stl files. I was a CW2 Pilot, and when I got back, I was an instructor pilot for 2 years and then got out. I flew 1120 hours in Nam, and was very lucky. Bob.
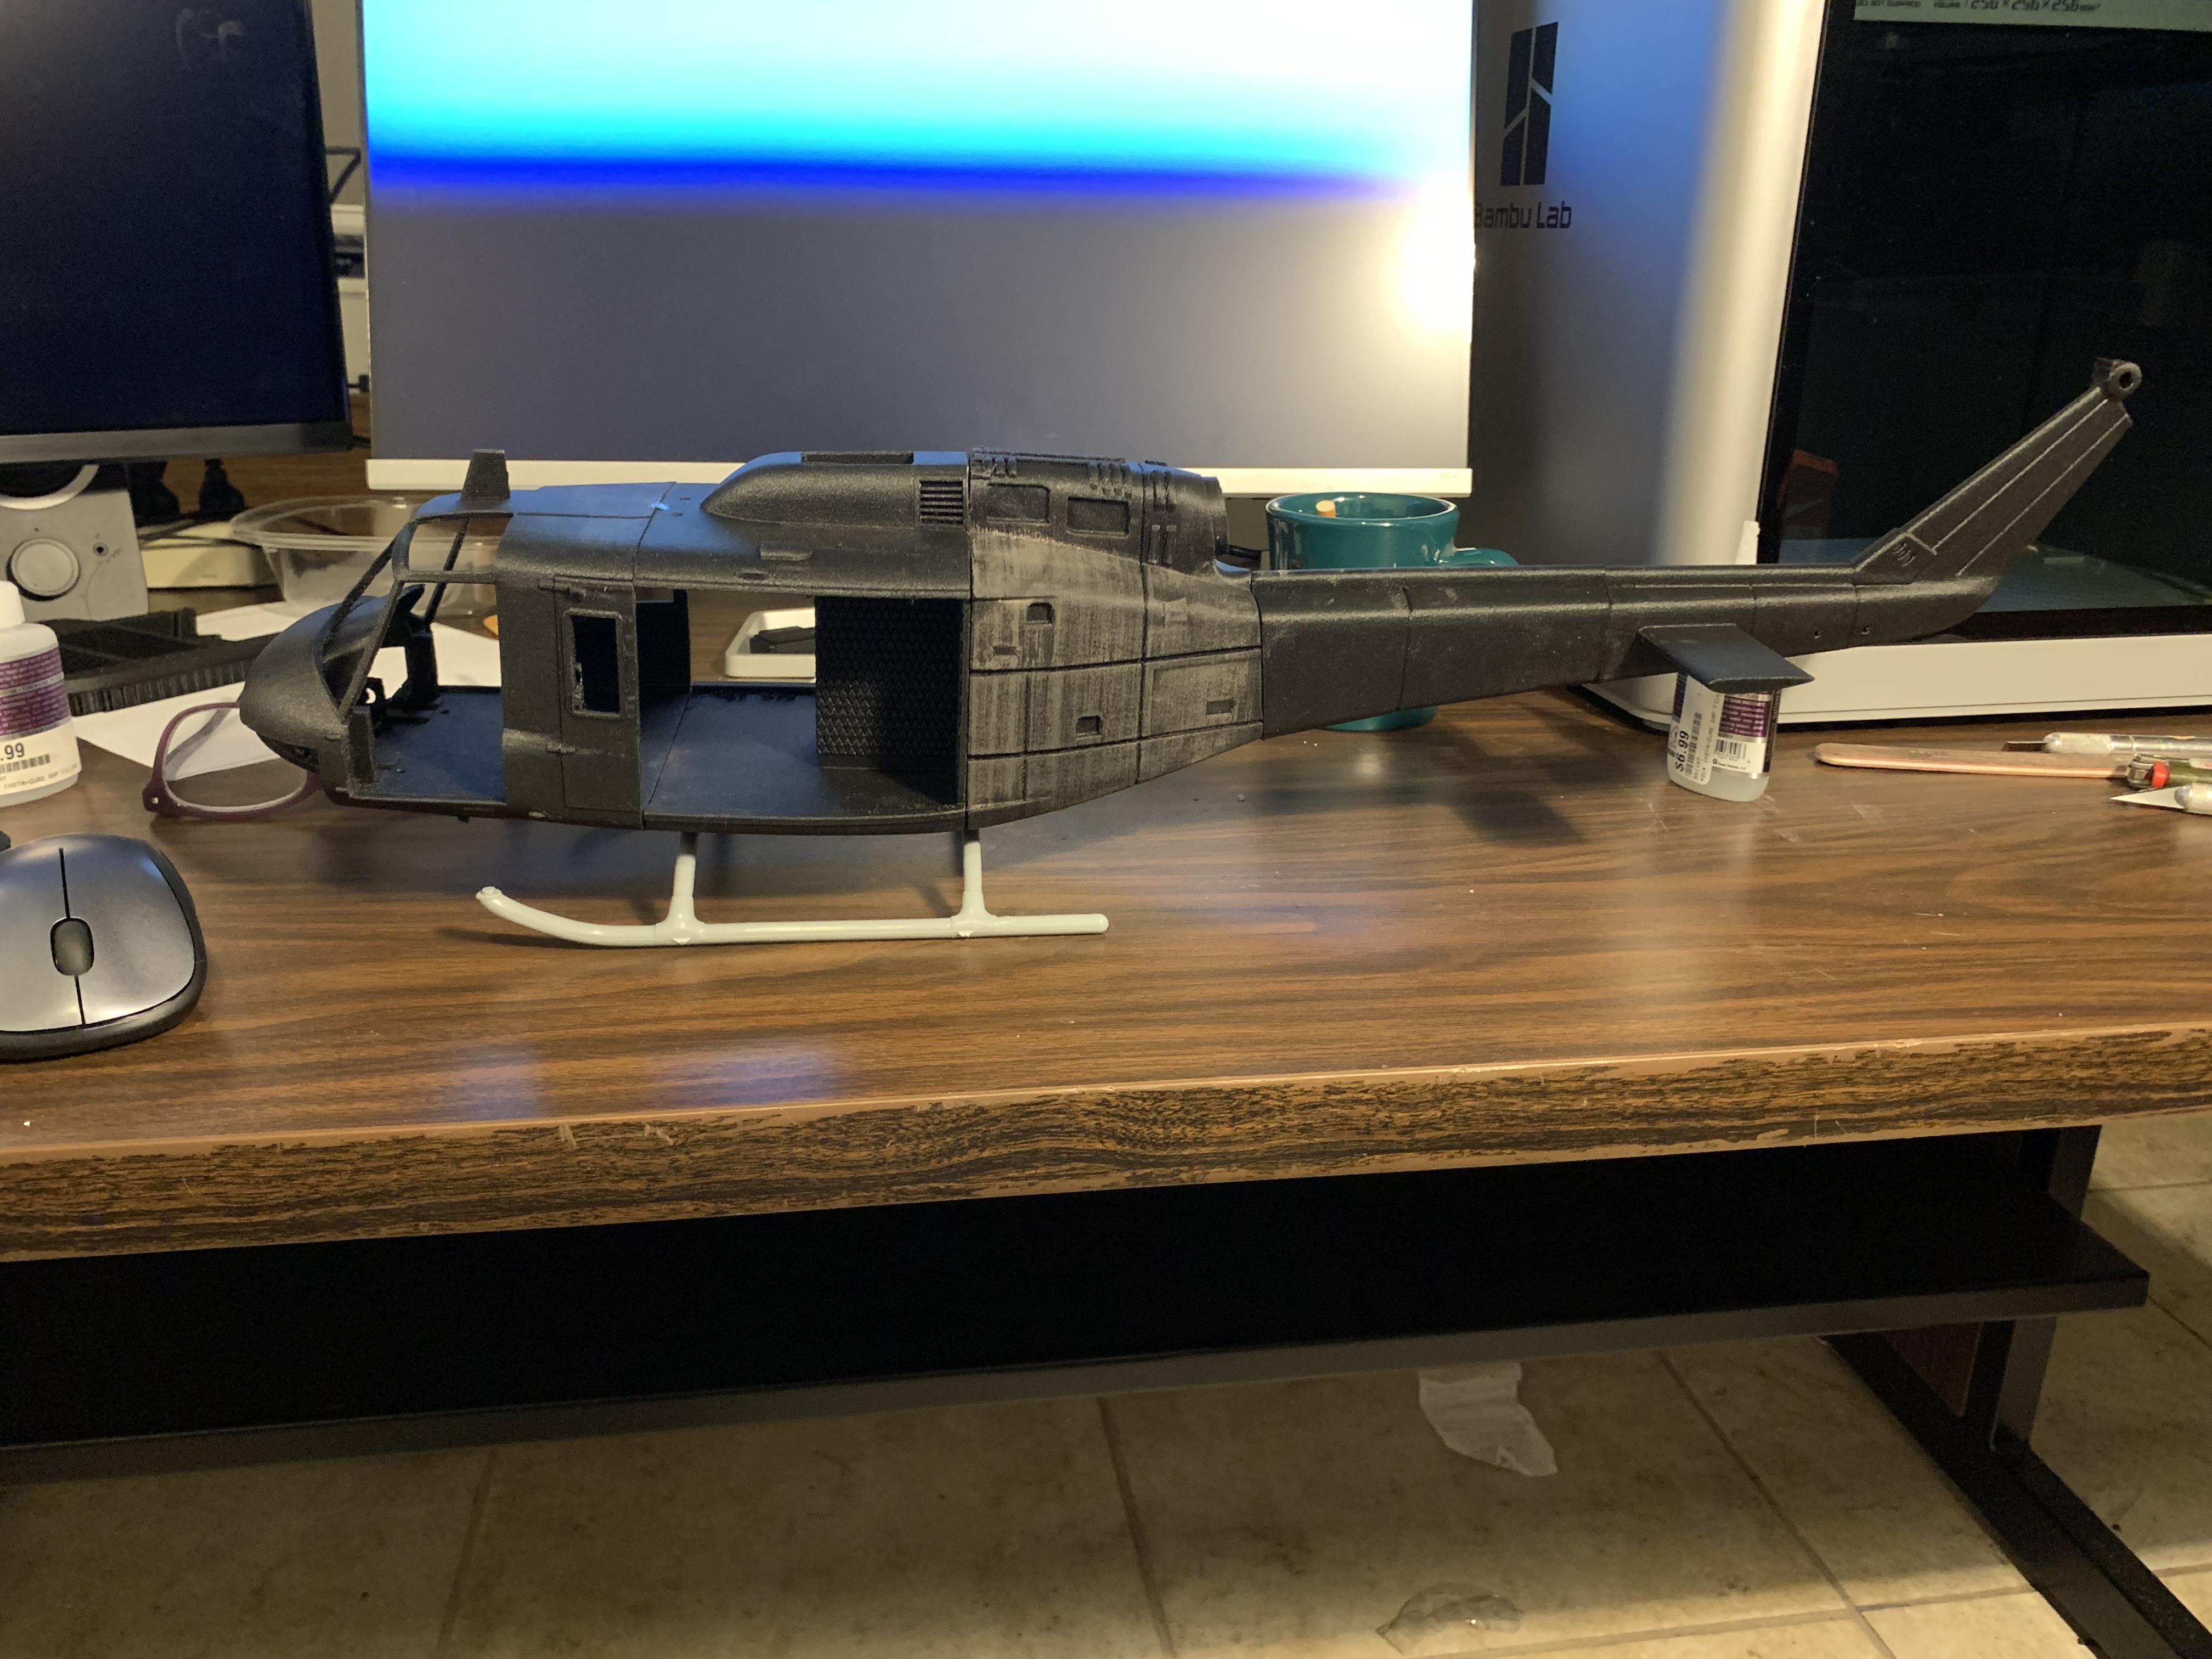
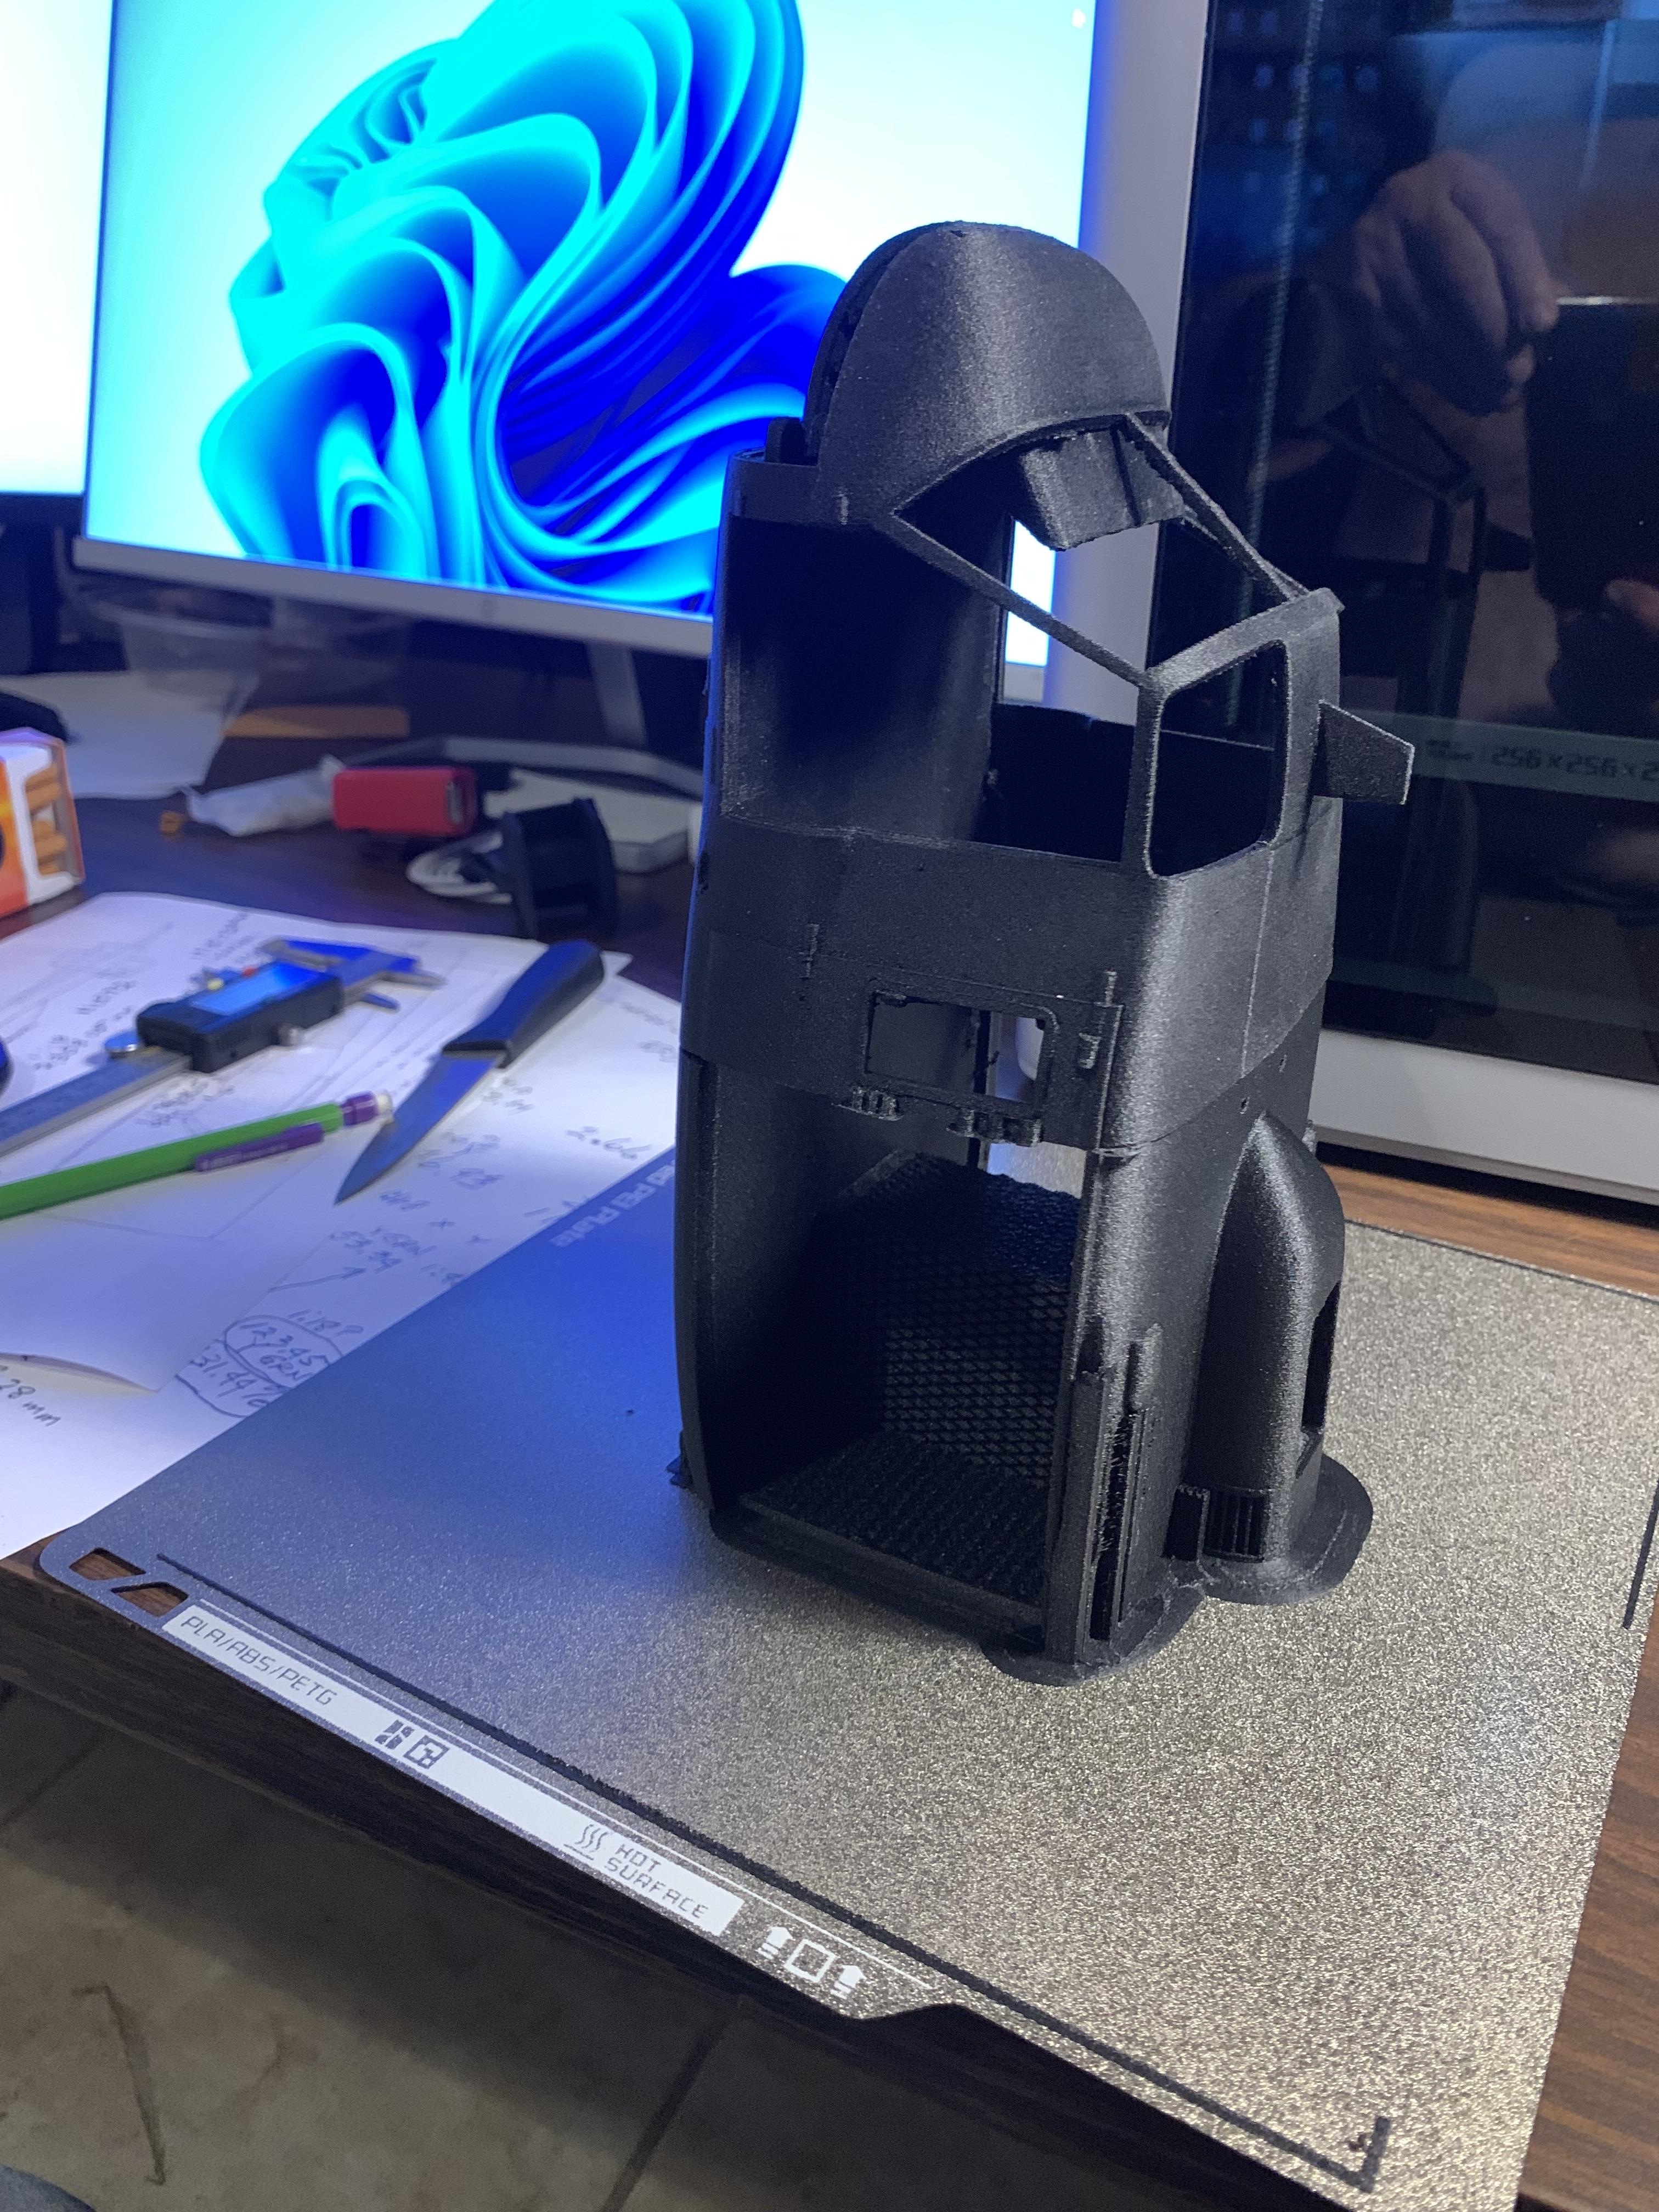
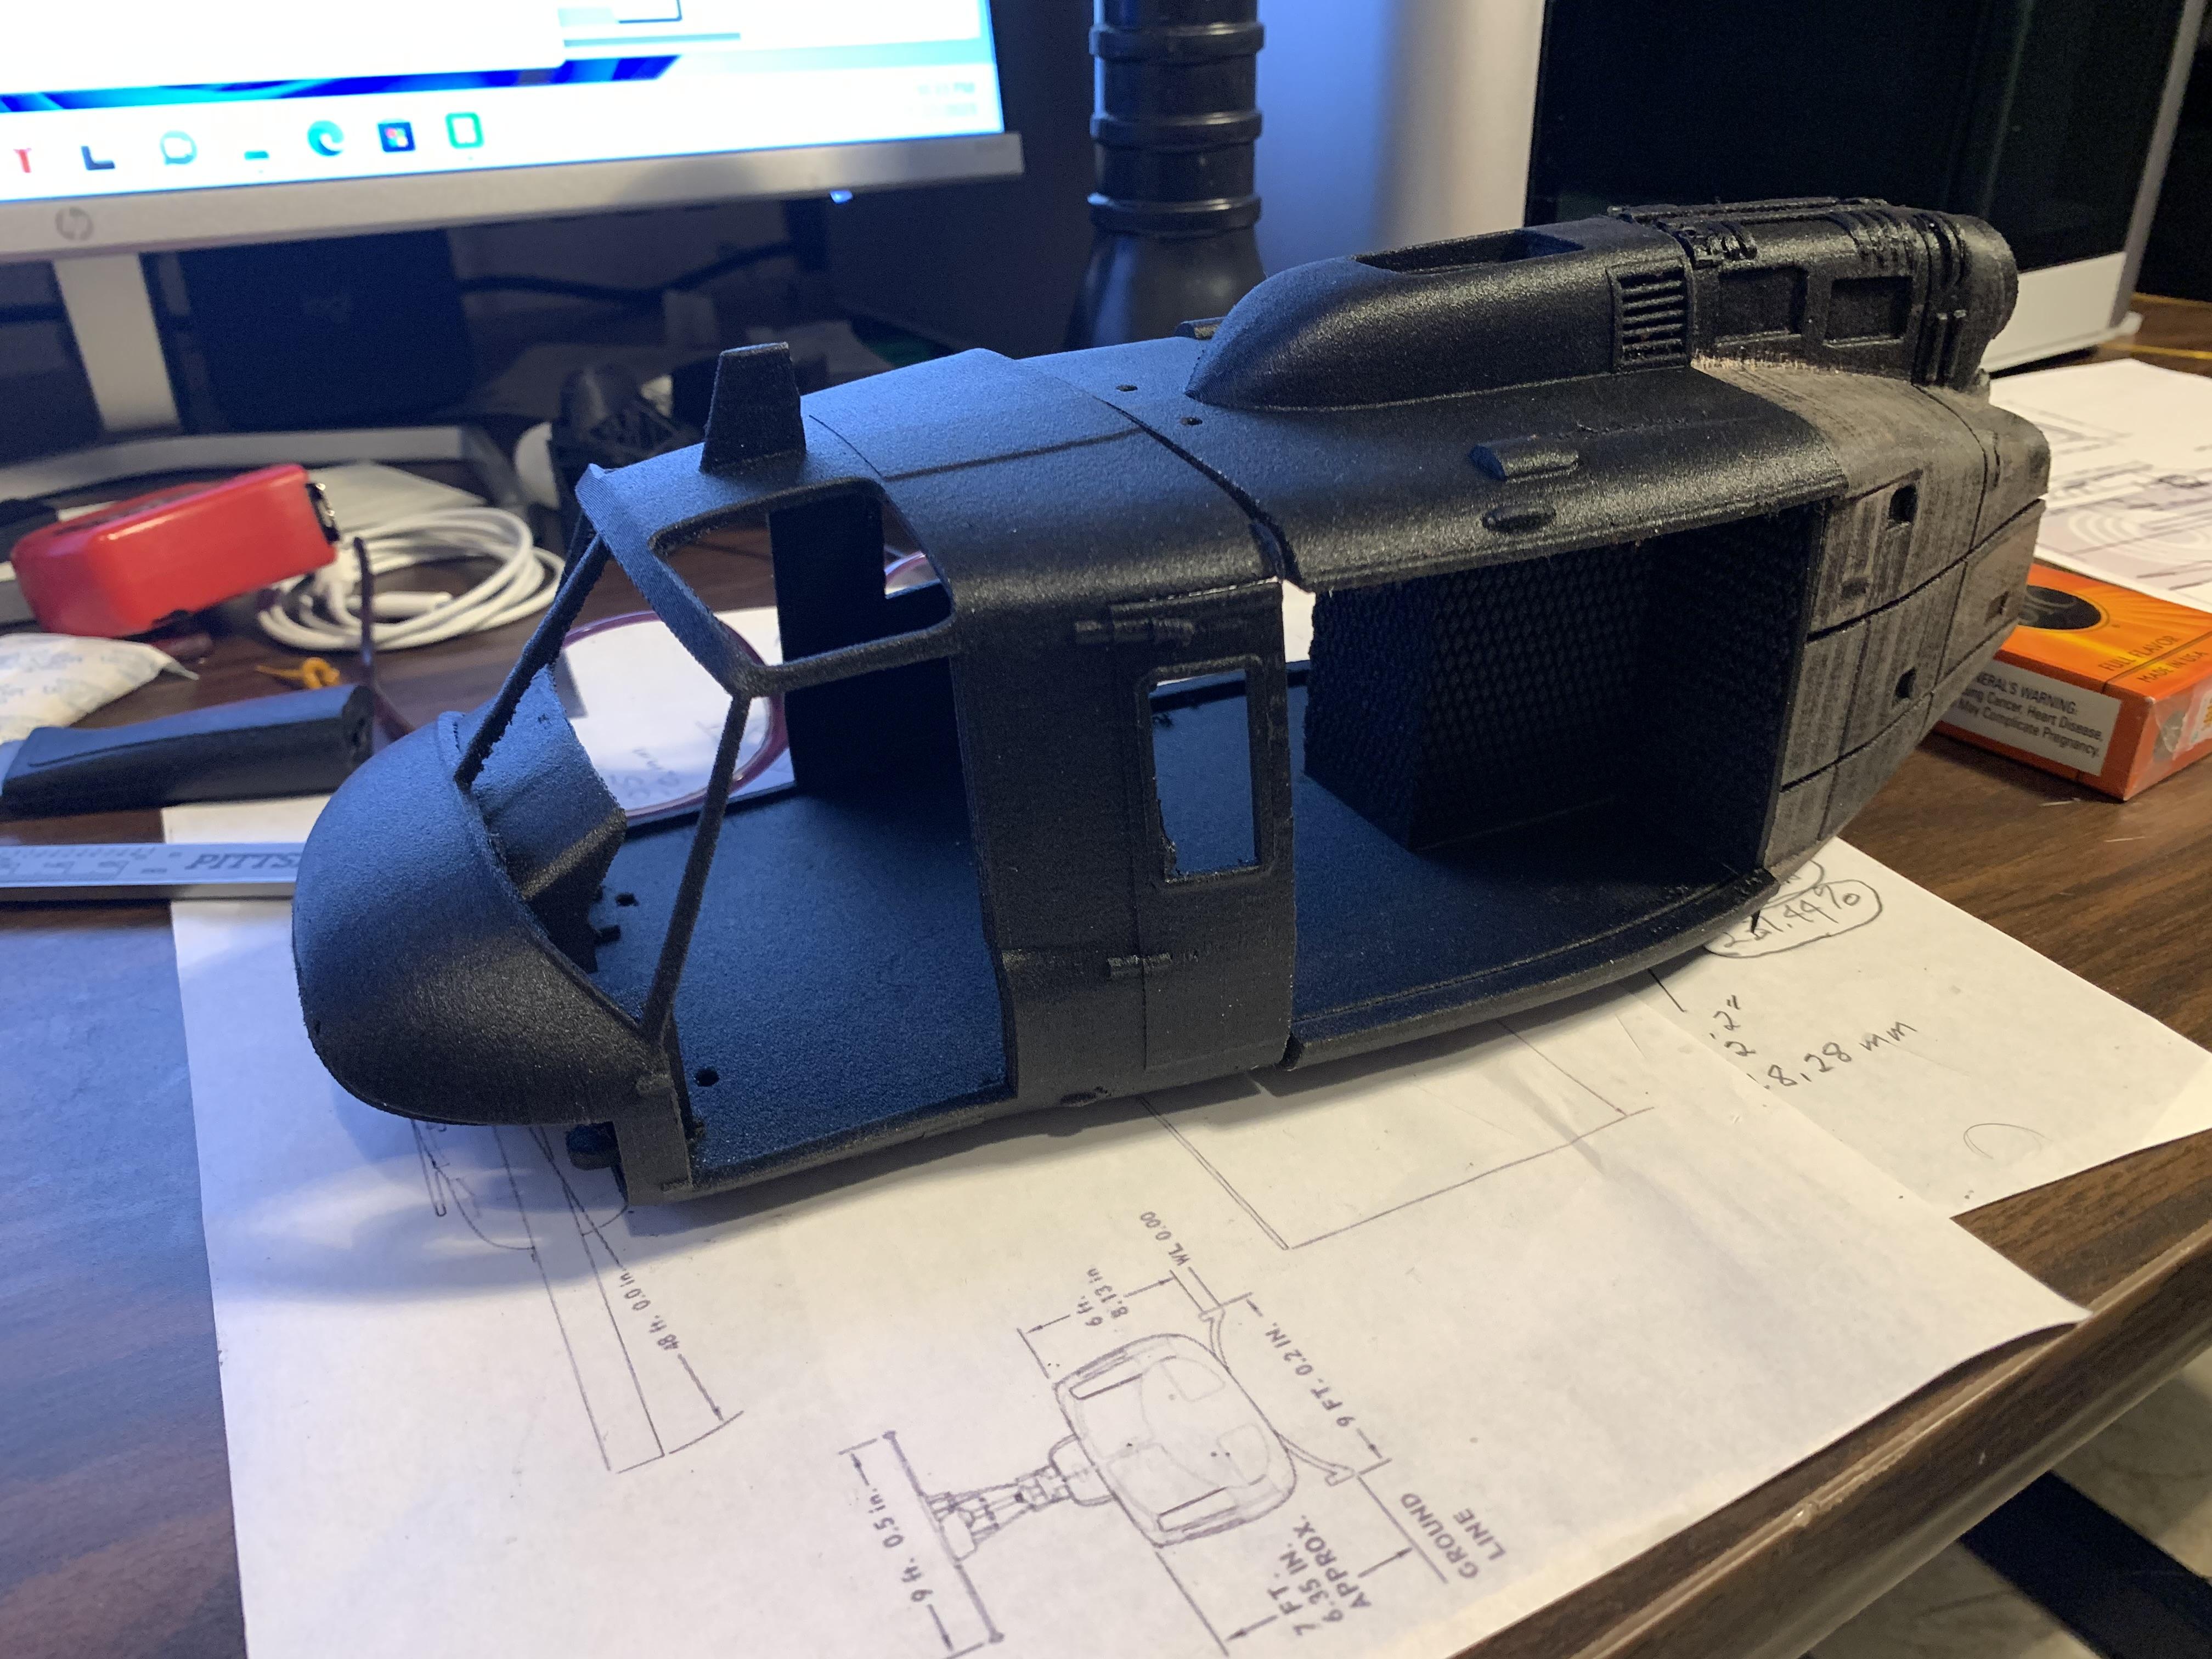
Since I bought this printer, I thought it is about time to build a model of the helicopter that I flew in Nam. This printer is amazing. Using PAHT CF, a nylon and carbon fiber mix, you can't see any lines, almost like a resin print. I bought this model online and re scaled it to 1:18 from 1:48. There is a million parts to print, but it is fun. I can really recommend this printer because it is so easy to print with, litterally, load your file, slice it, push print, unbelievable. I am printing two parts at the same time right now, Bob.
Someone contacted me to buy some of my Superliner cars and I didn't want to sell. Not long after, he emailed me and told me about a builder in Belgium, and he bought some, they are beautiful cars, and here is the link: AKLA Trains Bob
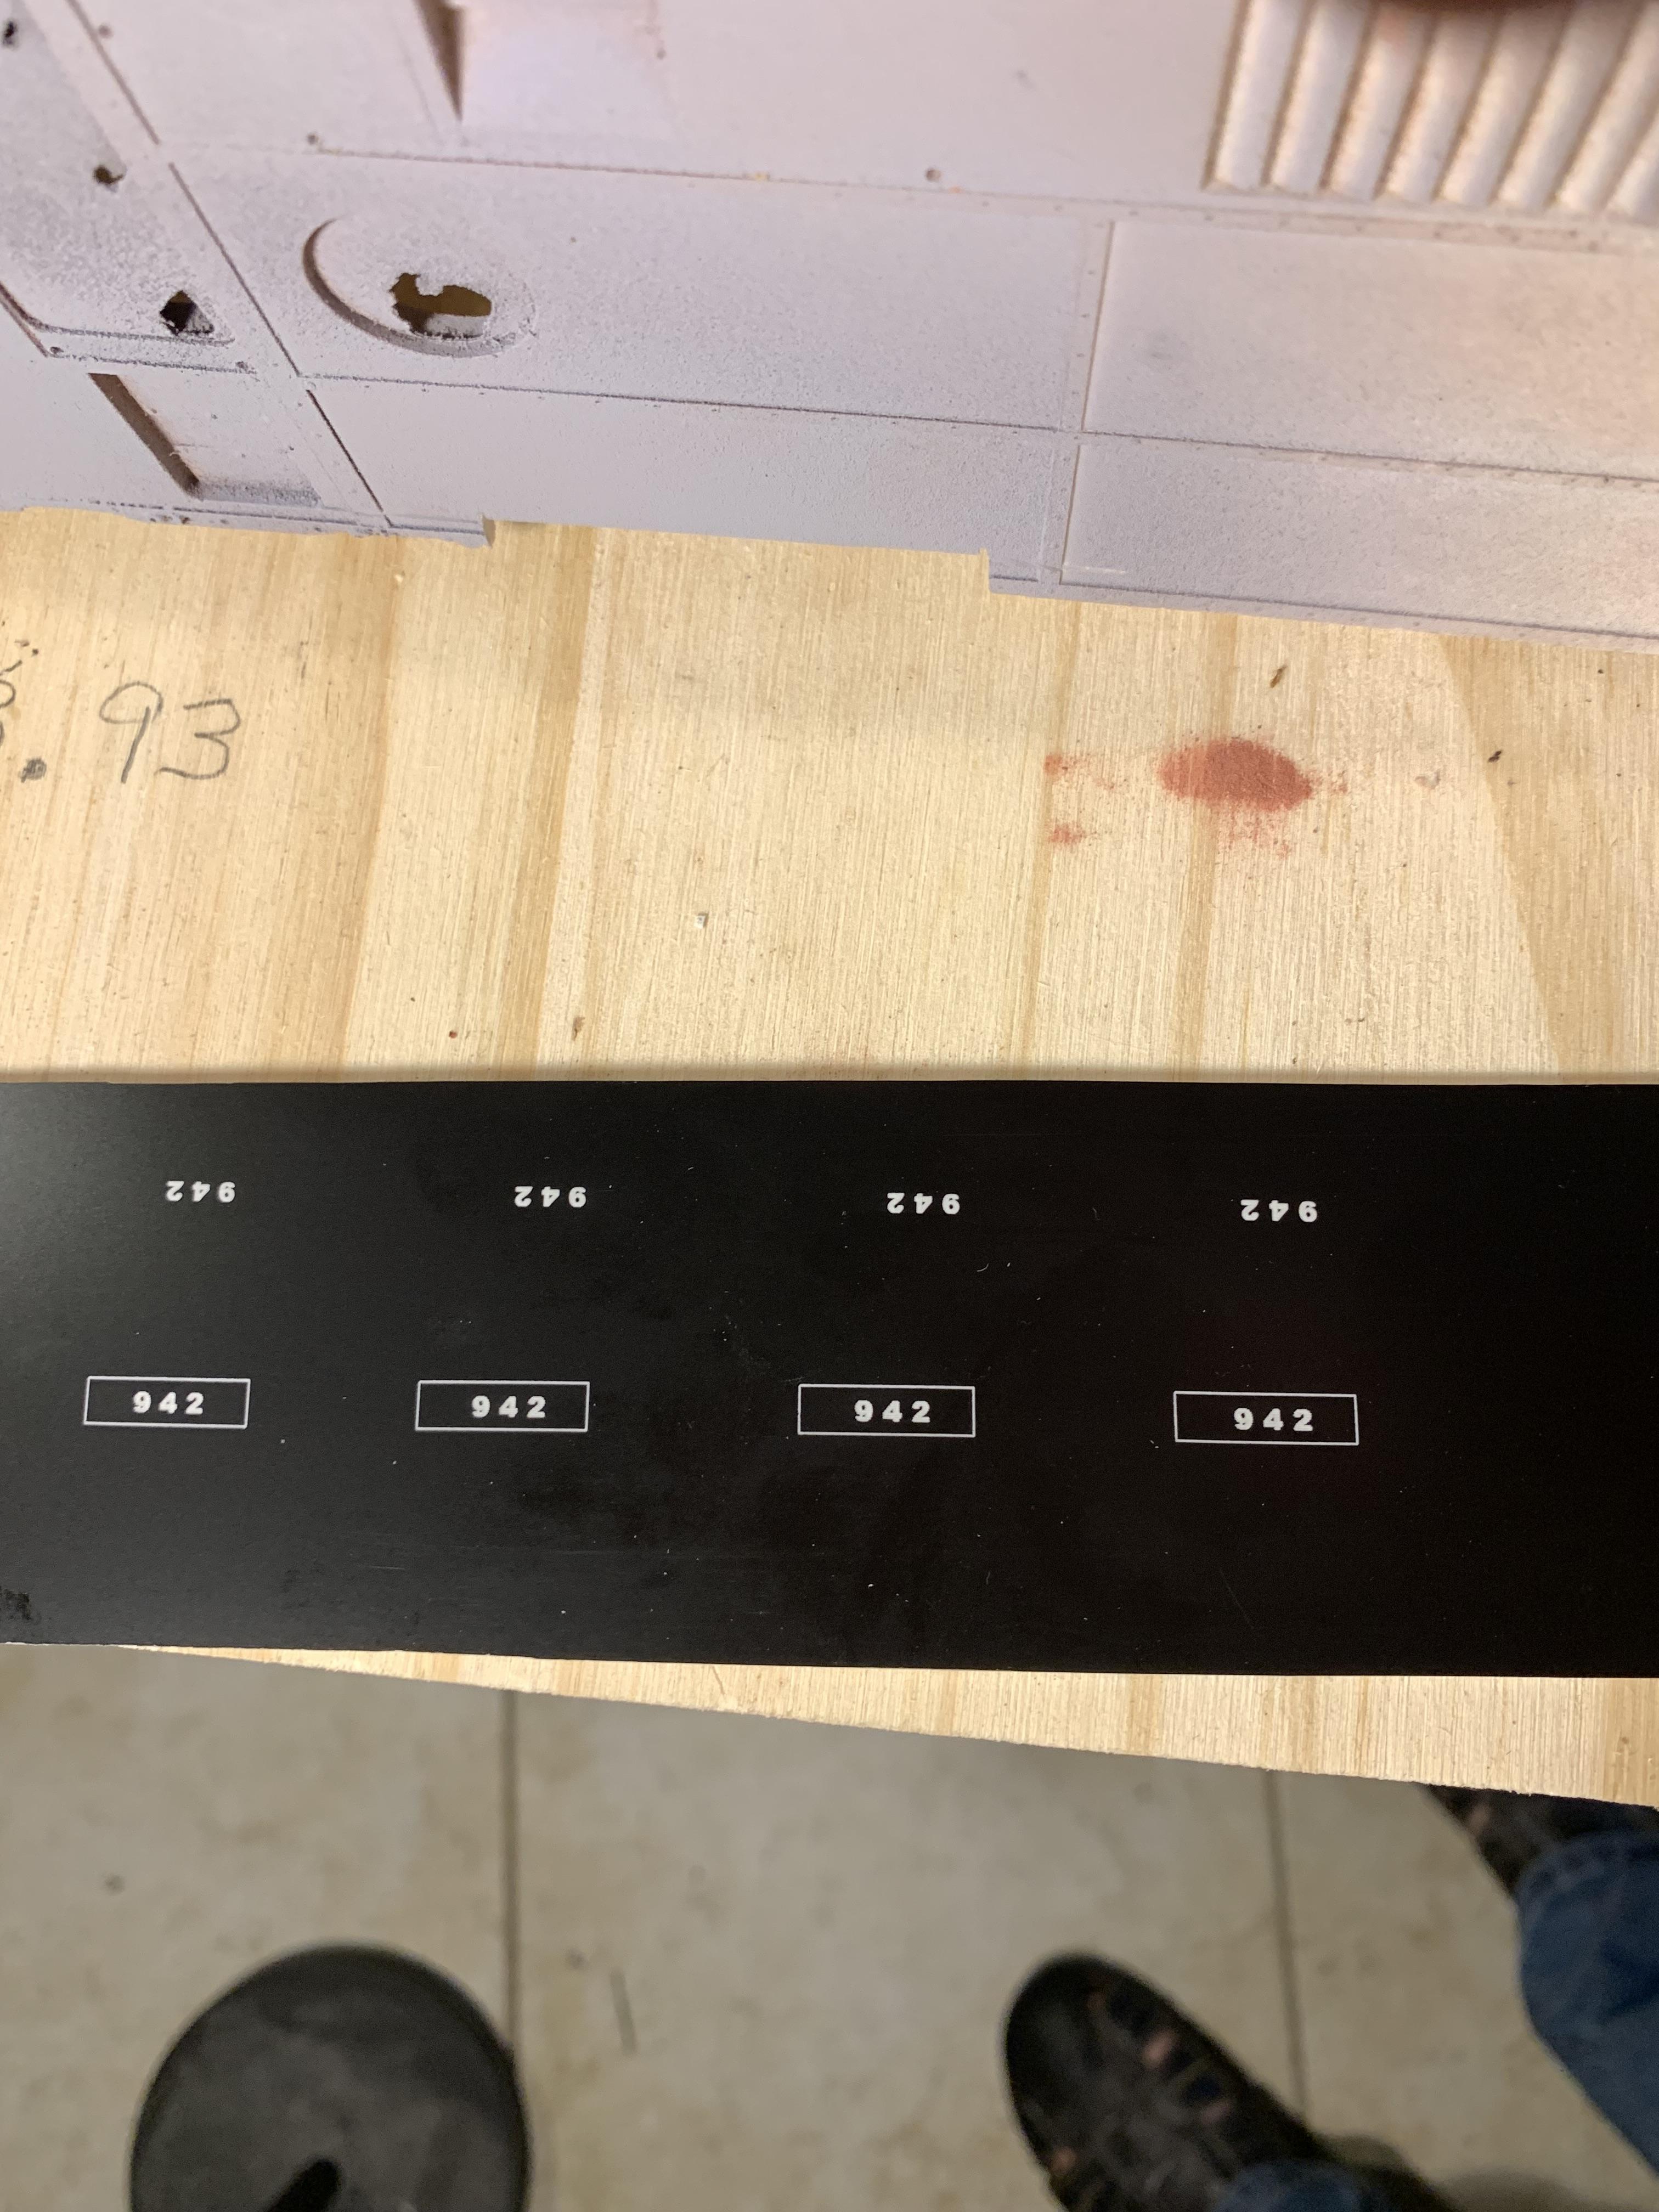
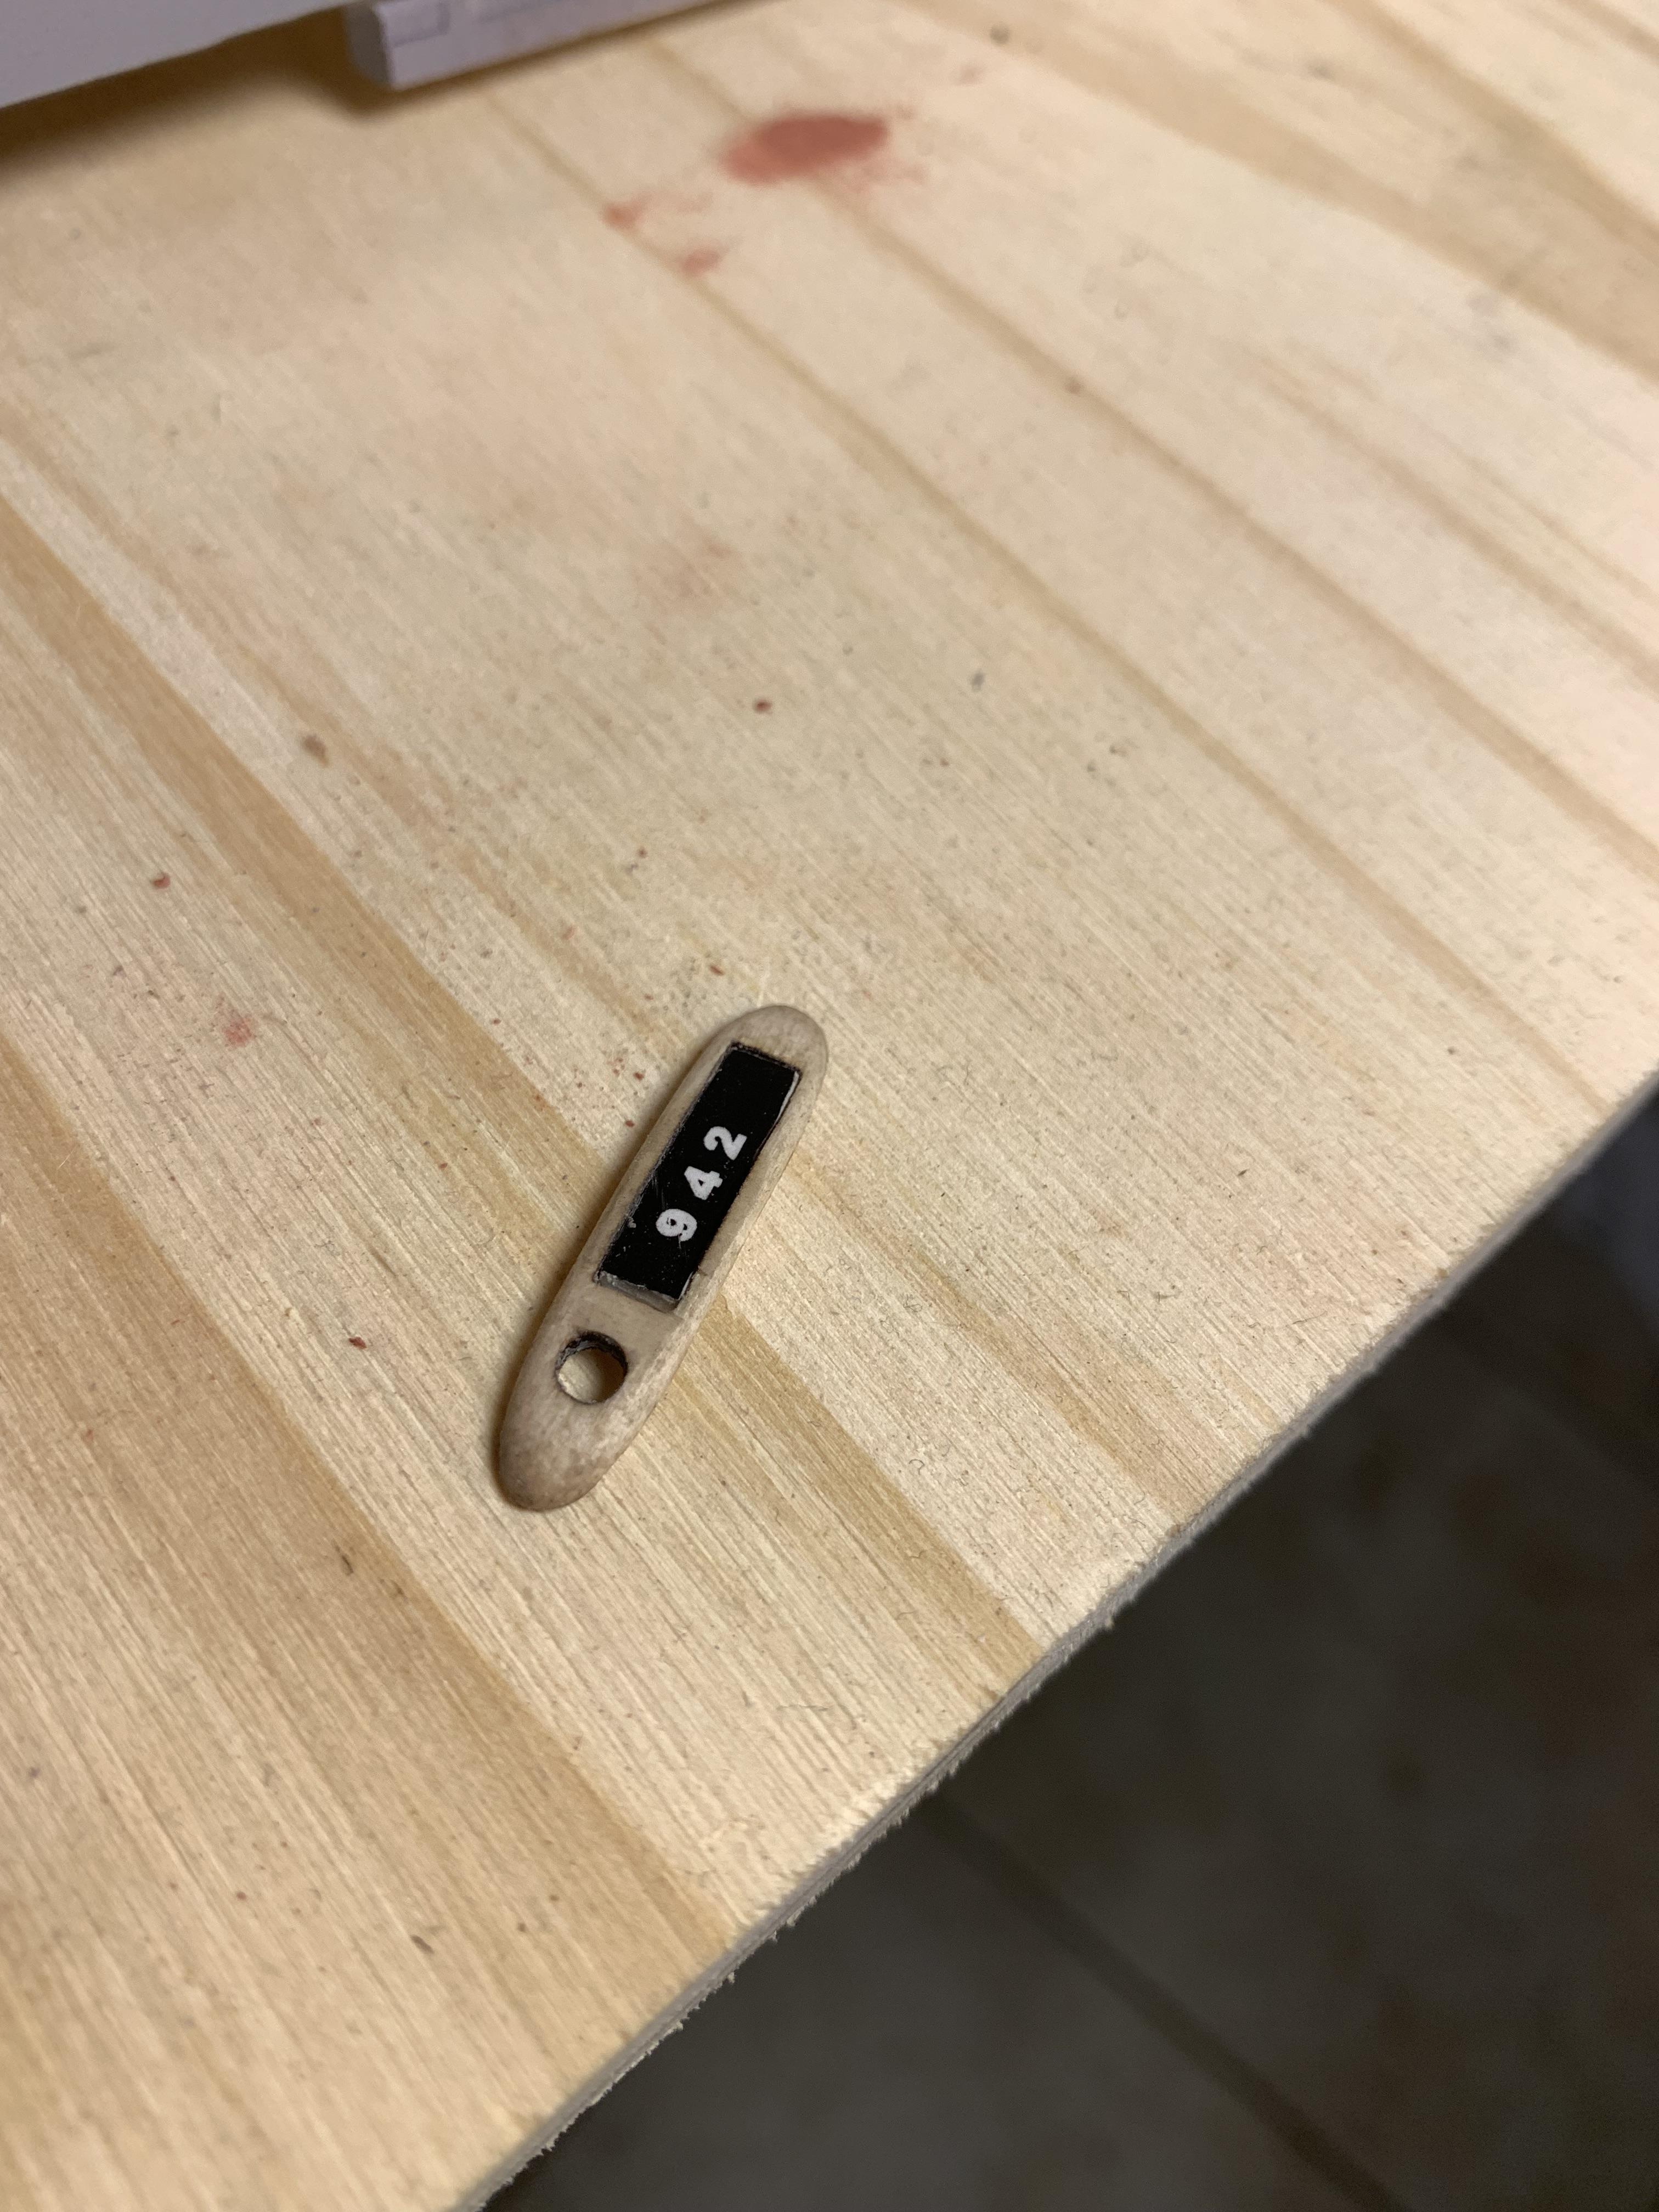
In case anyone is interested in this engraving procedure, the plastic is Trotec Trolase black/white 2 ply 1/16th" sheets from Amazon. The laser used is an Xtool D1 pro, settings were speed, 400mm/min., and power is 10%. I found that due to my inexperience in cutting, it messes up the edges because of the higher power needed, it is better for me to cut it with a Dremmel grinder, that is the reason for the outside lines. Also, an added bonus is that an led light behind the numbers will shine through the white and light them up. Bob.
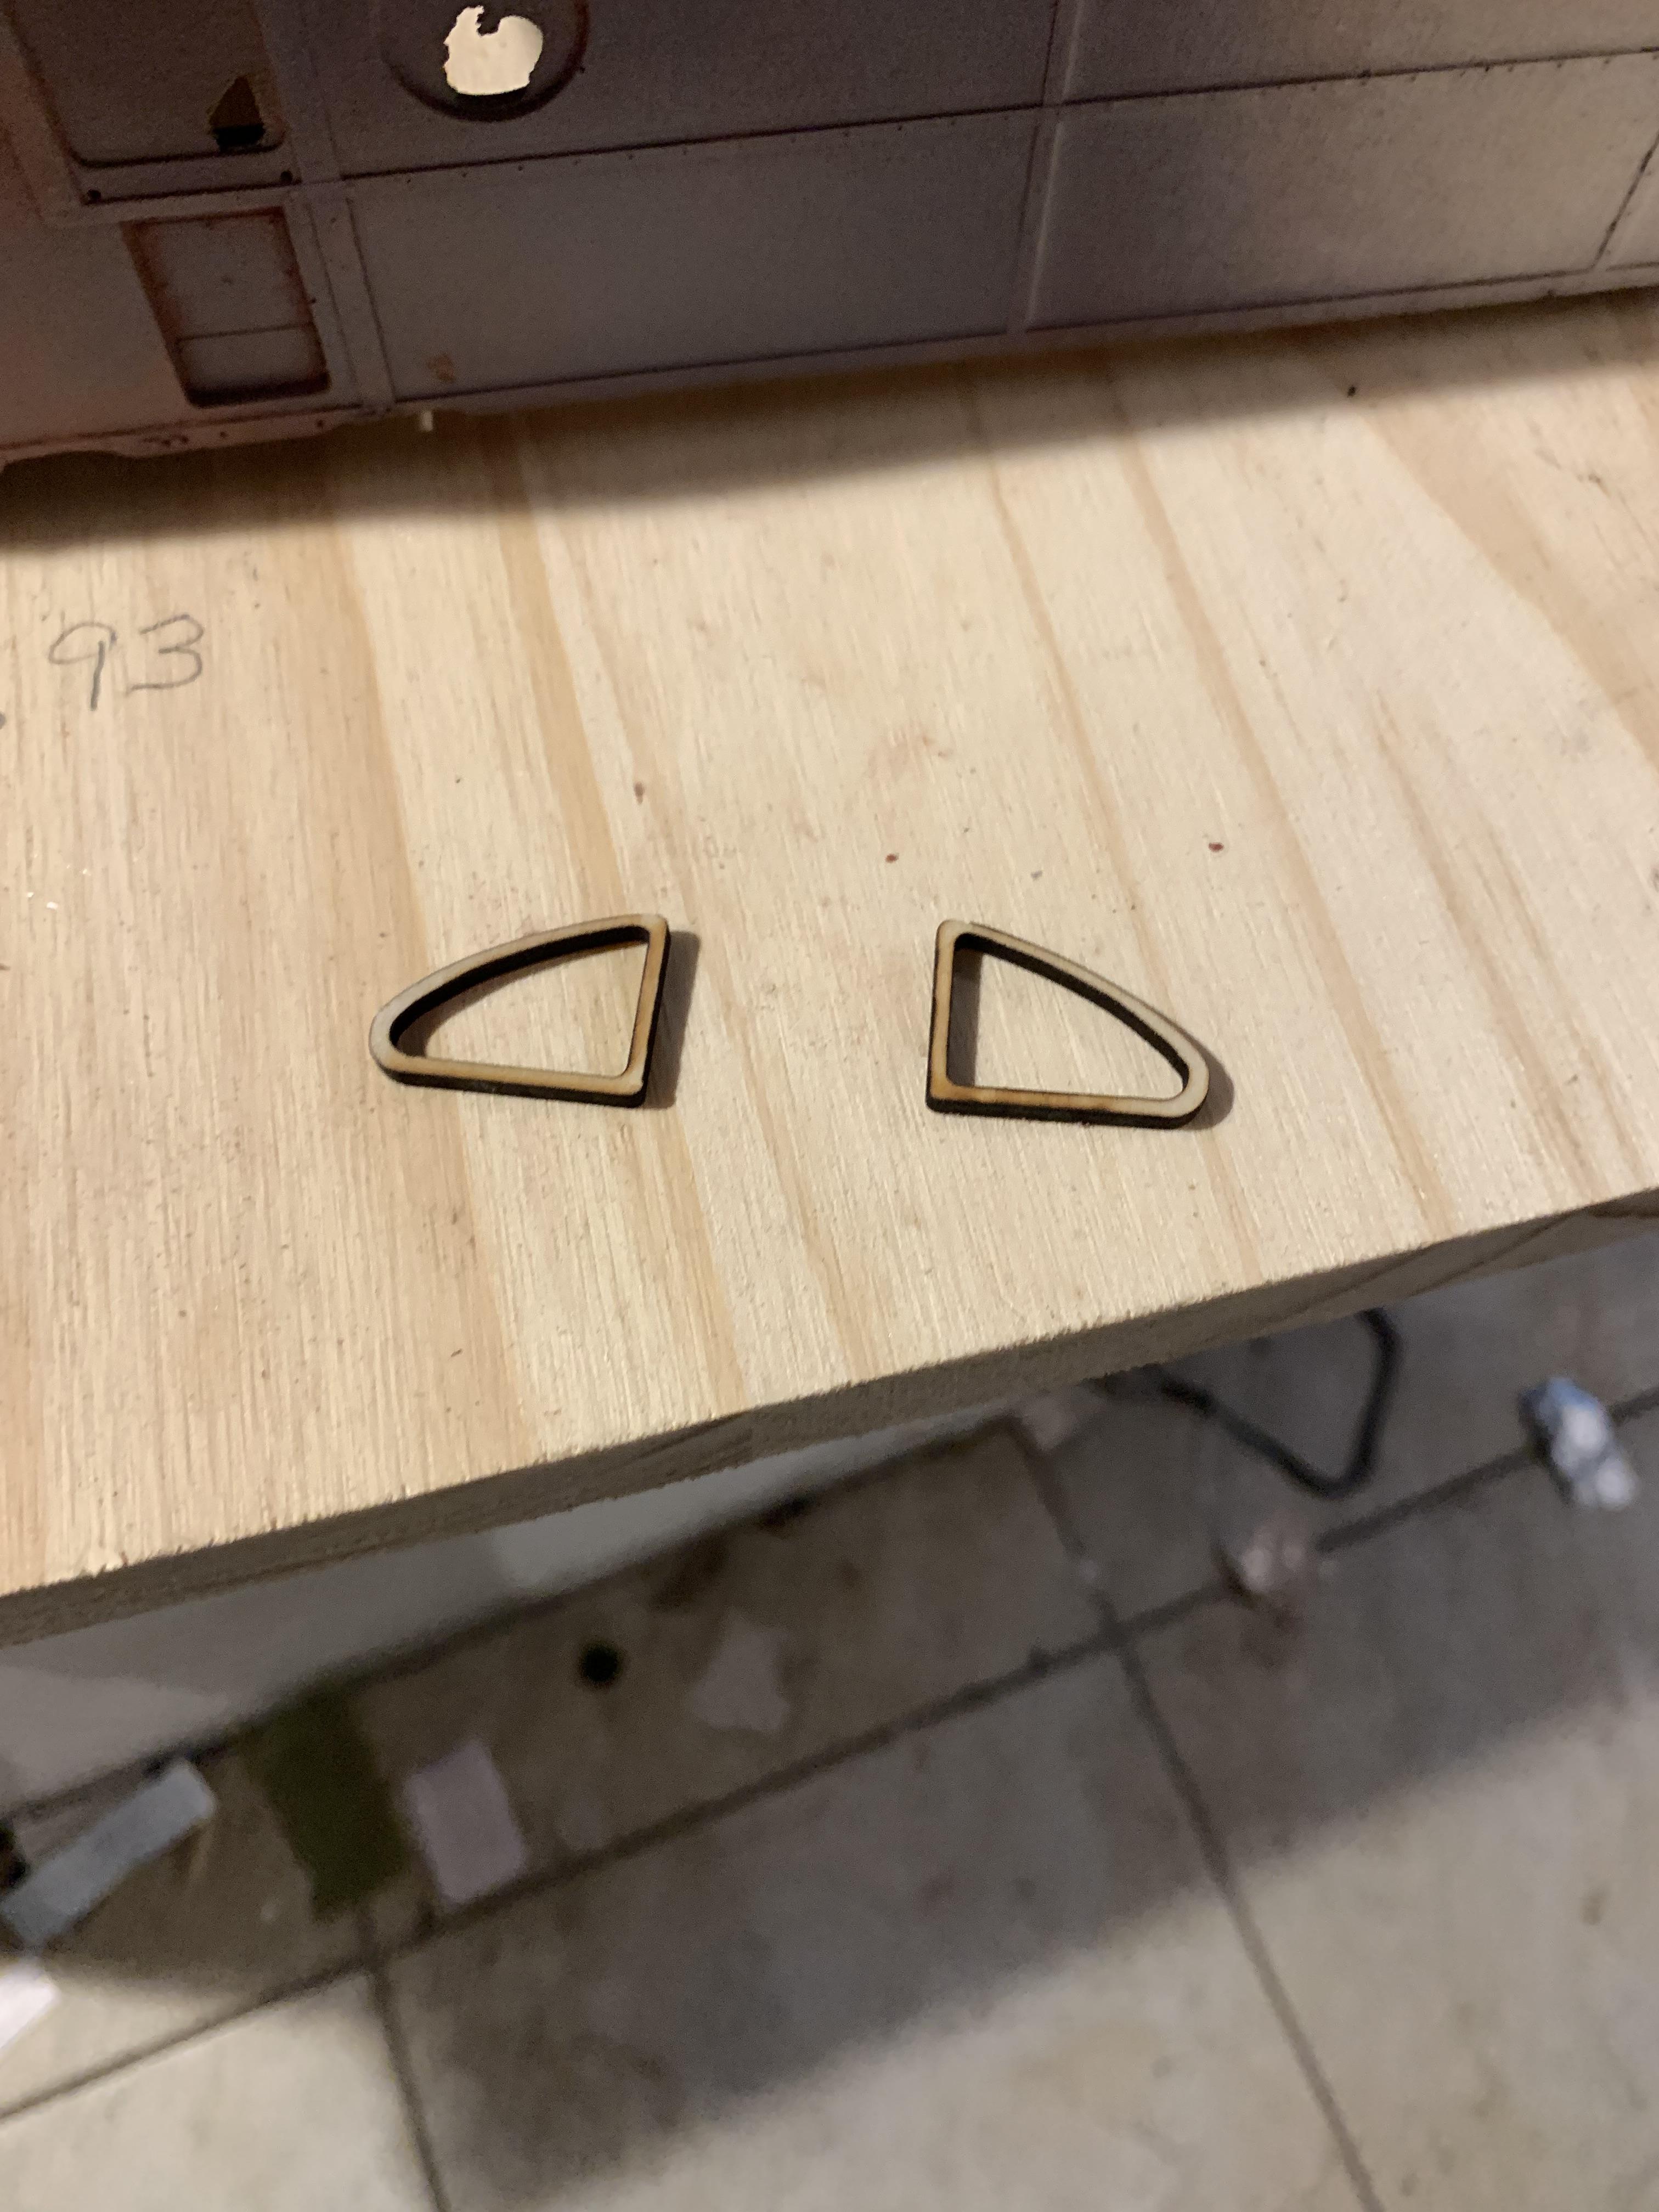
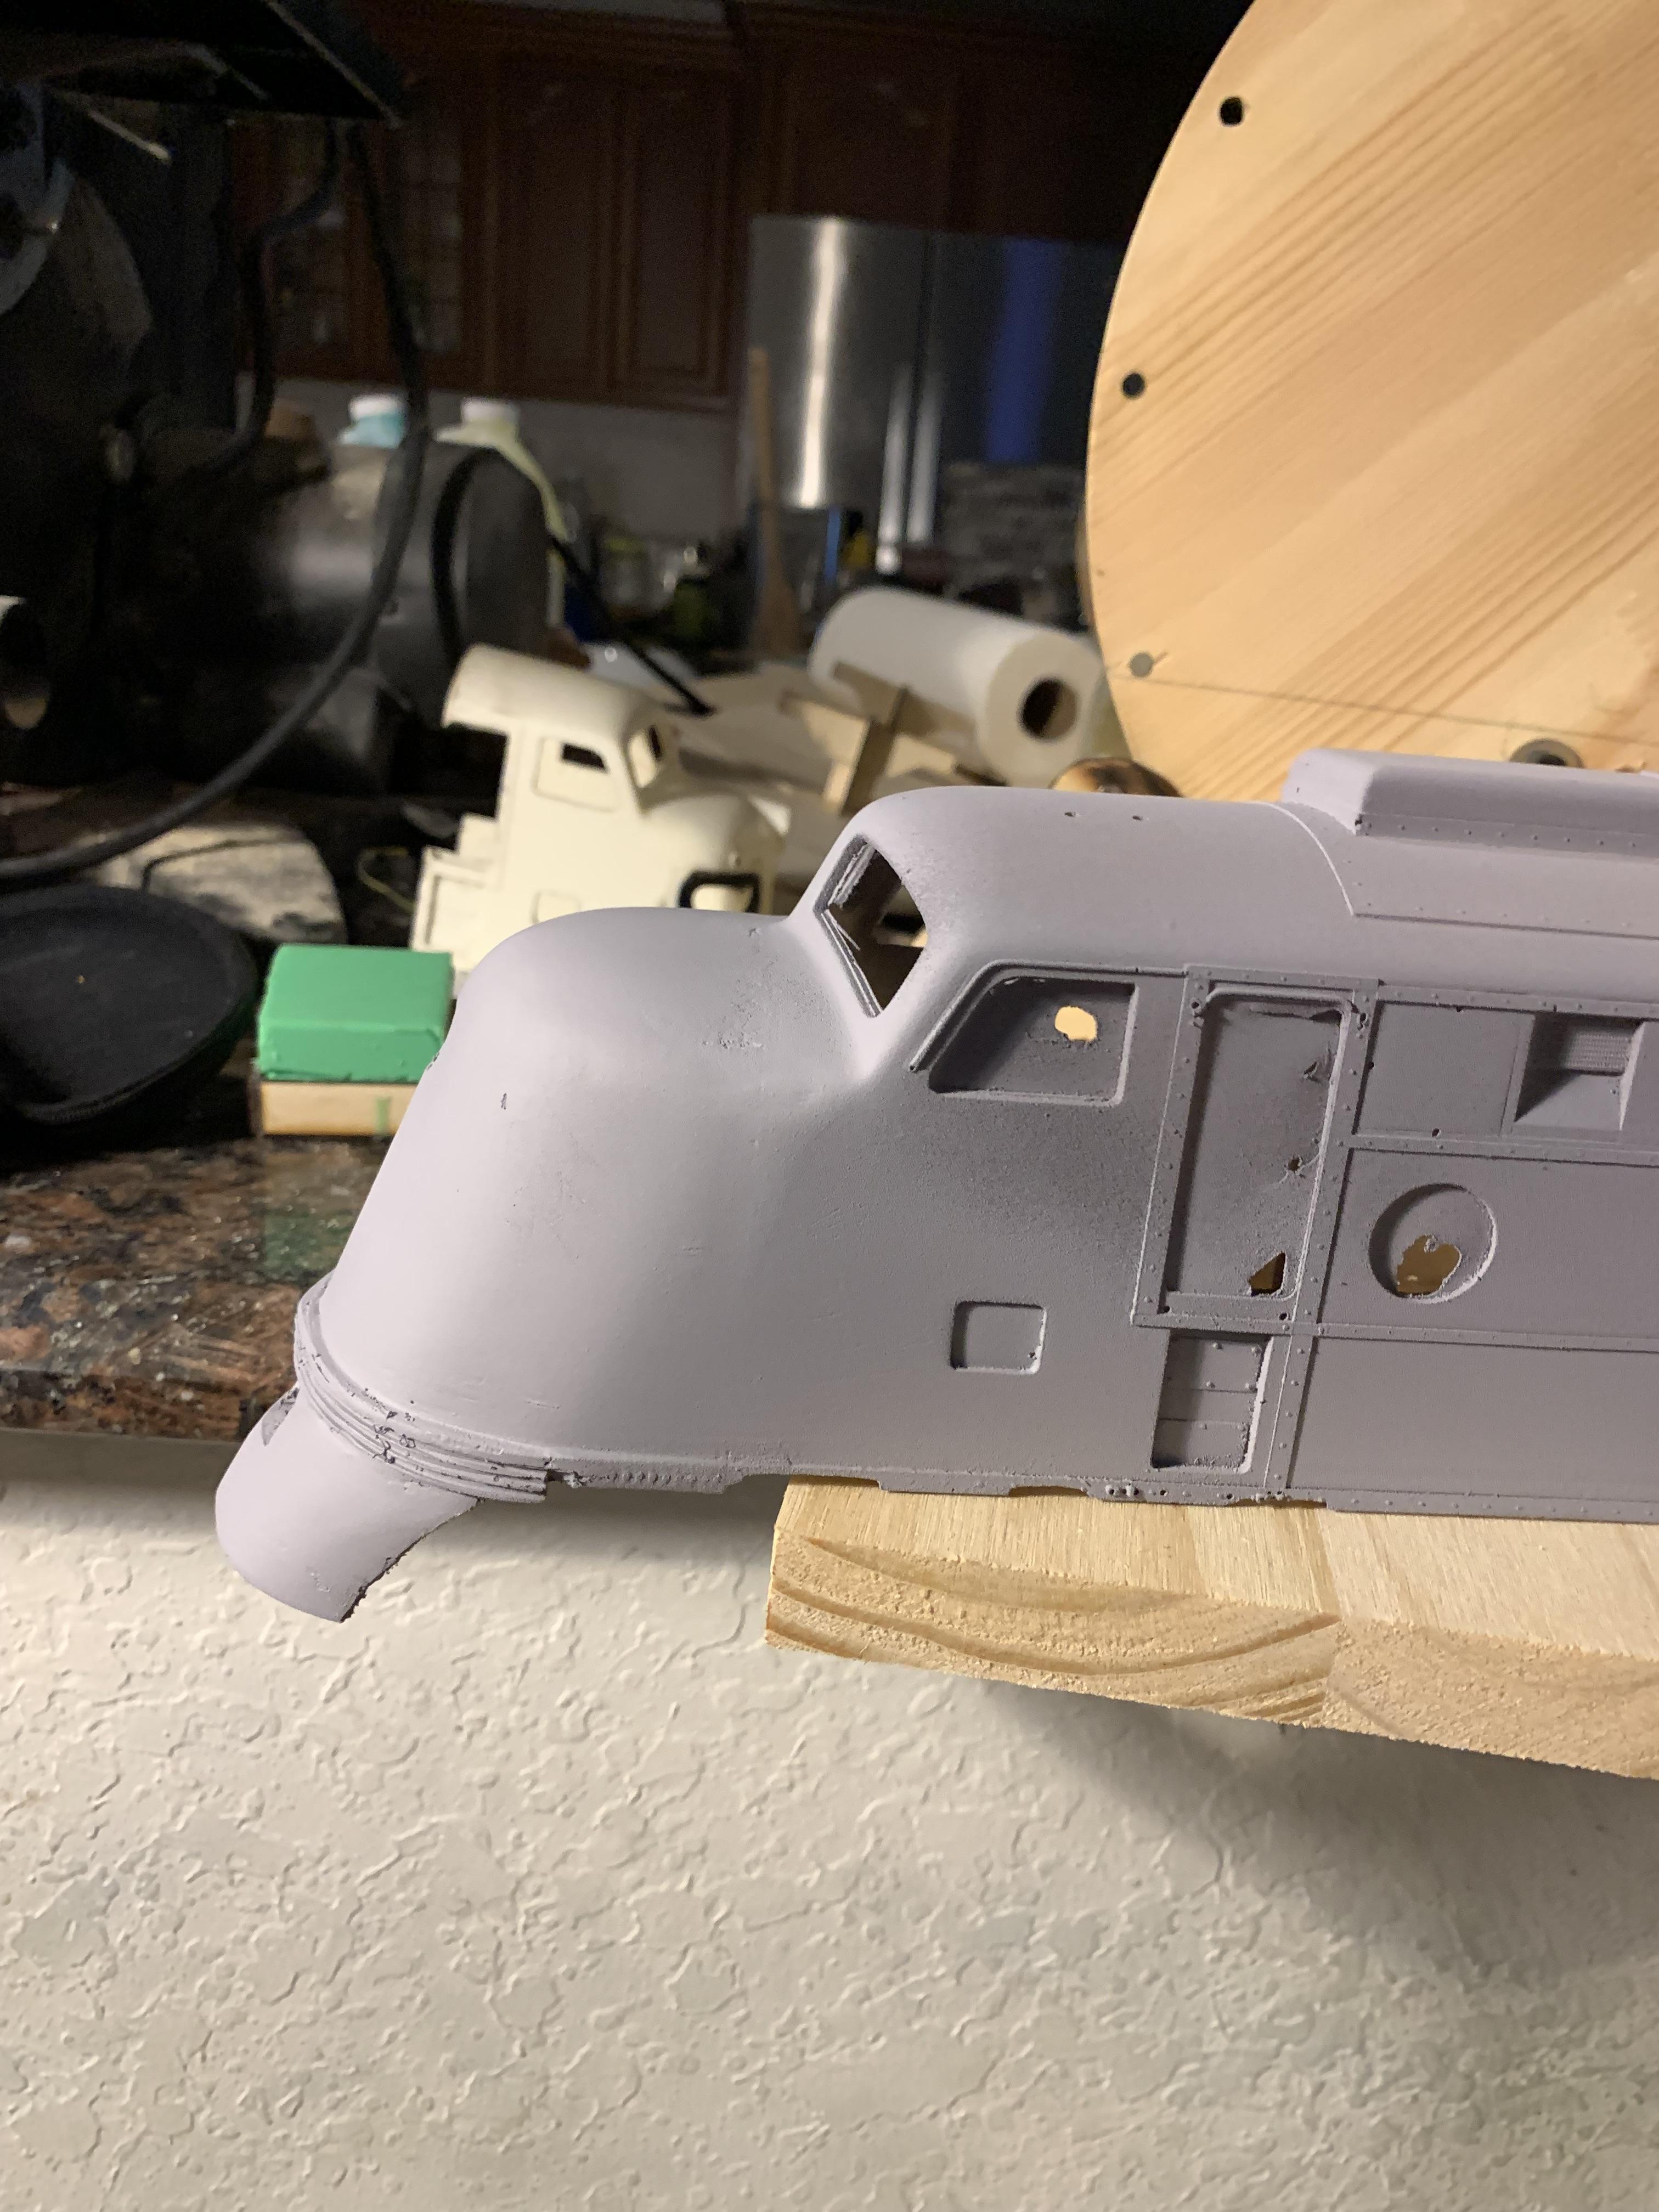
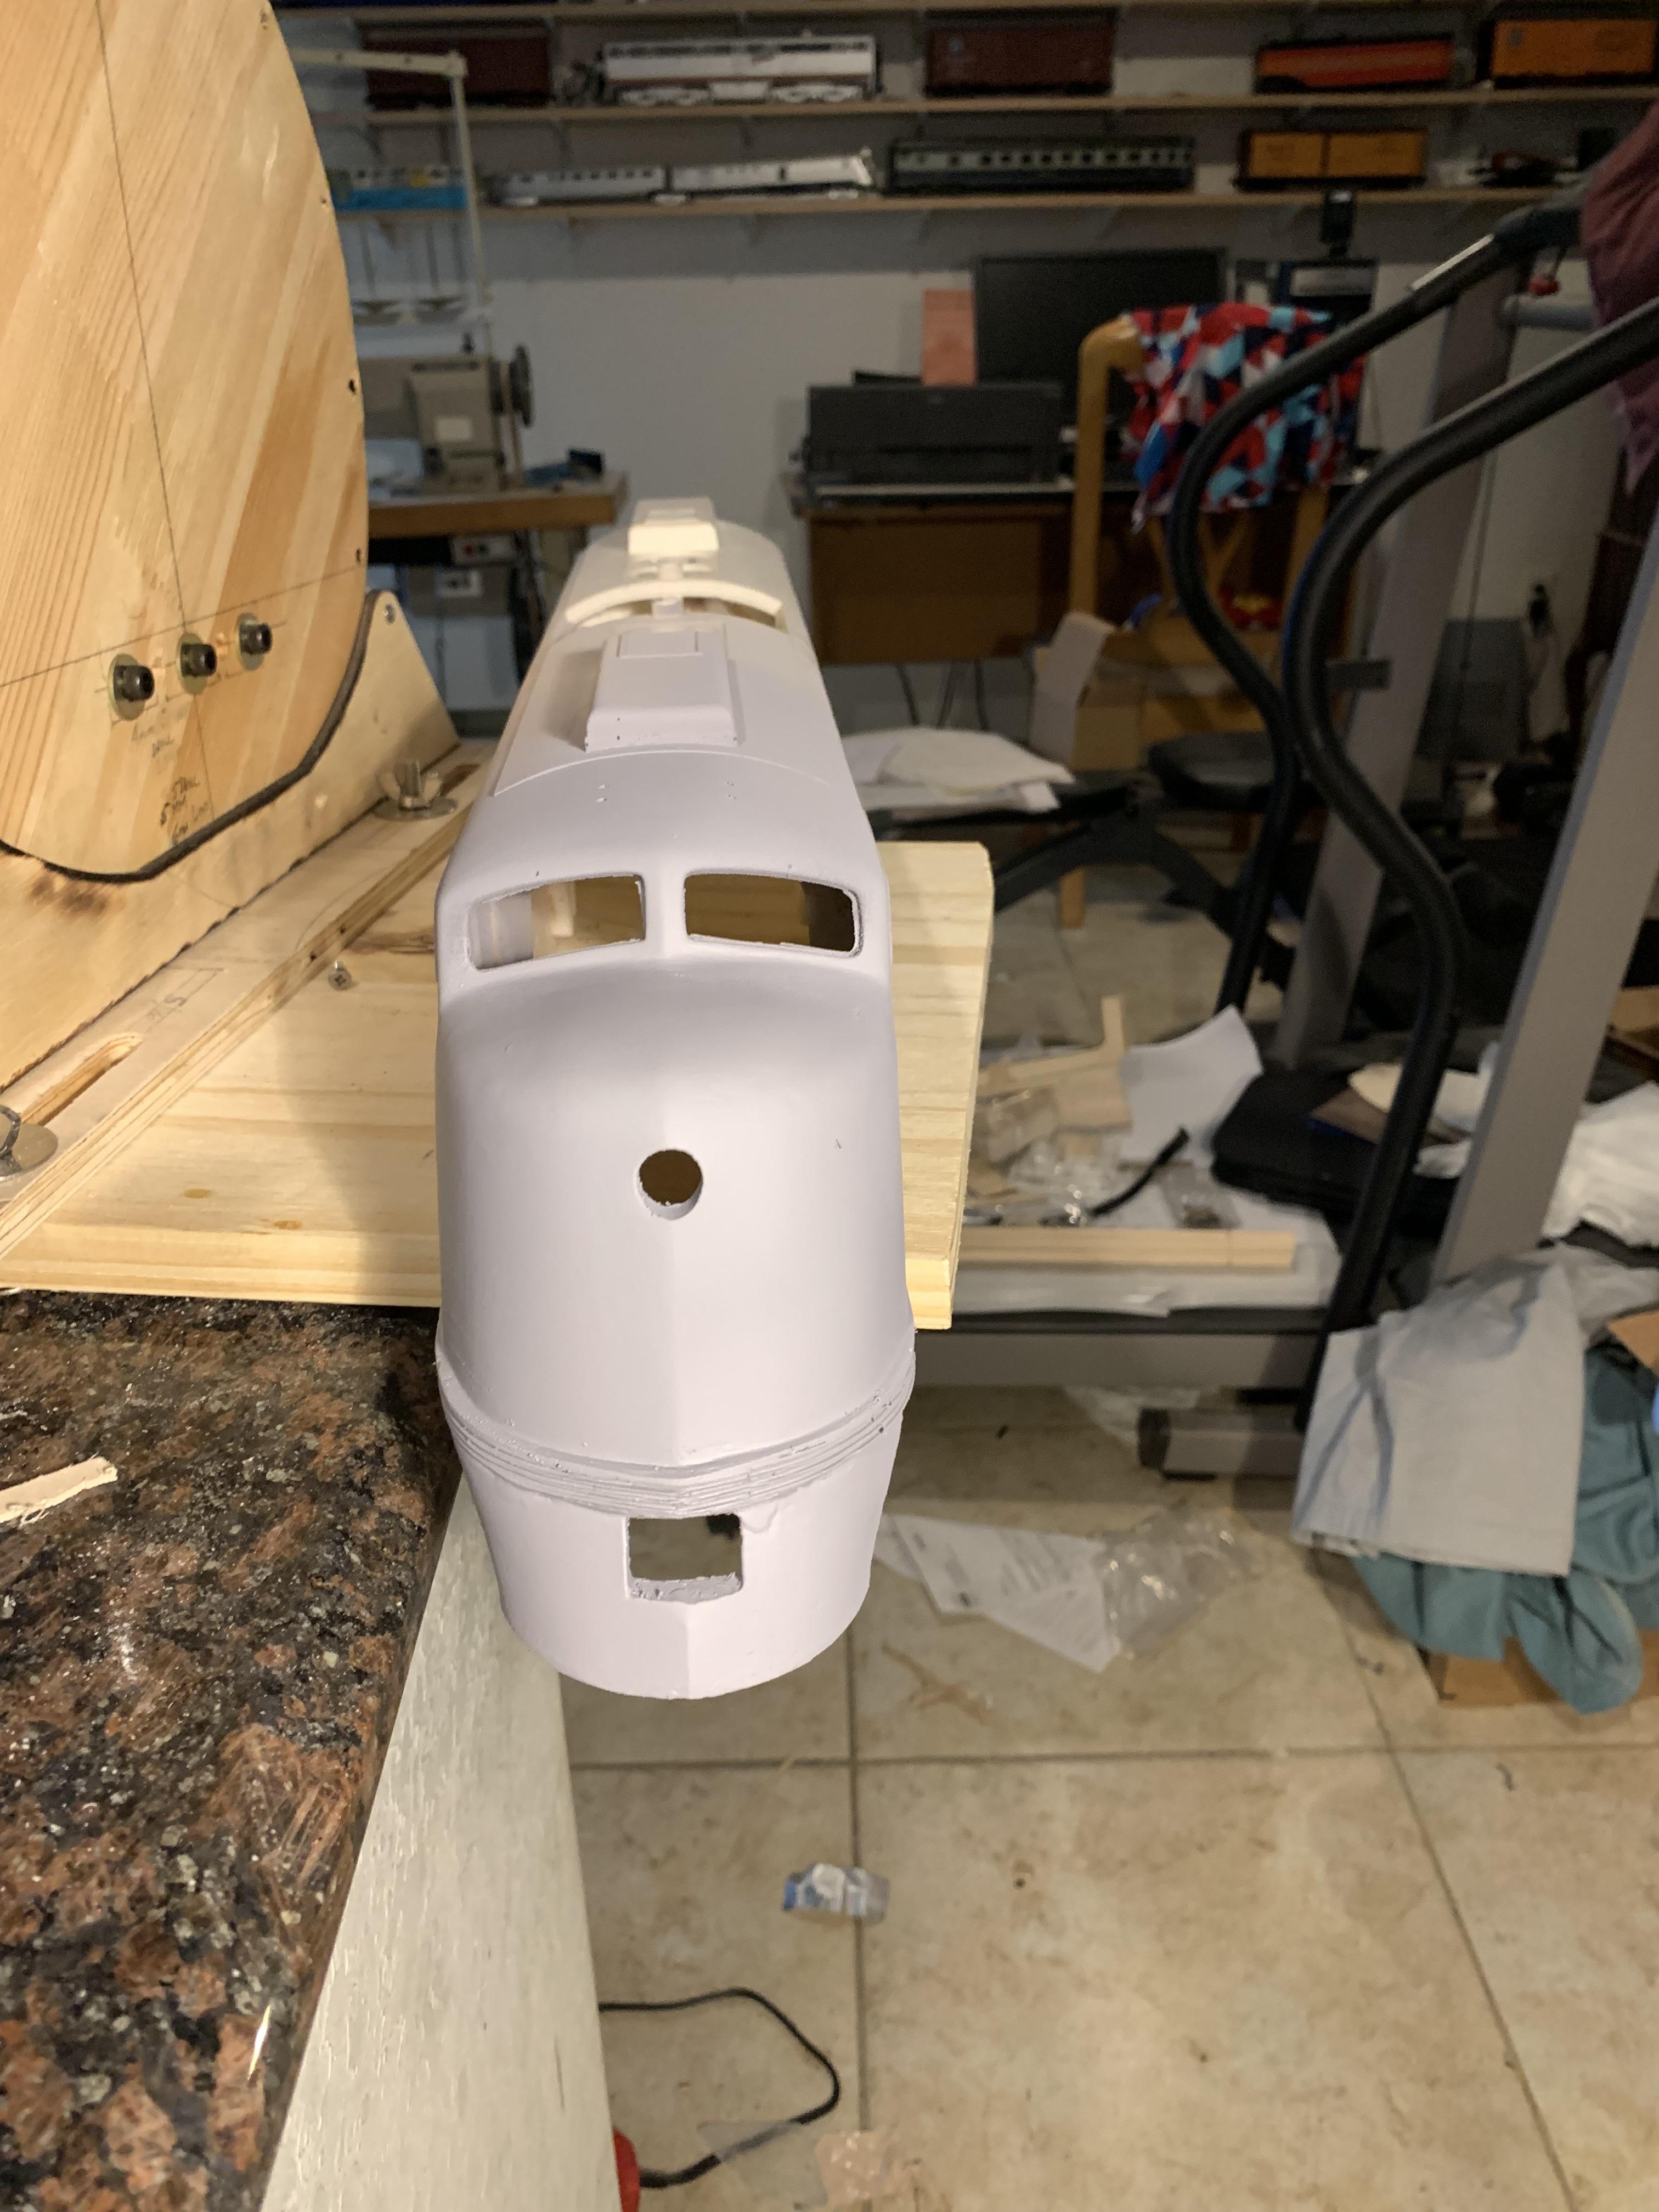
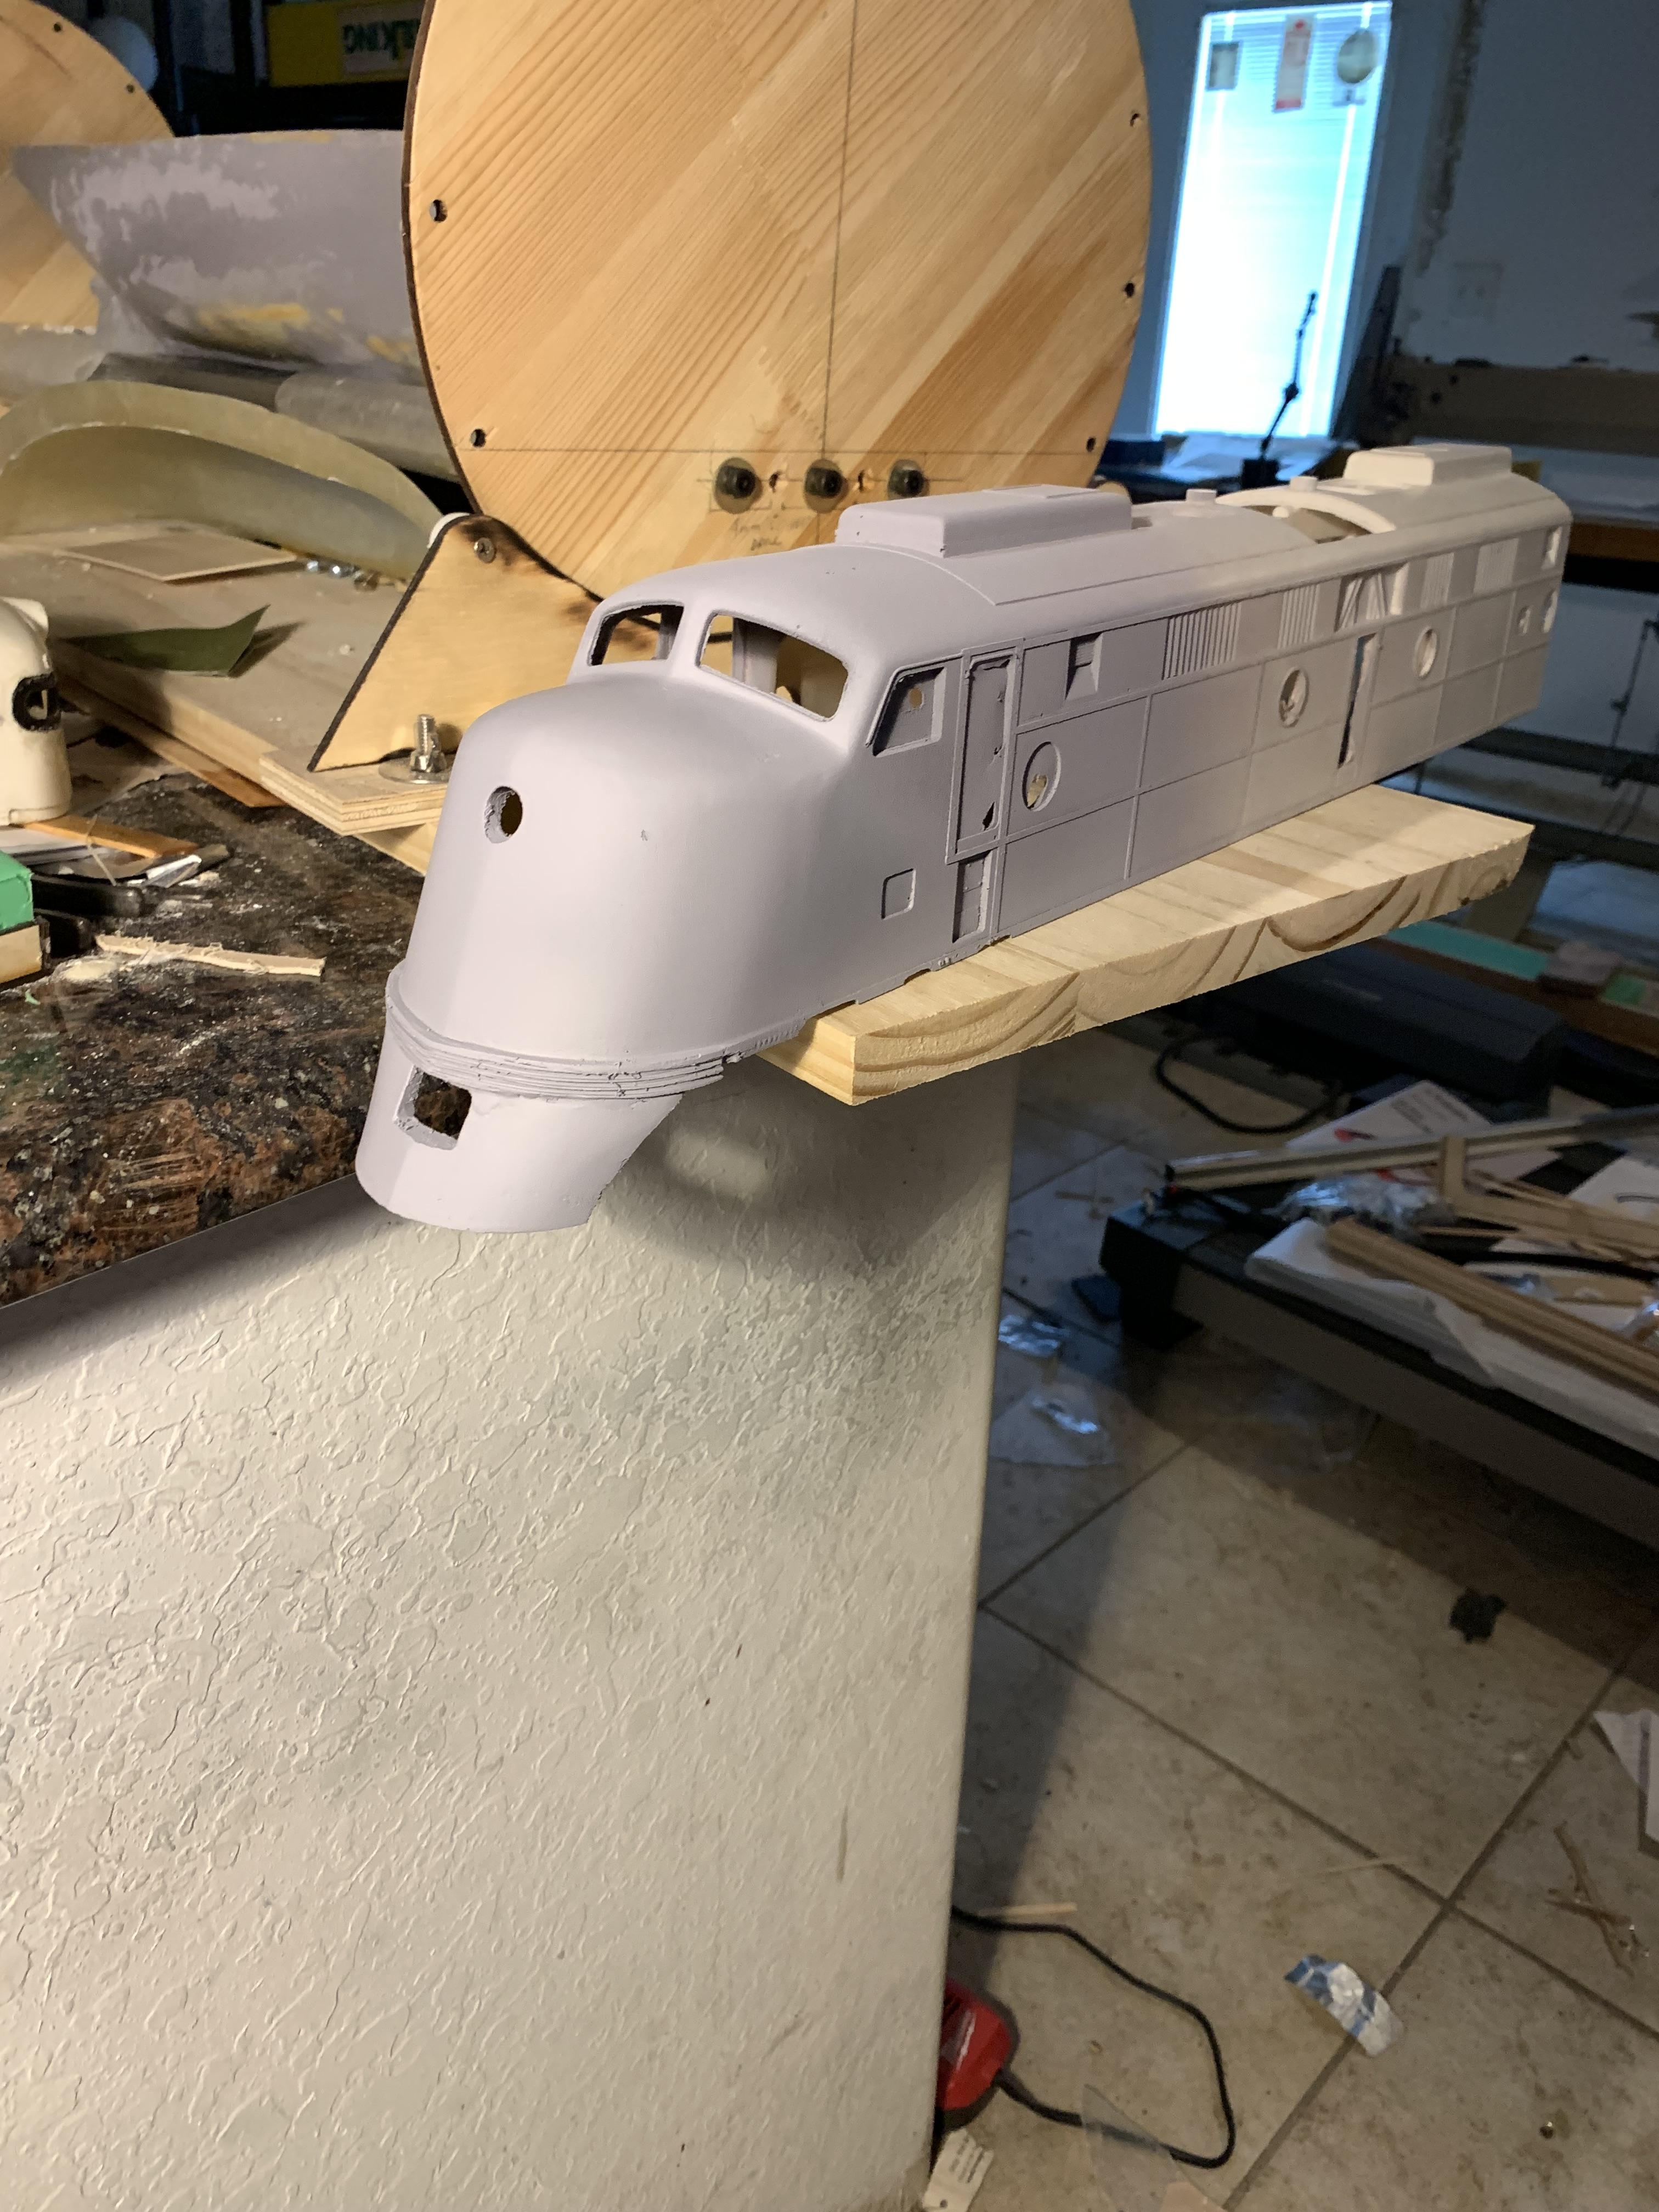
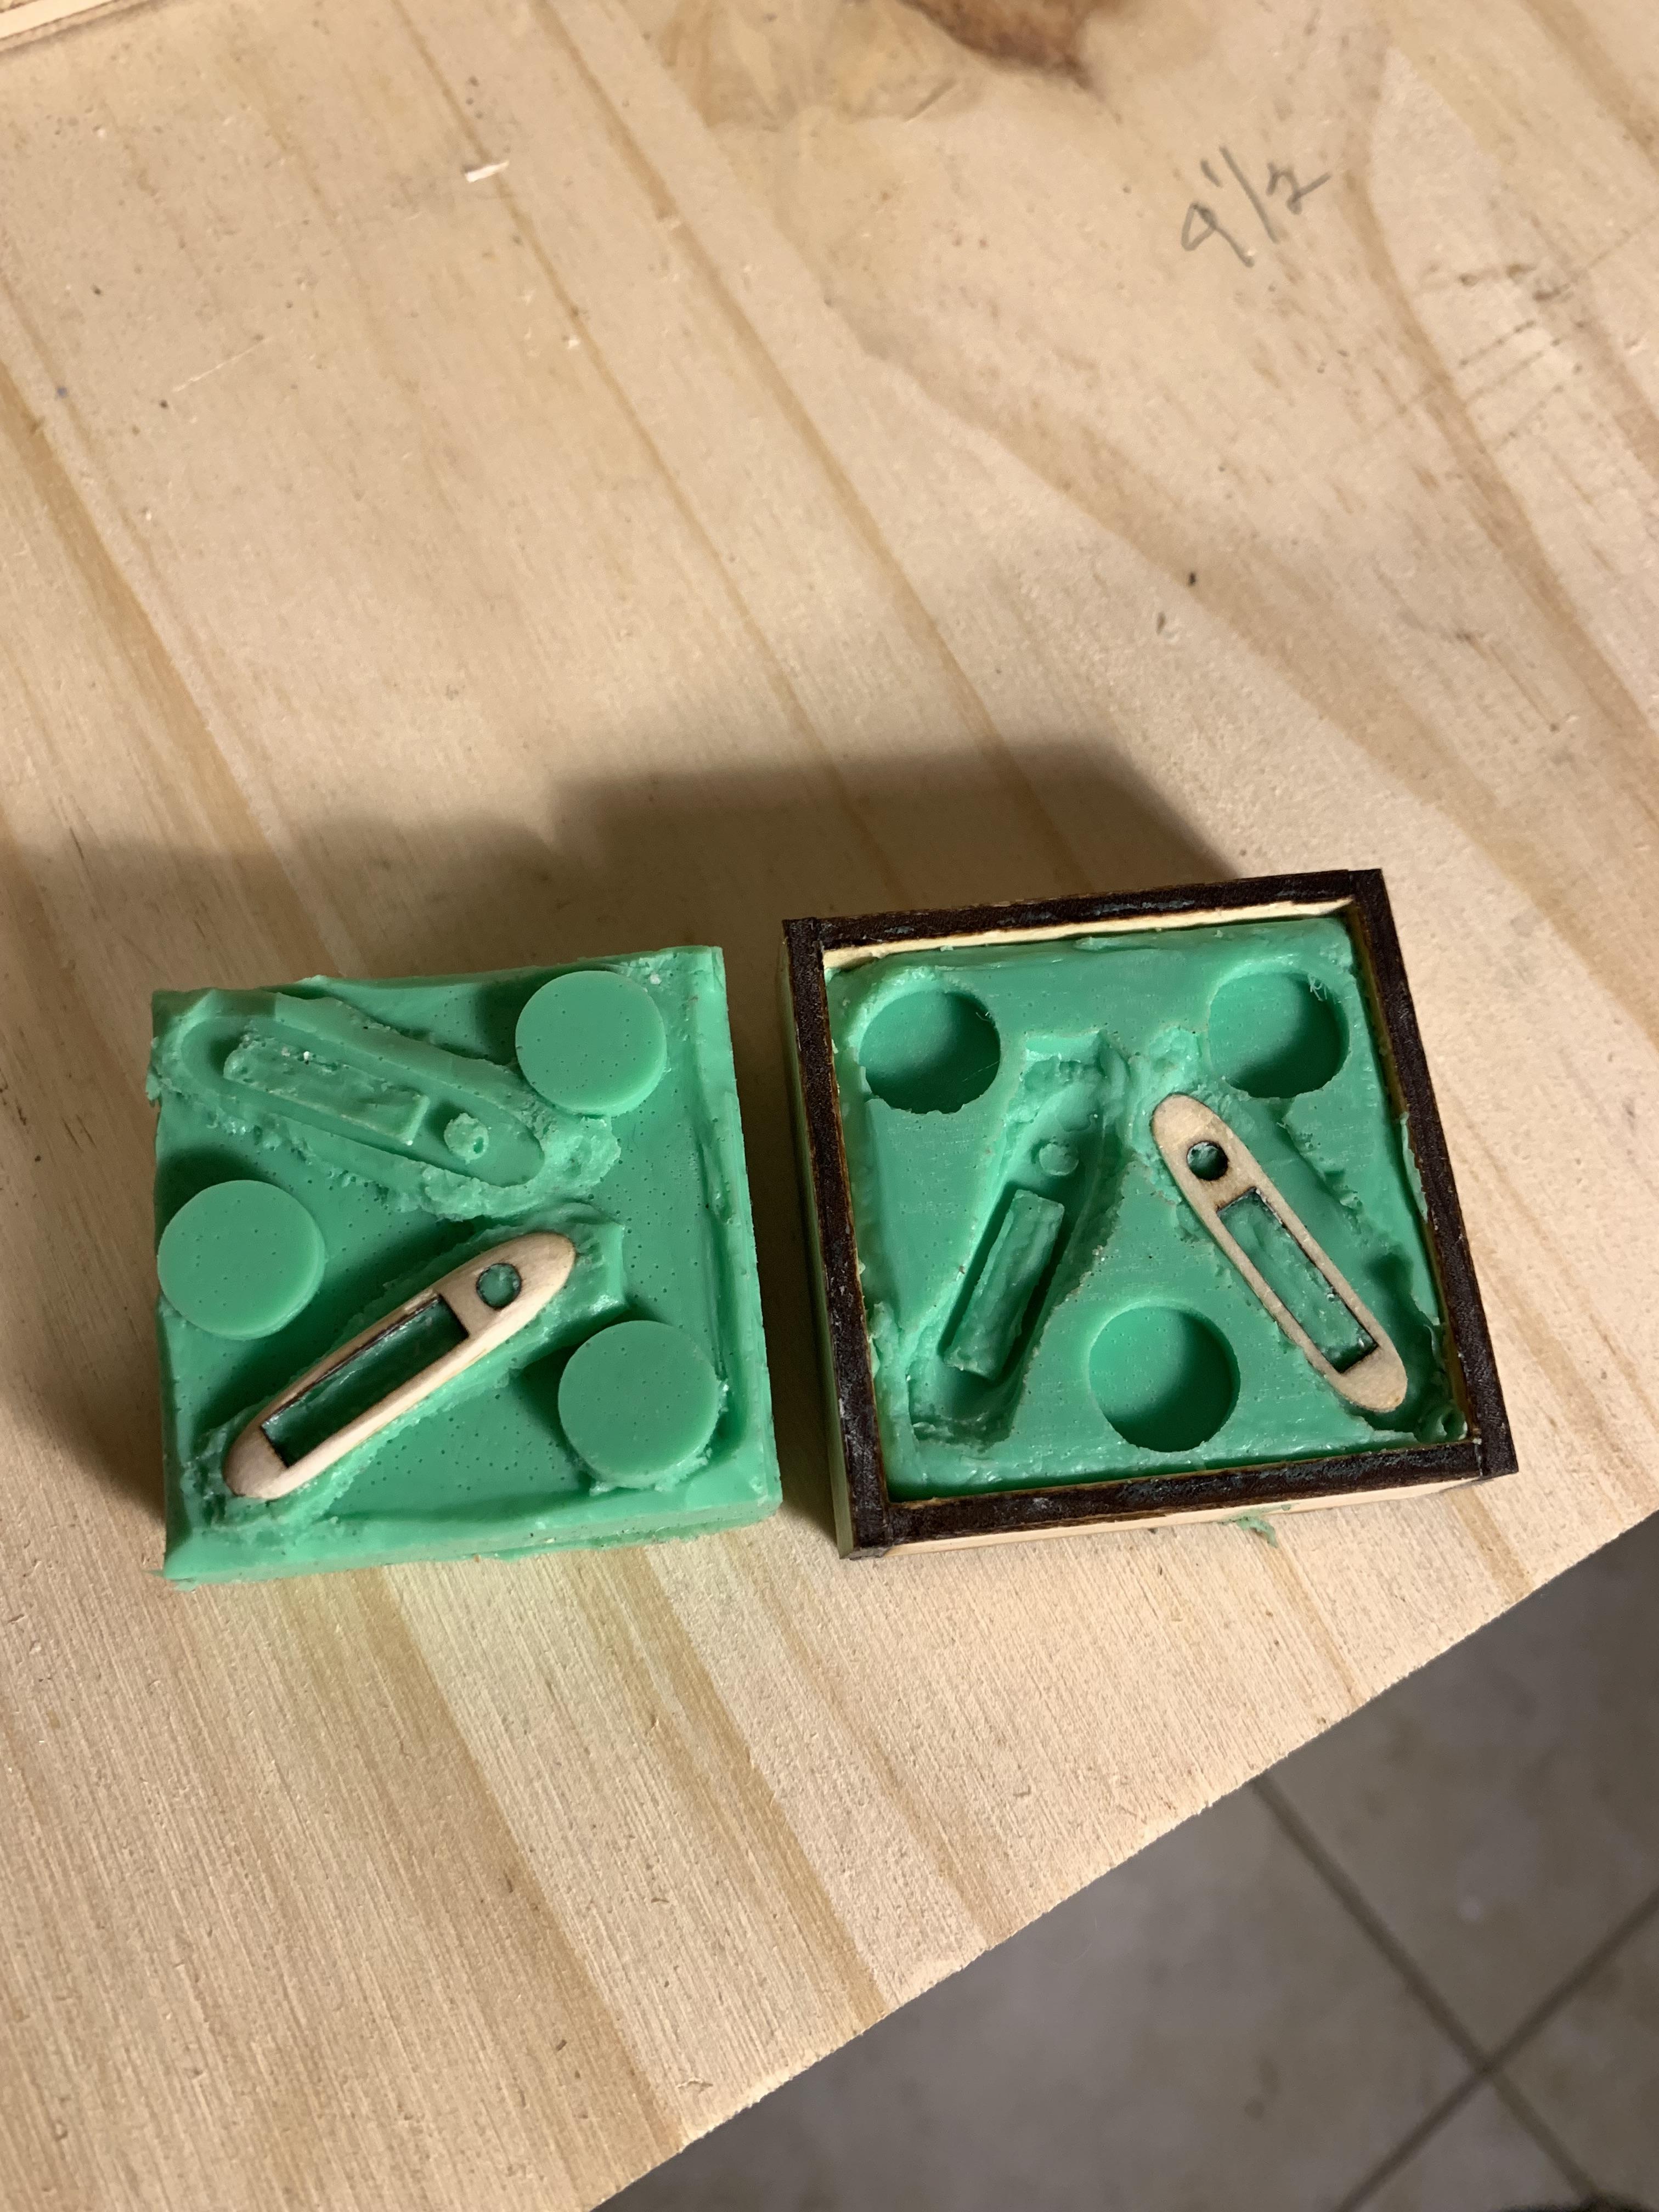
Here is the mold for the E6 number boards. Next, I will have to order some urethane plastic. It is taking time to sculpt the front of the loco, as the print didn't project the real look of the prototype, after comparing photos, so it will take some time to shape. After listening to many 3d printer experts, they say that PLA plastic is not compatible with exposure to the sun, so if anyone makes a model from a 3d printer, one should use ABS, or PETG, or some other filament that is more suitable to UV resistance. I am using PLA because I am making molds from these PLA parts and will make them from Urethane which has a better resistance to UV effects. Bob.


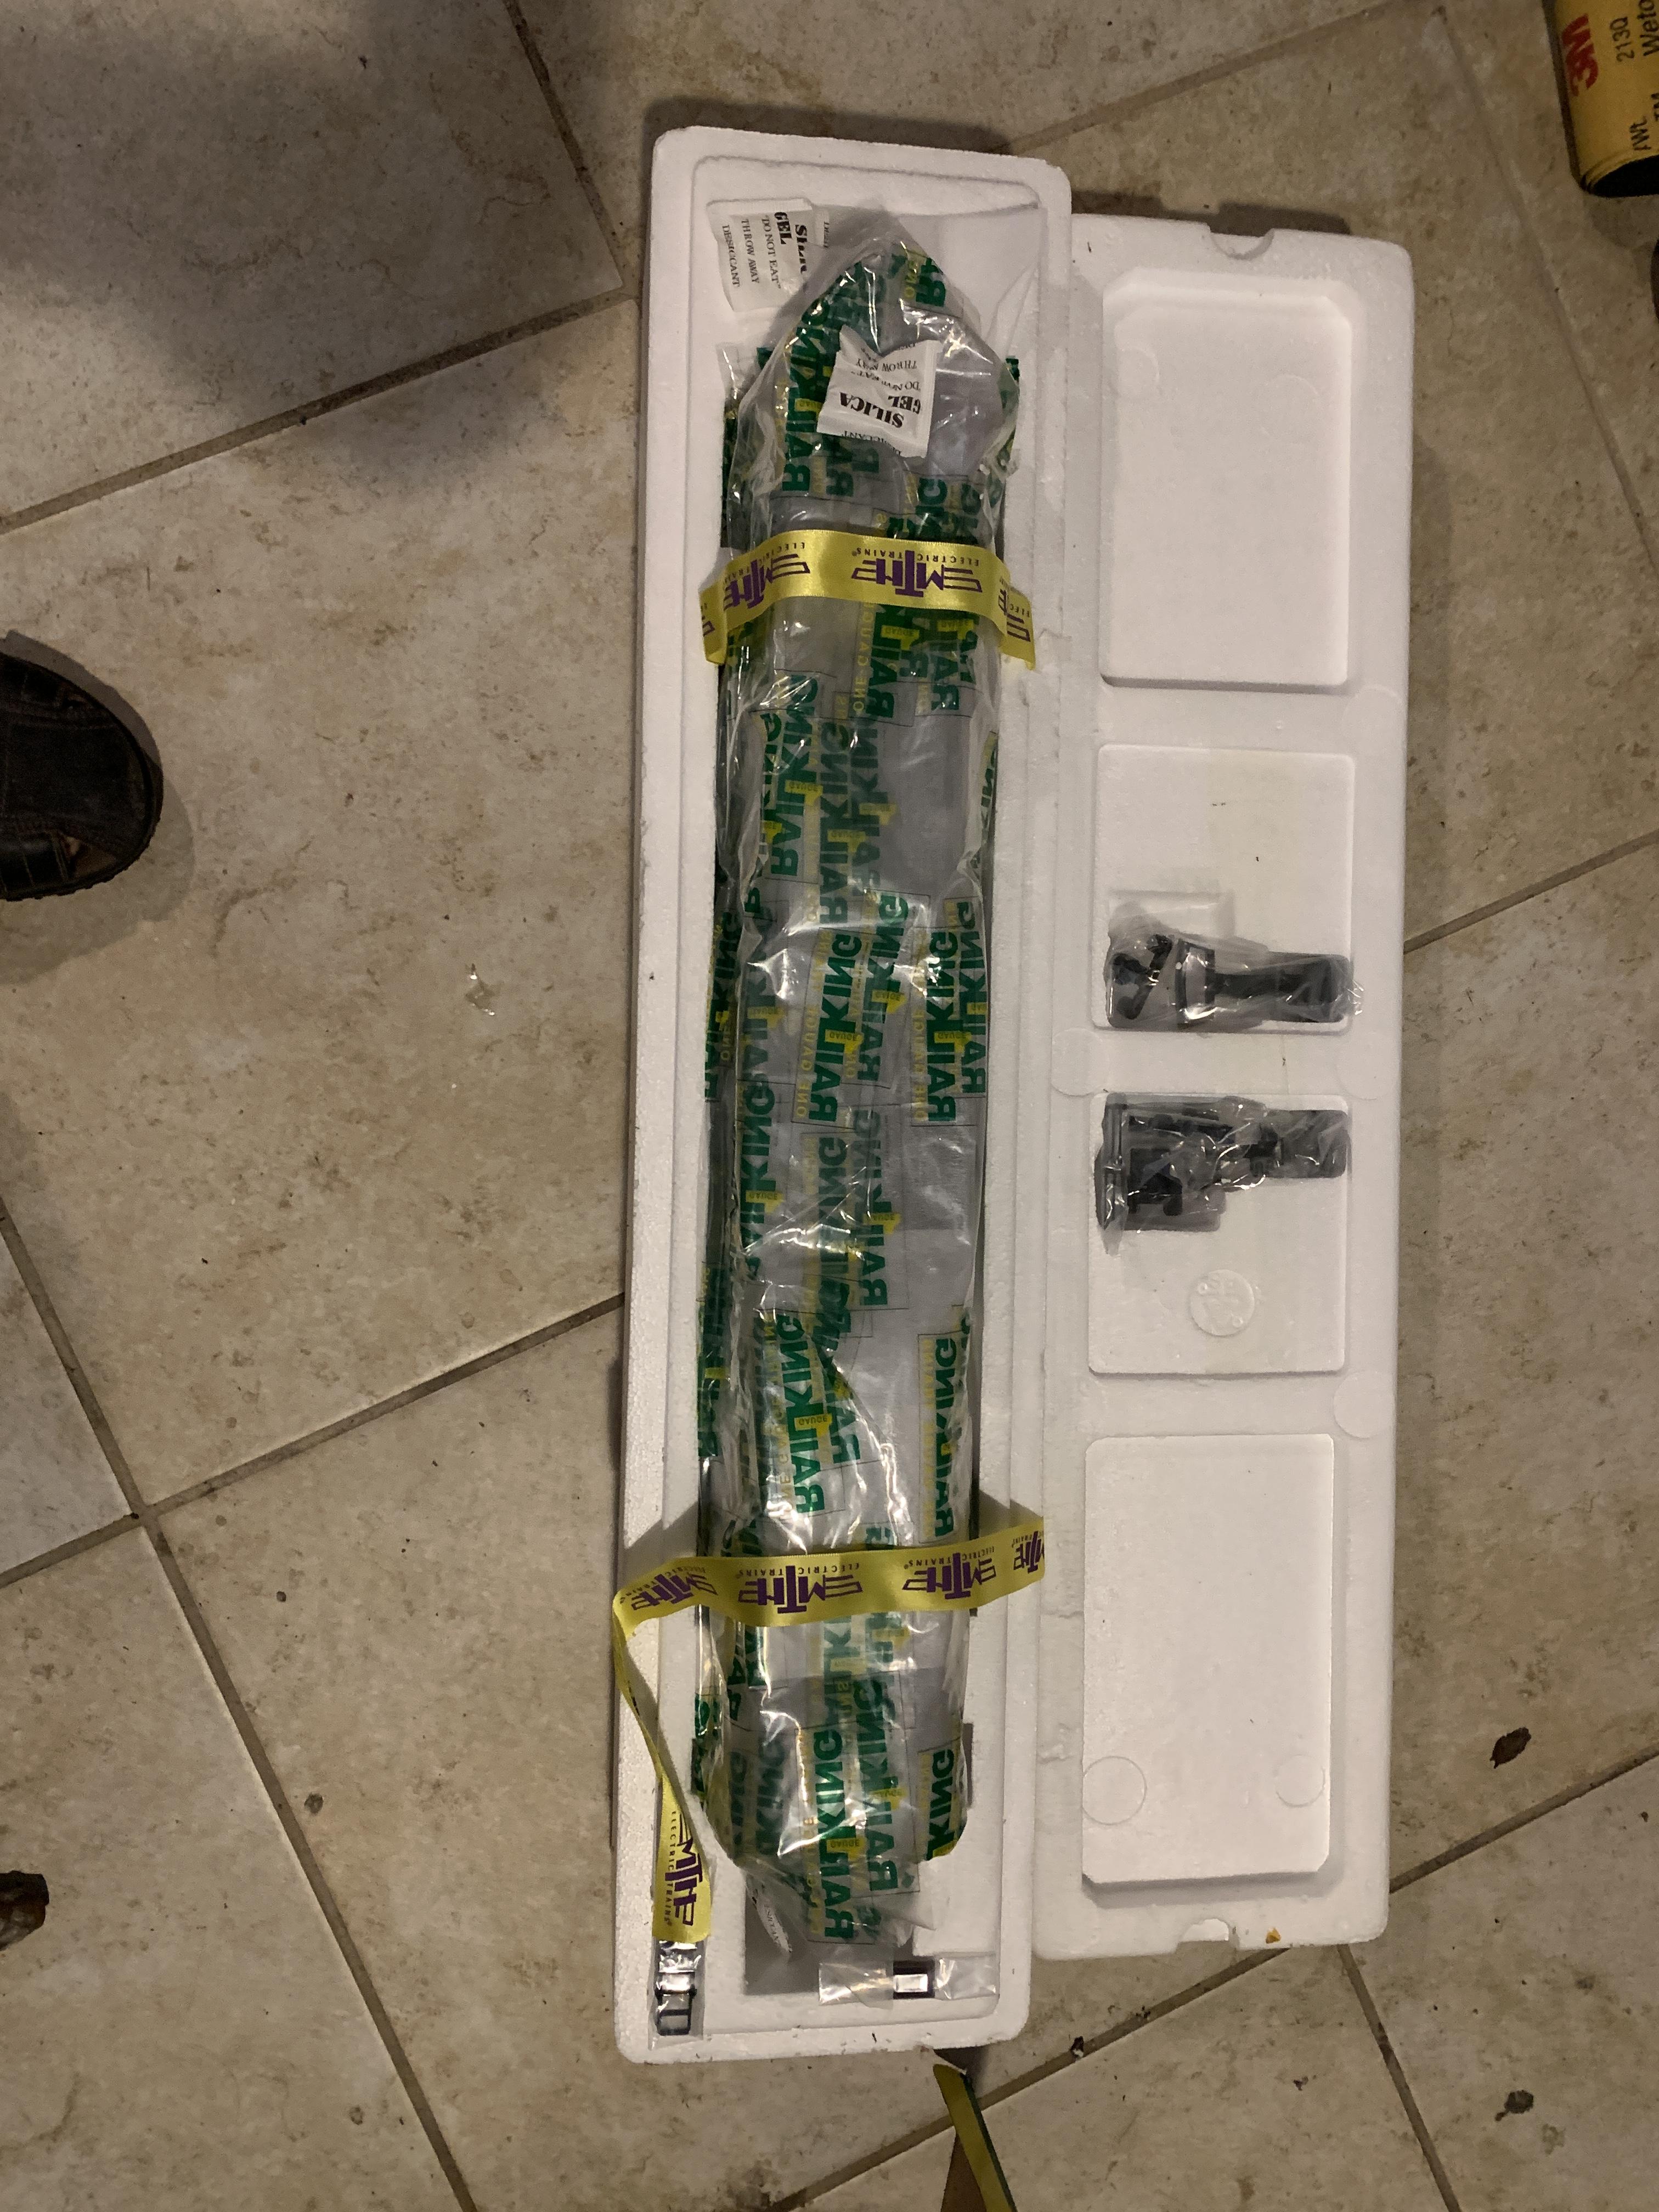
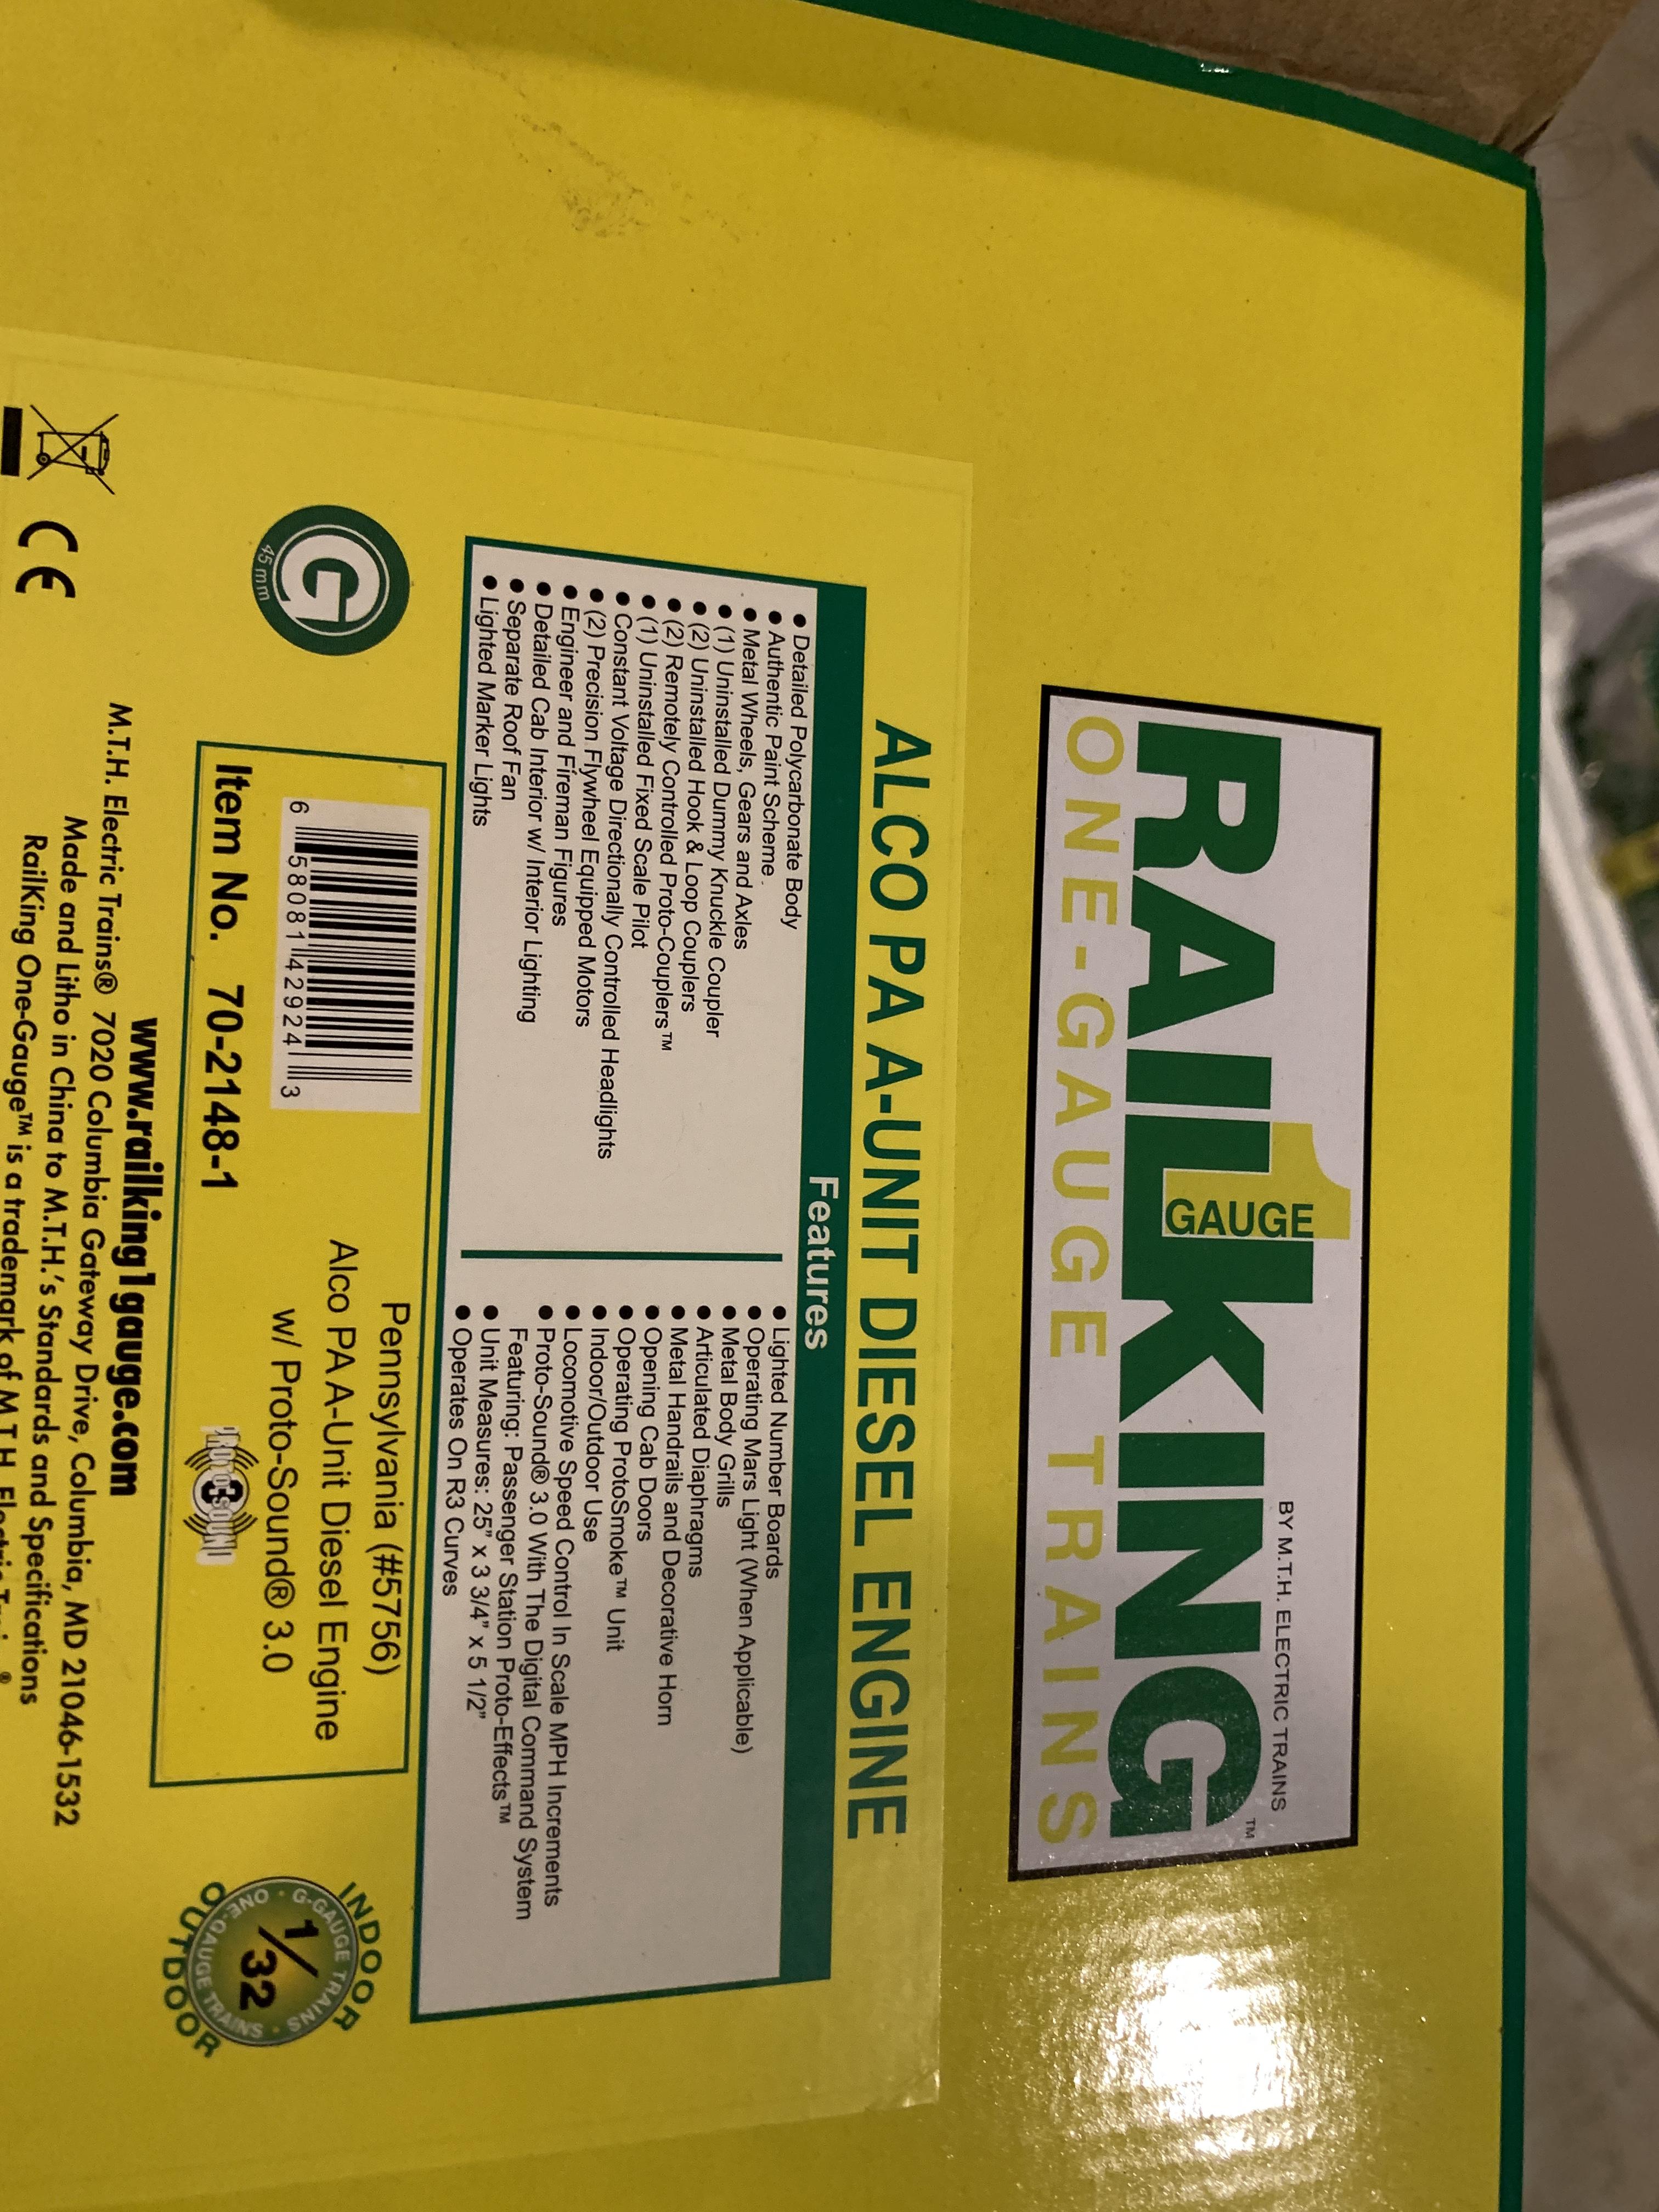

MTH PA a and b Pennsylvania A, and Santa Fe B unit. 550.00
in For Sale / Wanted / Trade
Posted
Yes, but only a great deal of someone buys them, Bob.