I just clicked on the three dots on the right of the page and the drop down menu has an edit button, problem solved. I just tested it and it worked. Bob.
Sounds like a good idea, and also here is a group, I believe on Yahoo groups. I joined this group and have been getting posts from them with some good info. I haven't posted anything yet because I don't yet have the MD5000 printer yet that needs repair, so I wouldn't know what to ask yet. Here is something that I discovered reading the factory user manual of an MD1300 printer. No where in the manual does it address the "overlay" button. This allows one to stop the page to print another layer of different spot colors in the exact position of the picture. It is almost like they are keeping the most valuable tool to be used a secret. I had to discover this procedure on Youtube. My question is, what other secretes are to be discovered?
What members out there uses the Alps md1000, md1300, md5000, md5500 printers? Maybe some ideas and procedures, even if you don't own one, can be shared for other users. Please post if you have one of these printers, or even if you don't, and just want to know more about them. I always like to learn. Bob.
Yes, i kept hearing how great these Alps printers were, but until I, by trial and error kept trying to figure it out did I have success. I now agree, for decals these printers are the best. The best trick that this printer has is to be able to register the paper exactly in the proper place to overlay the next layer of color or clear. I just bought an Alps MD 5000, but it needs repair, so I will have to fix it, I will let you know how that comes out. I talked to one of the people in Japan that sells these refurbished printers and he said that the best one is the MD 1300 because it has fewer problems that any of the others. Bob.
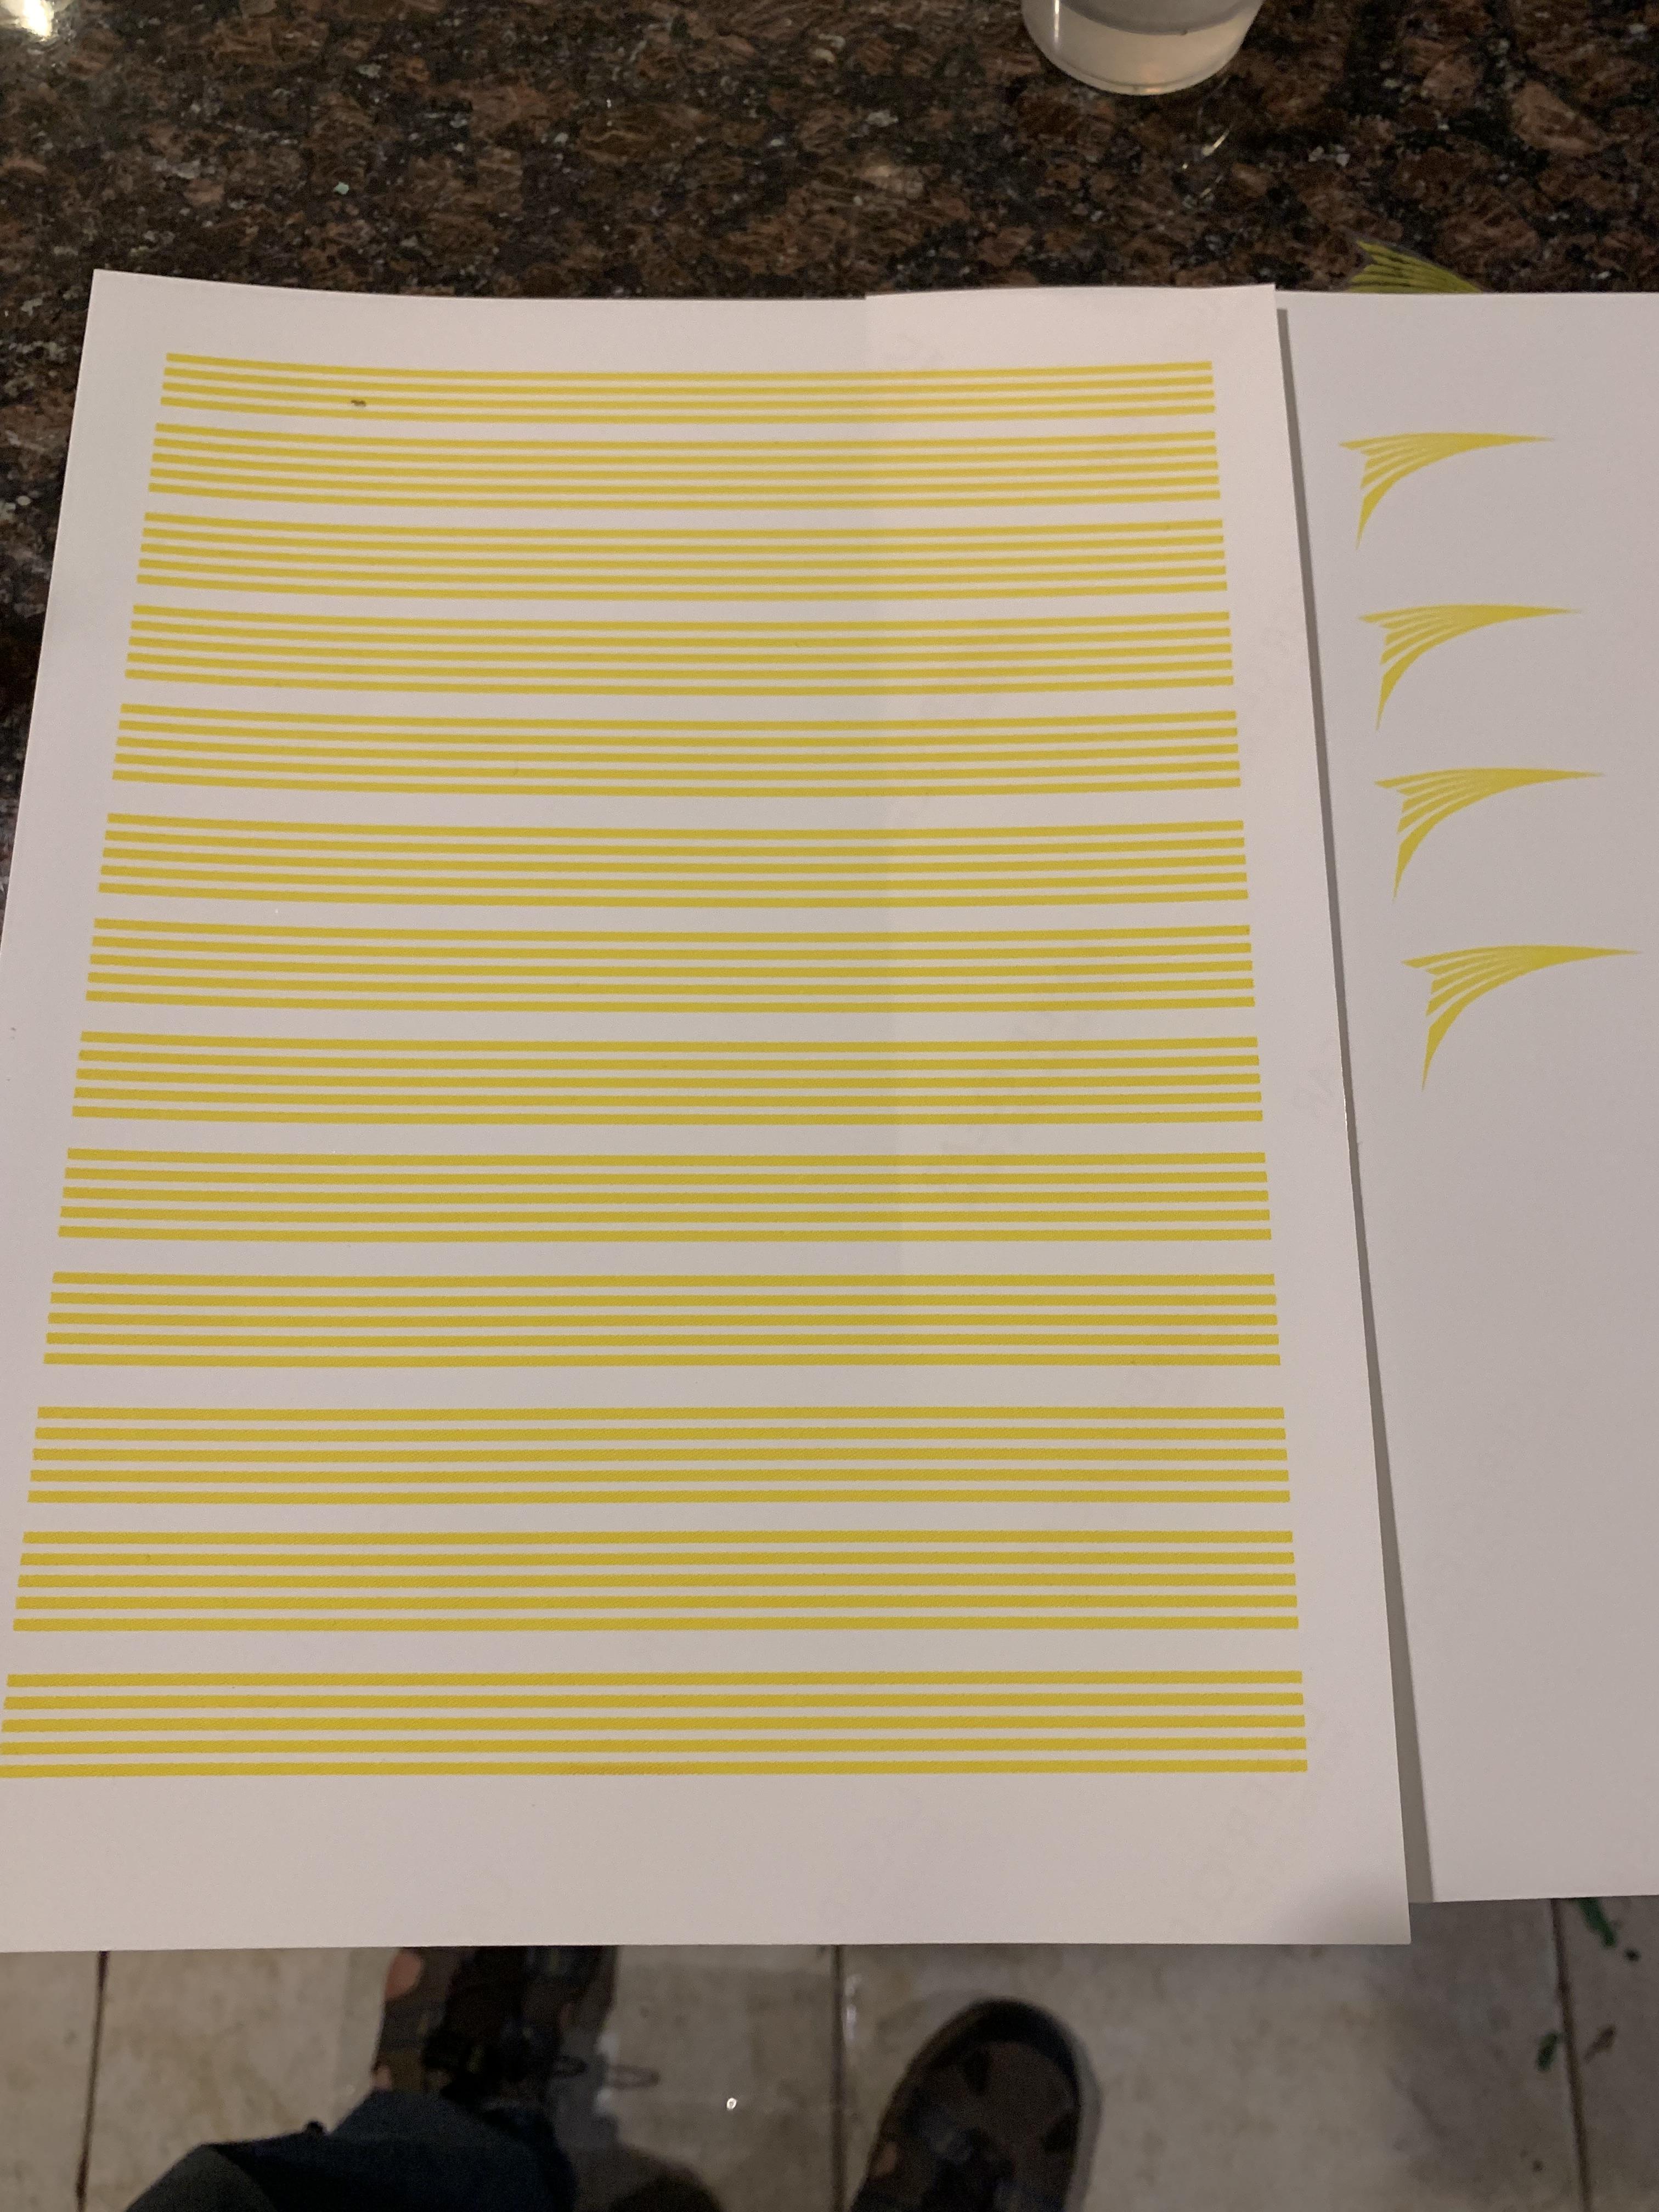
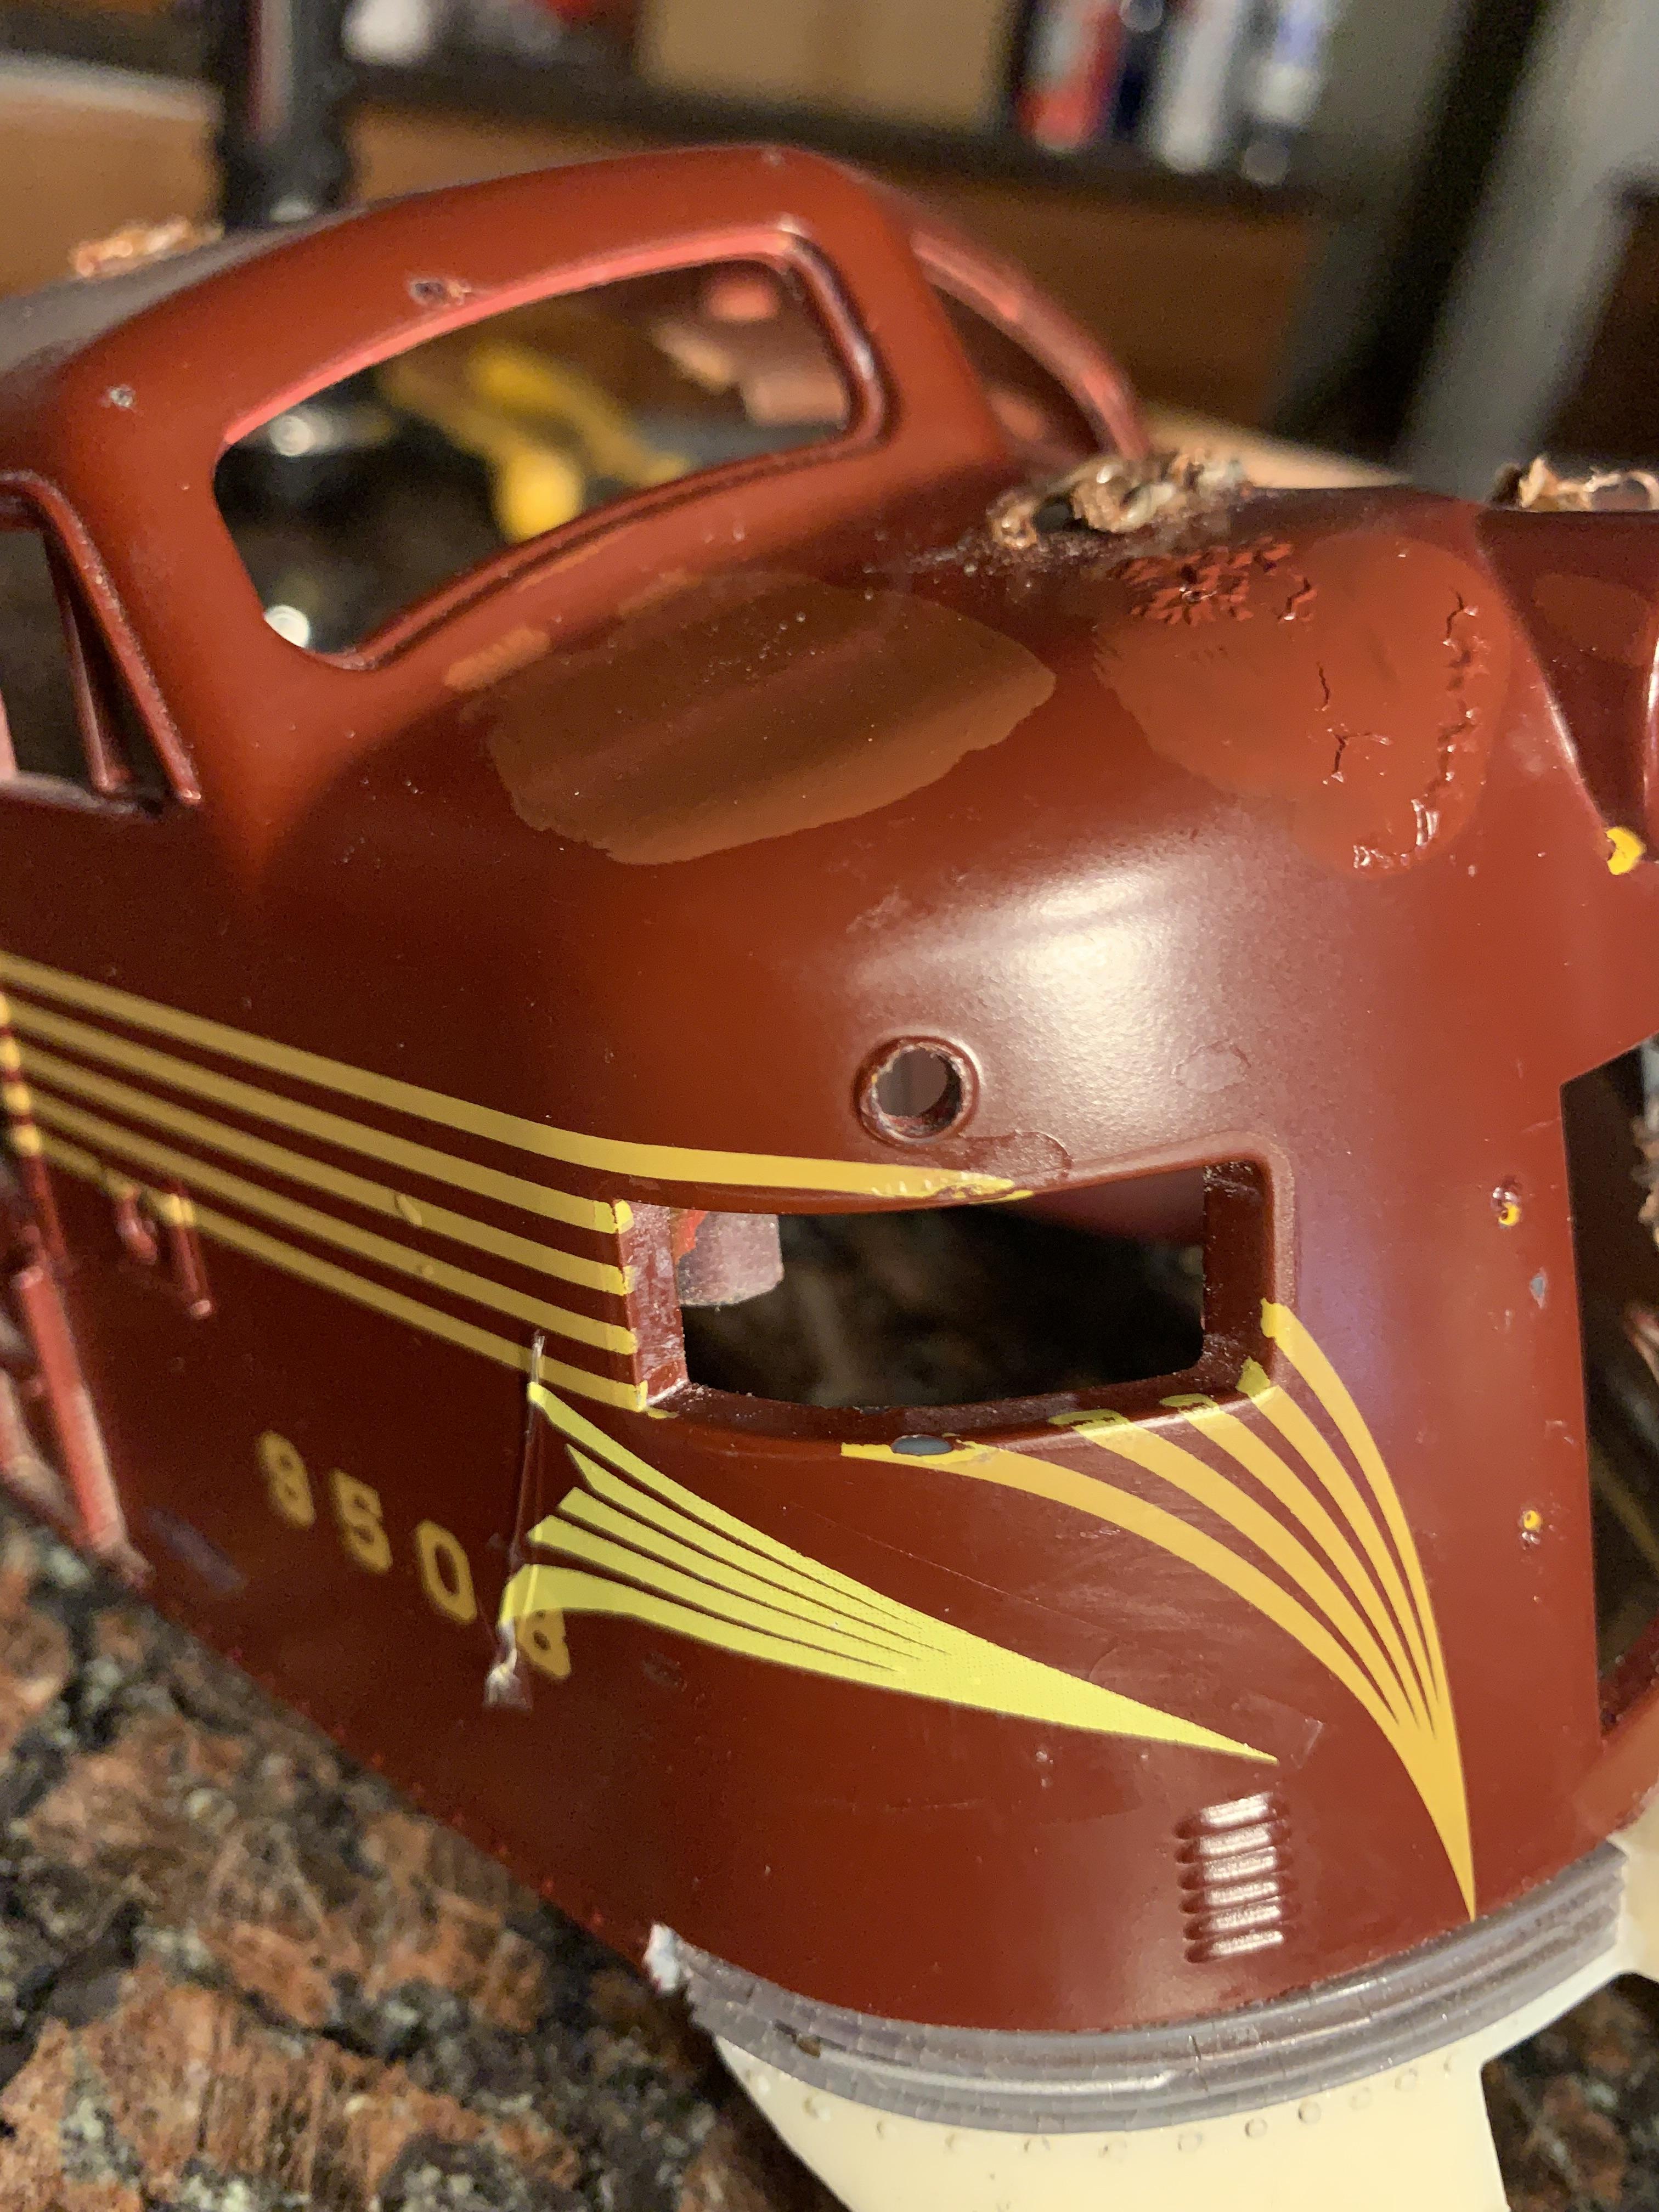
I finally learned how to use my Alps printer. I am going to attempt to get these decals on the locos without wrinkles. The last picture was a test to see if the decal was not transparent and it is not, so it worked. I layered the colors, white, then one spot yellow, then, two layers of the regular color yellow and then a pass with the clear cover print and the color came out opaque not see through as some of my experiments did. Bob.
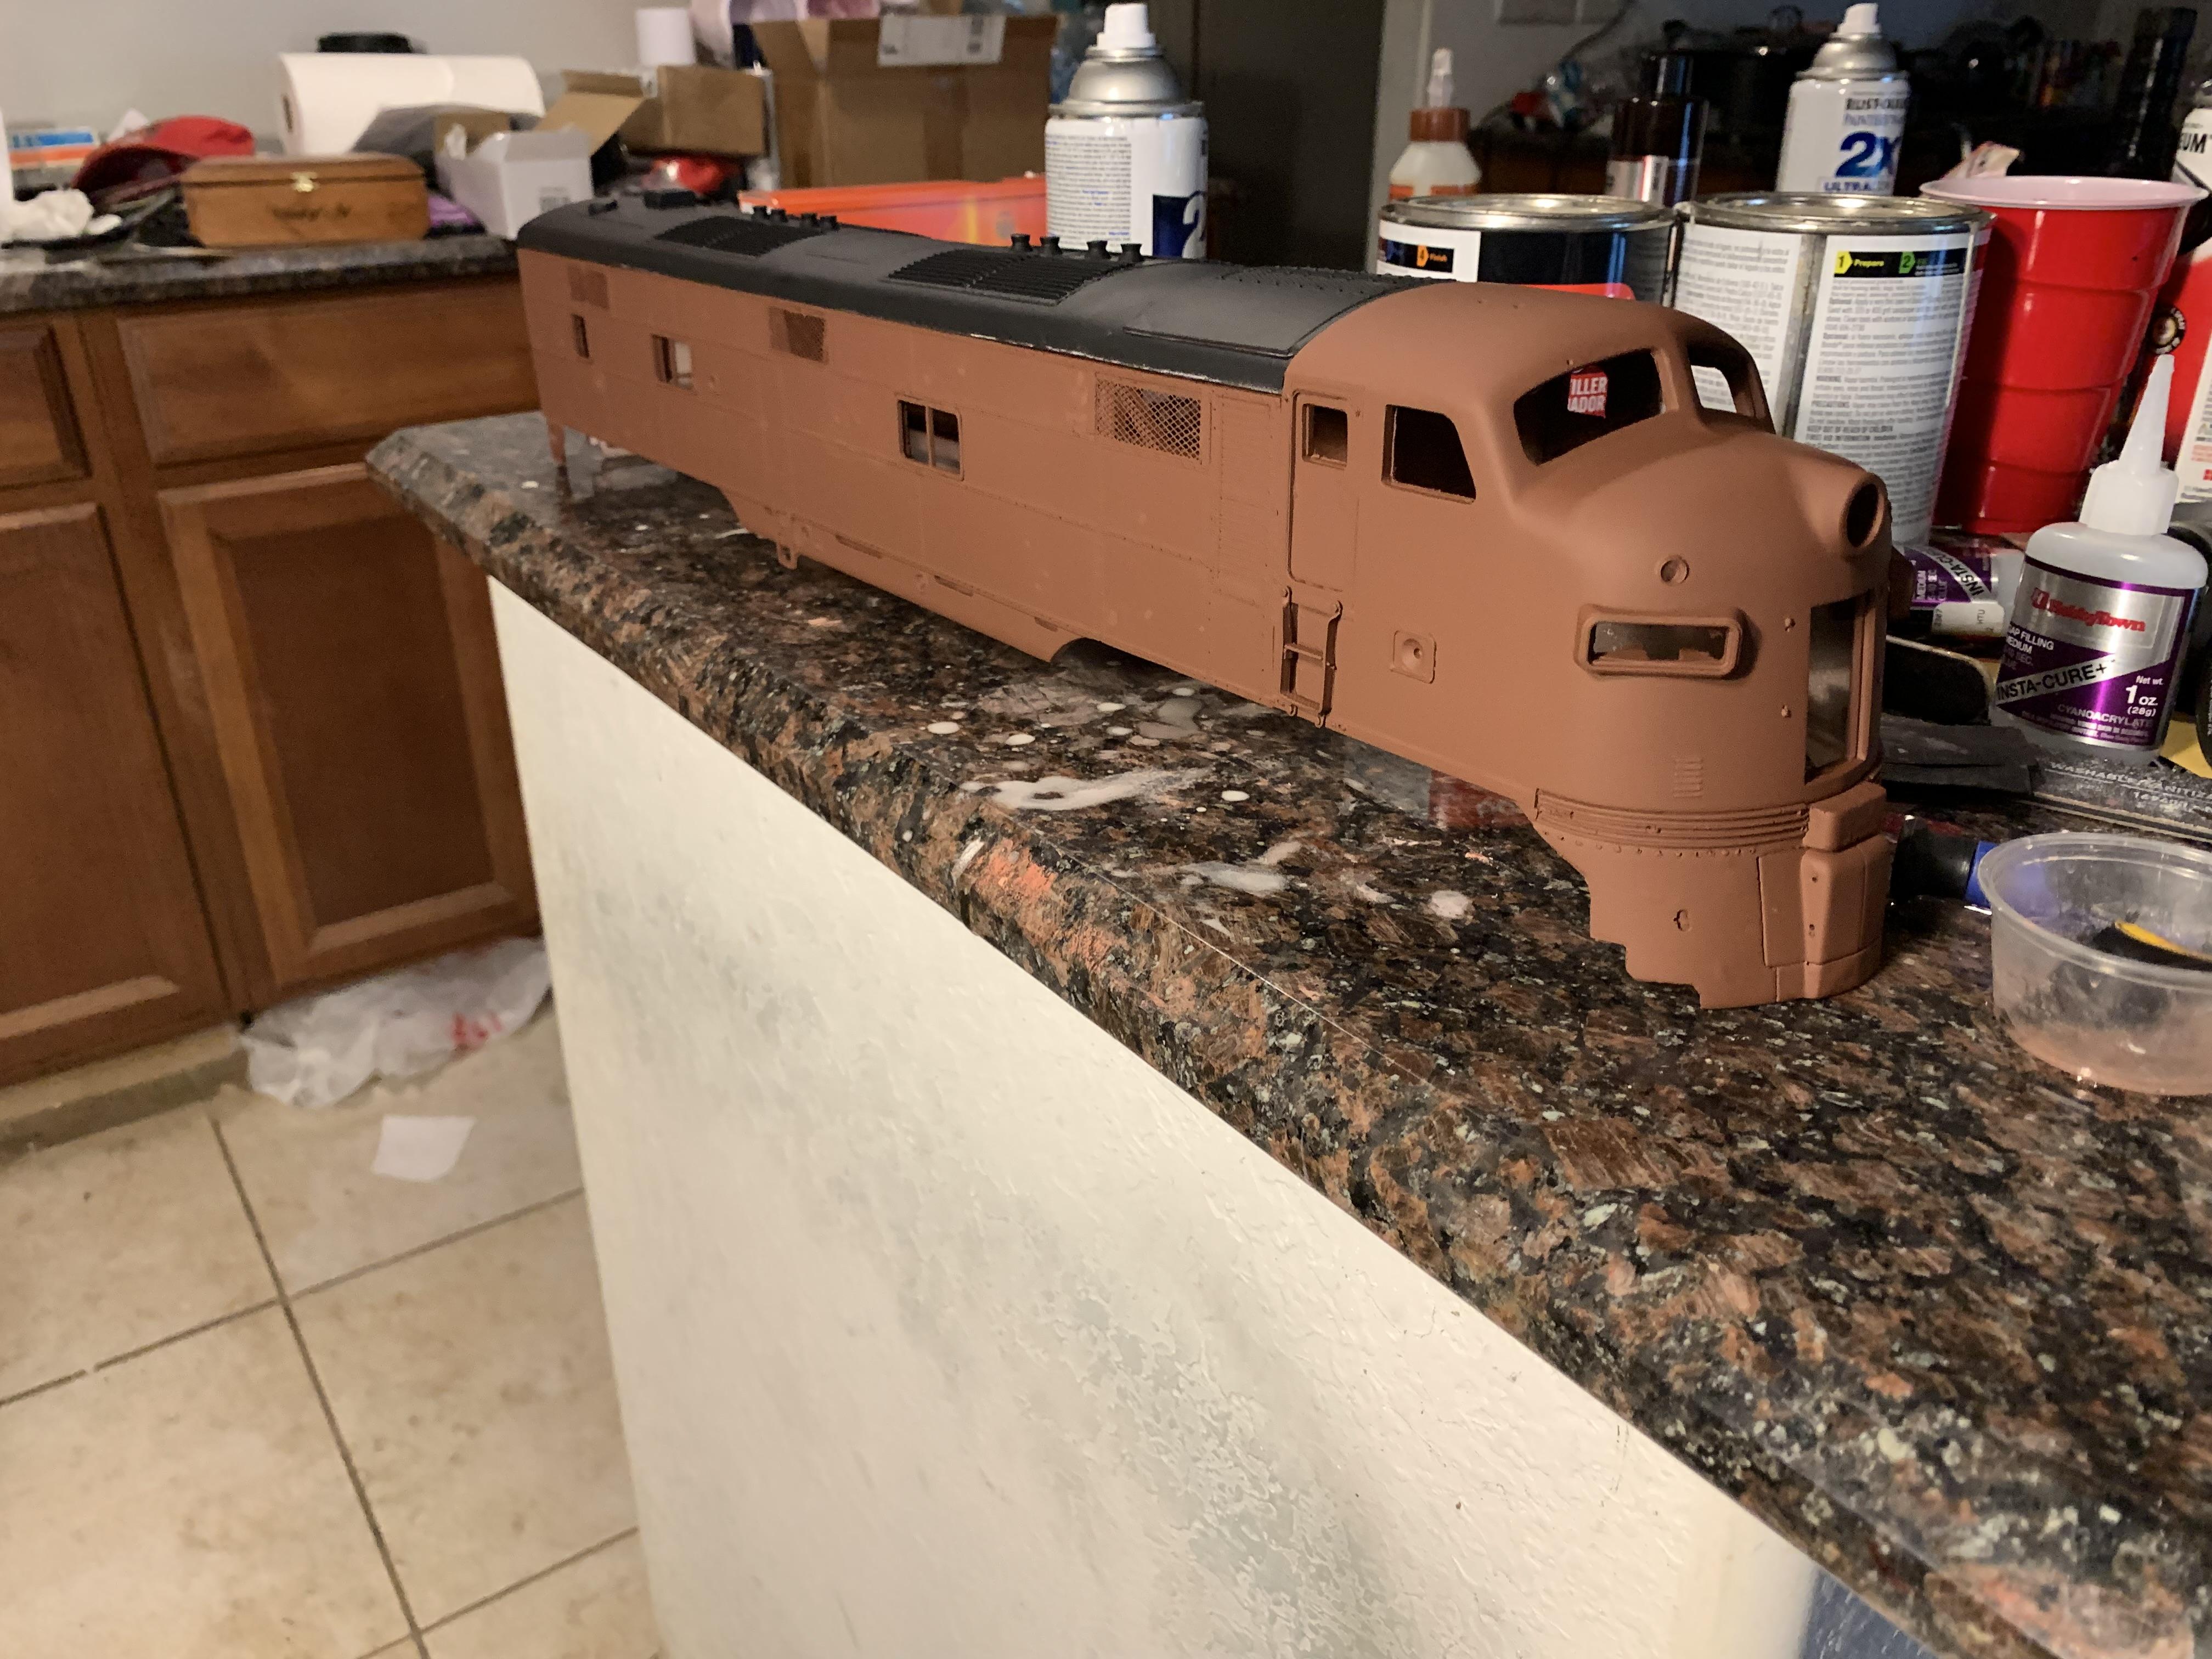
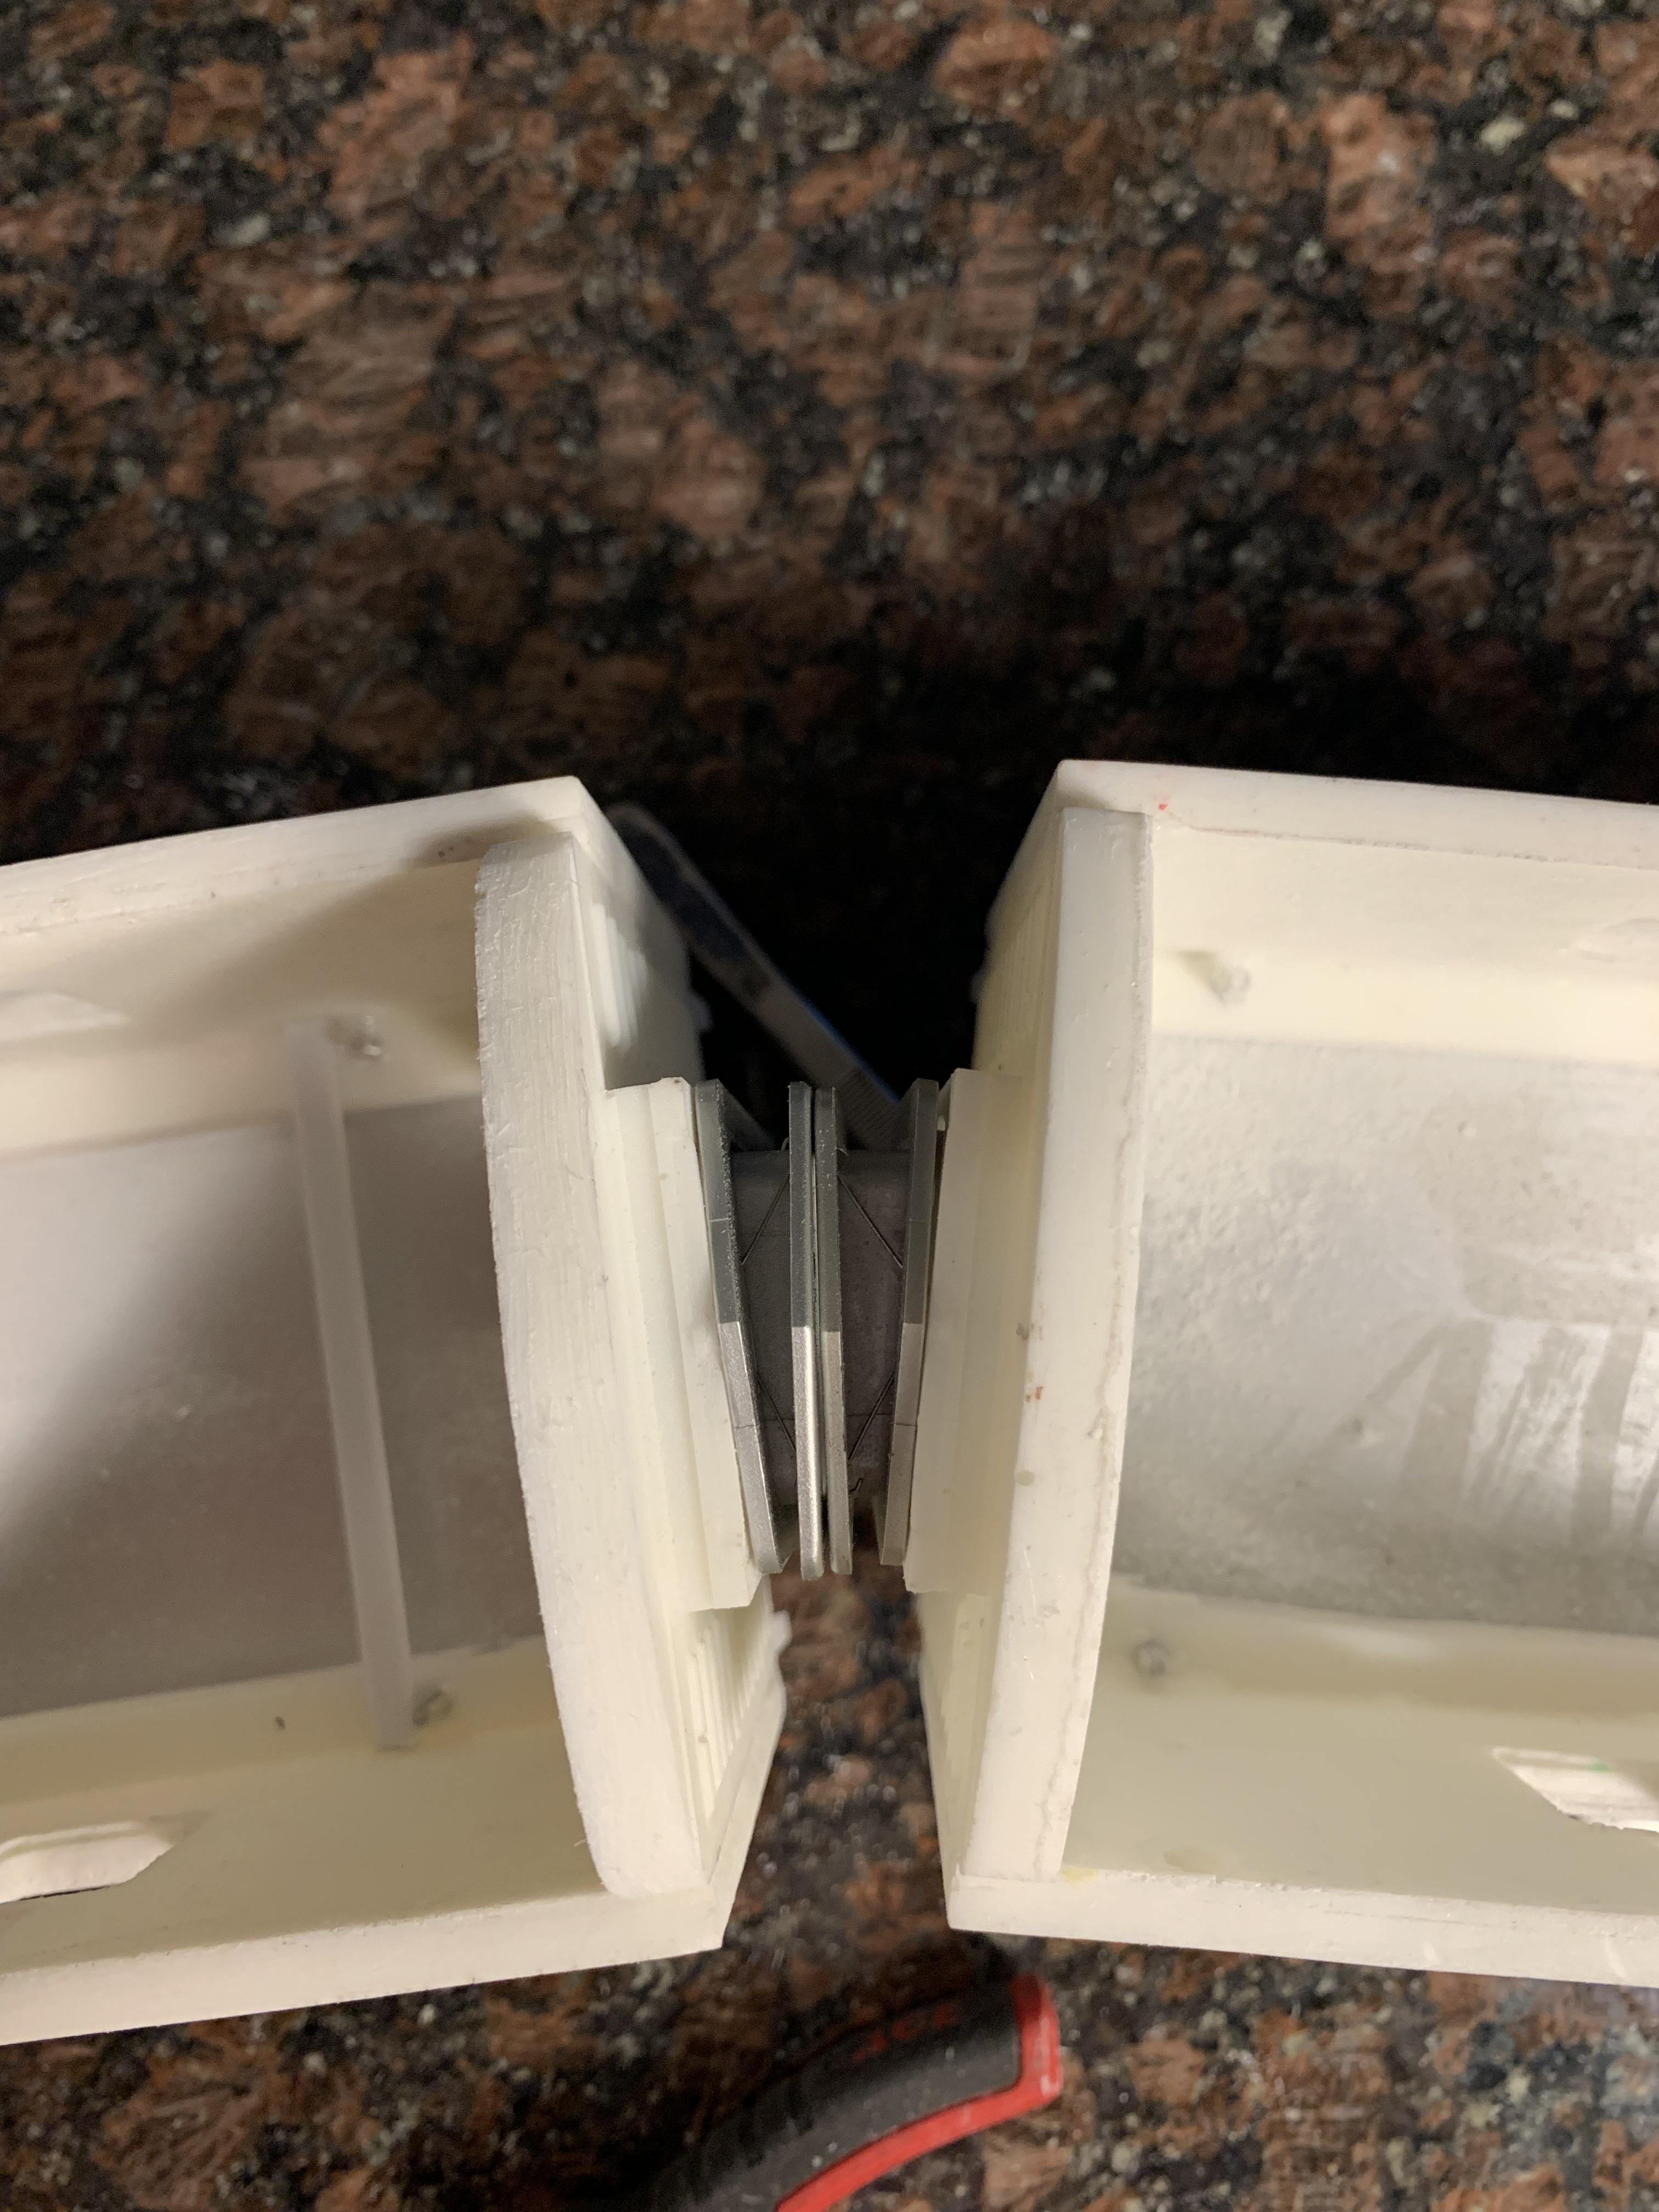
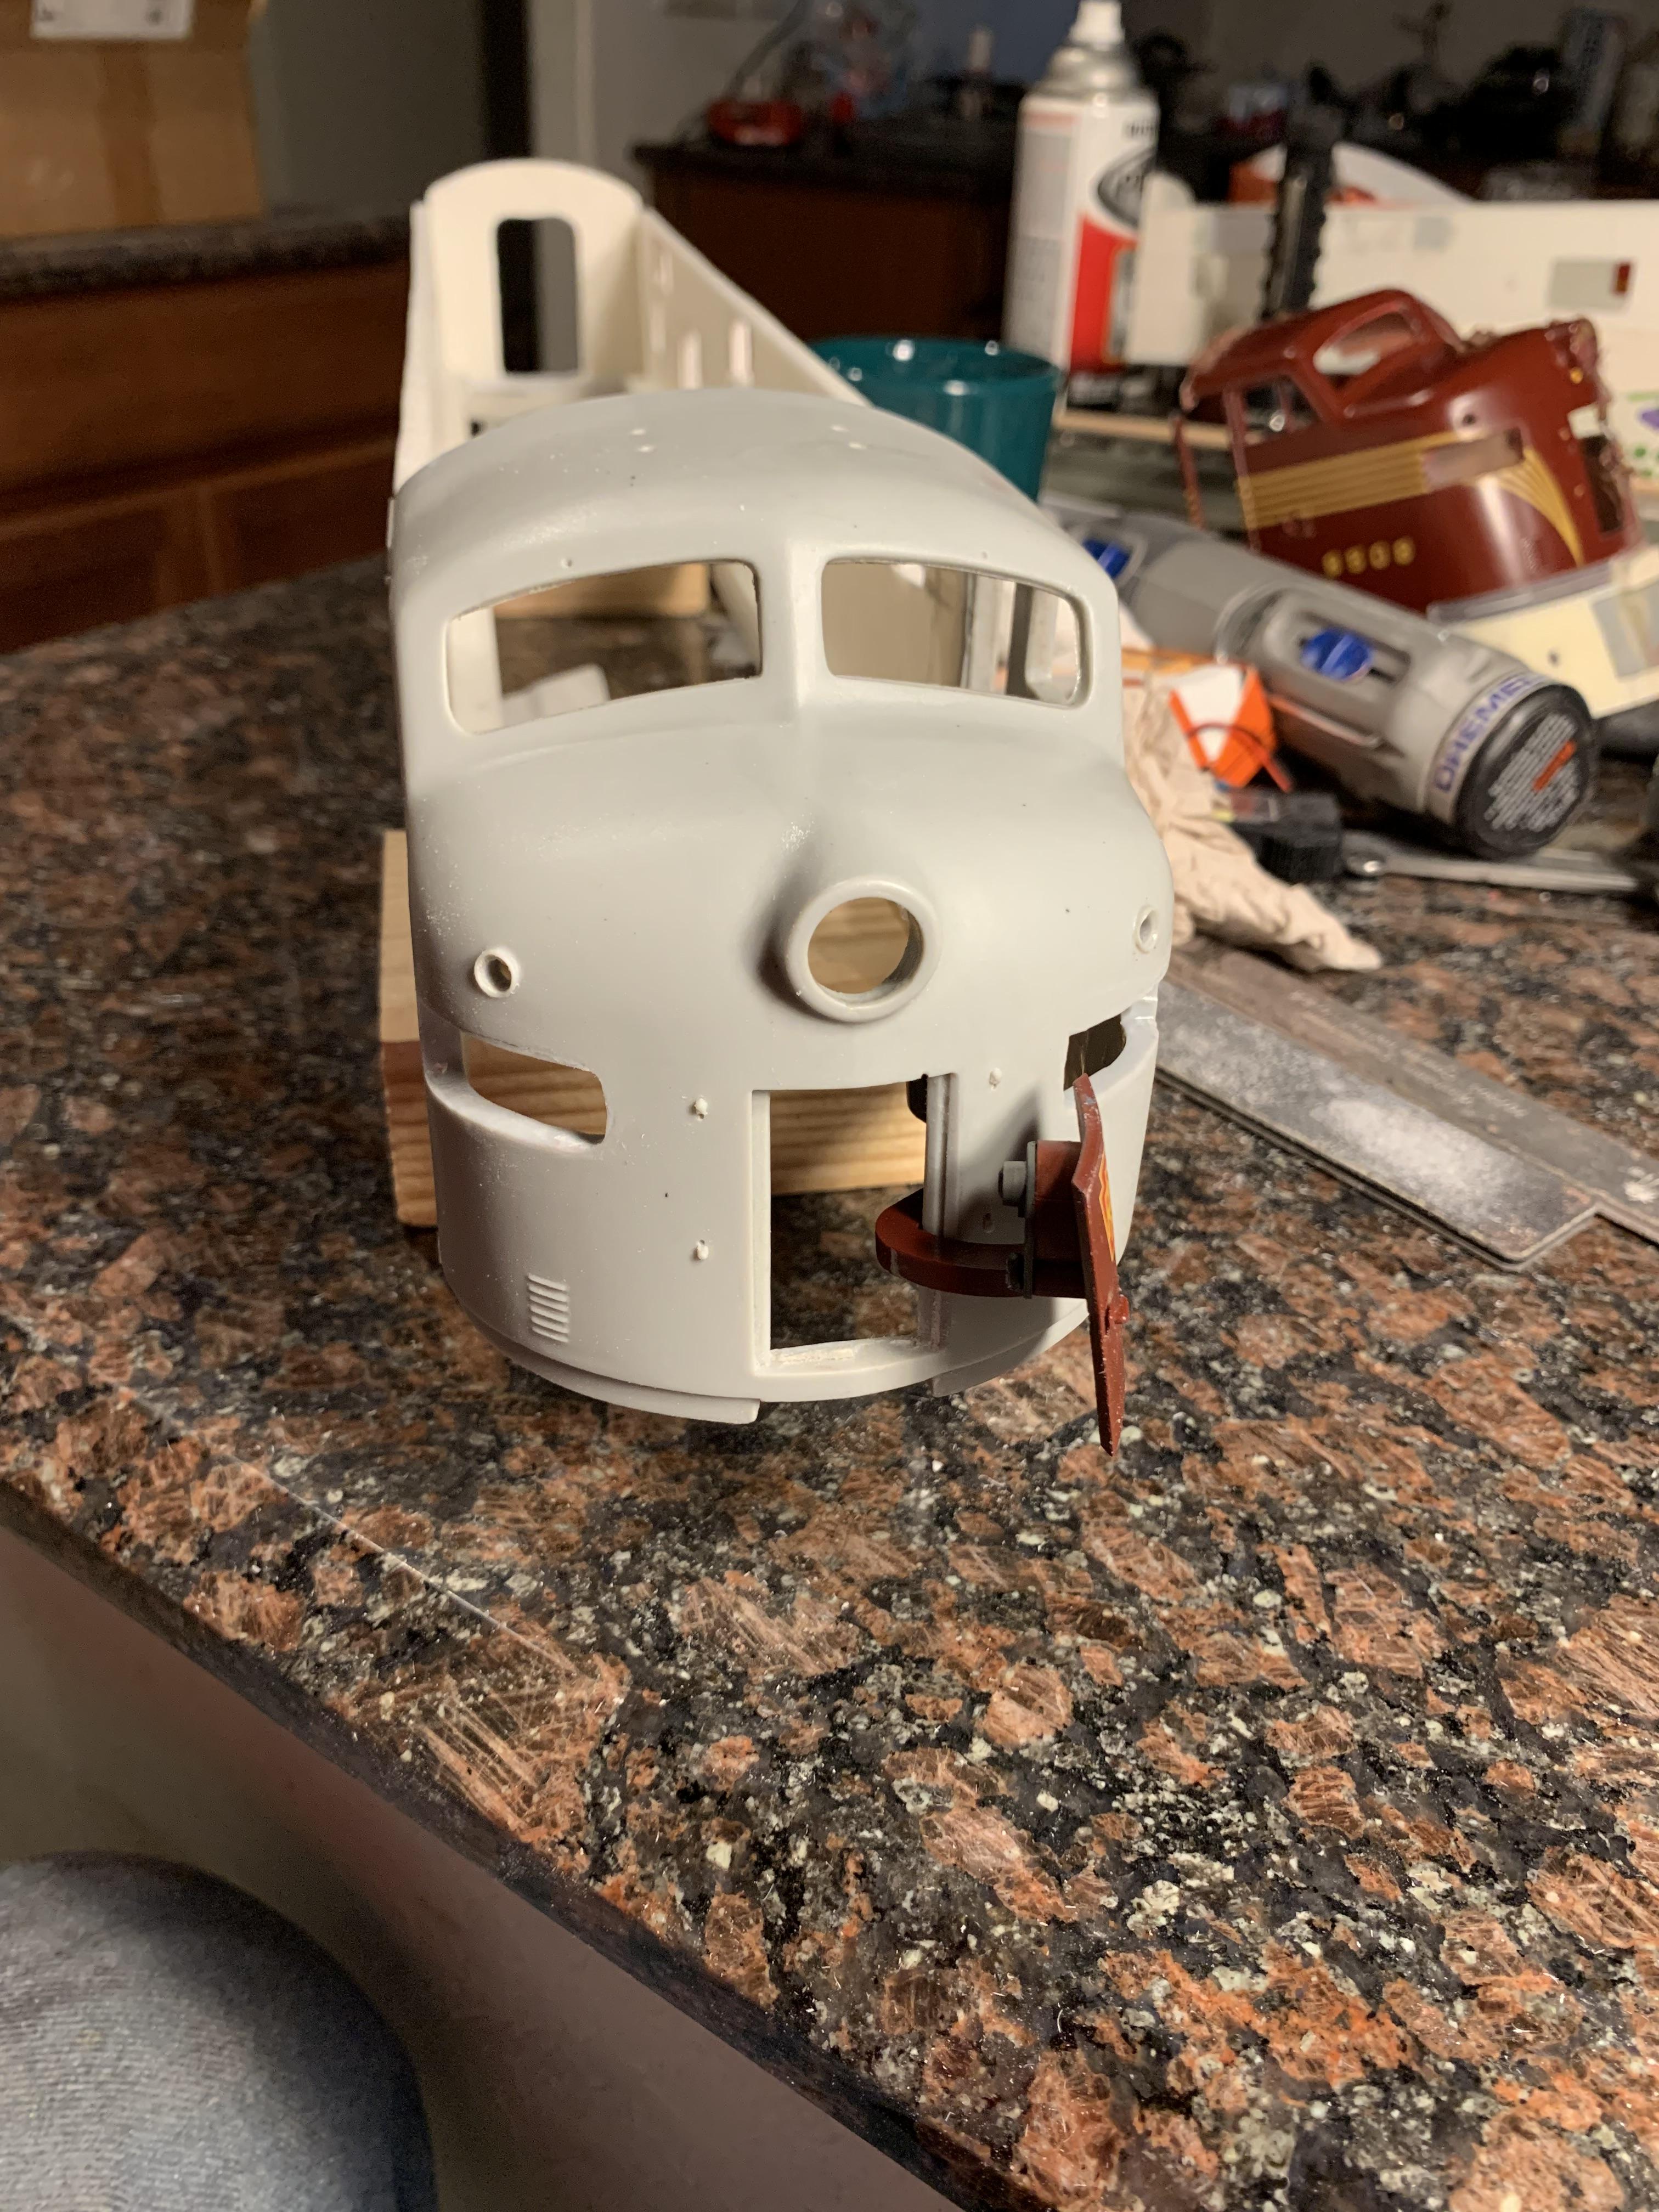
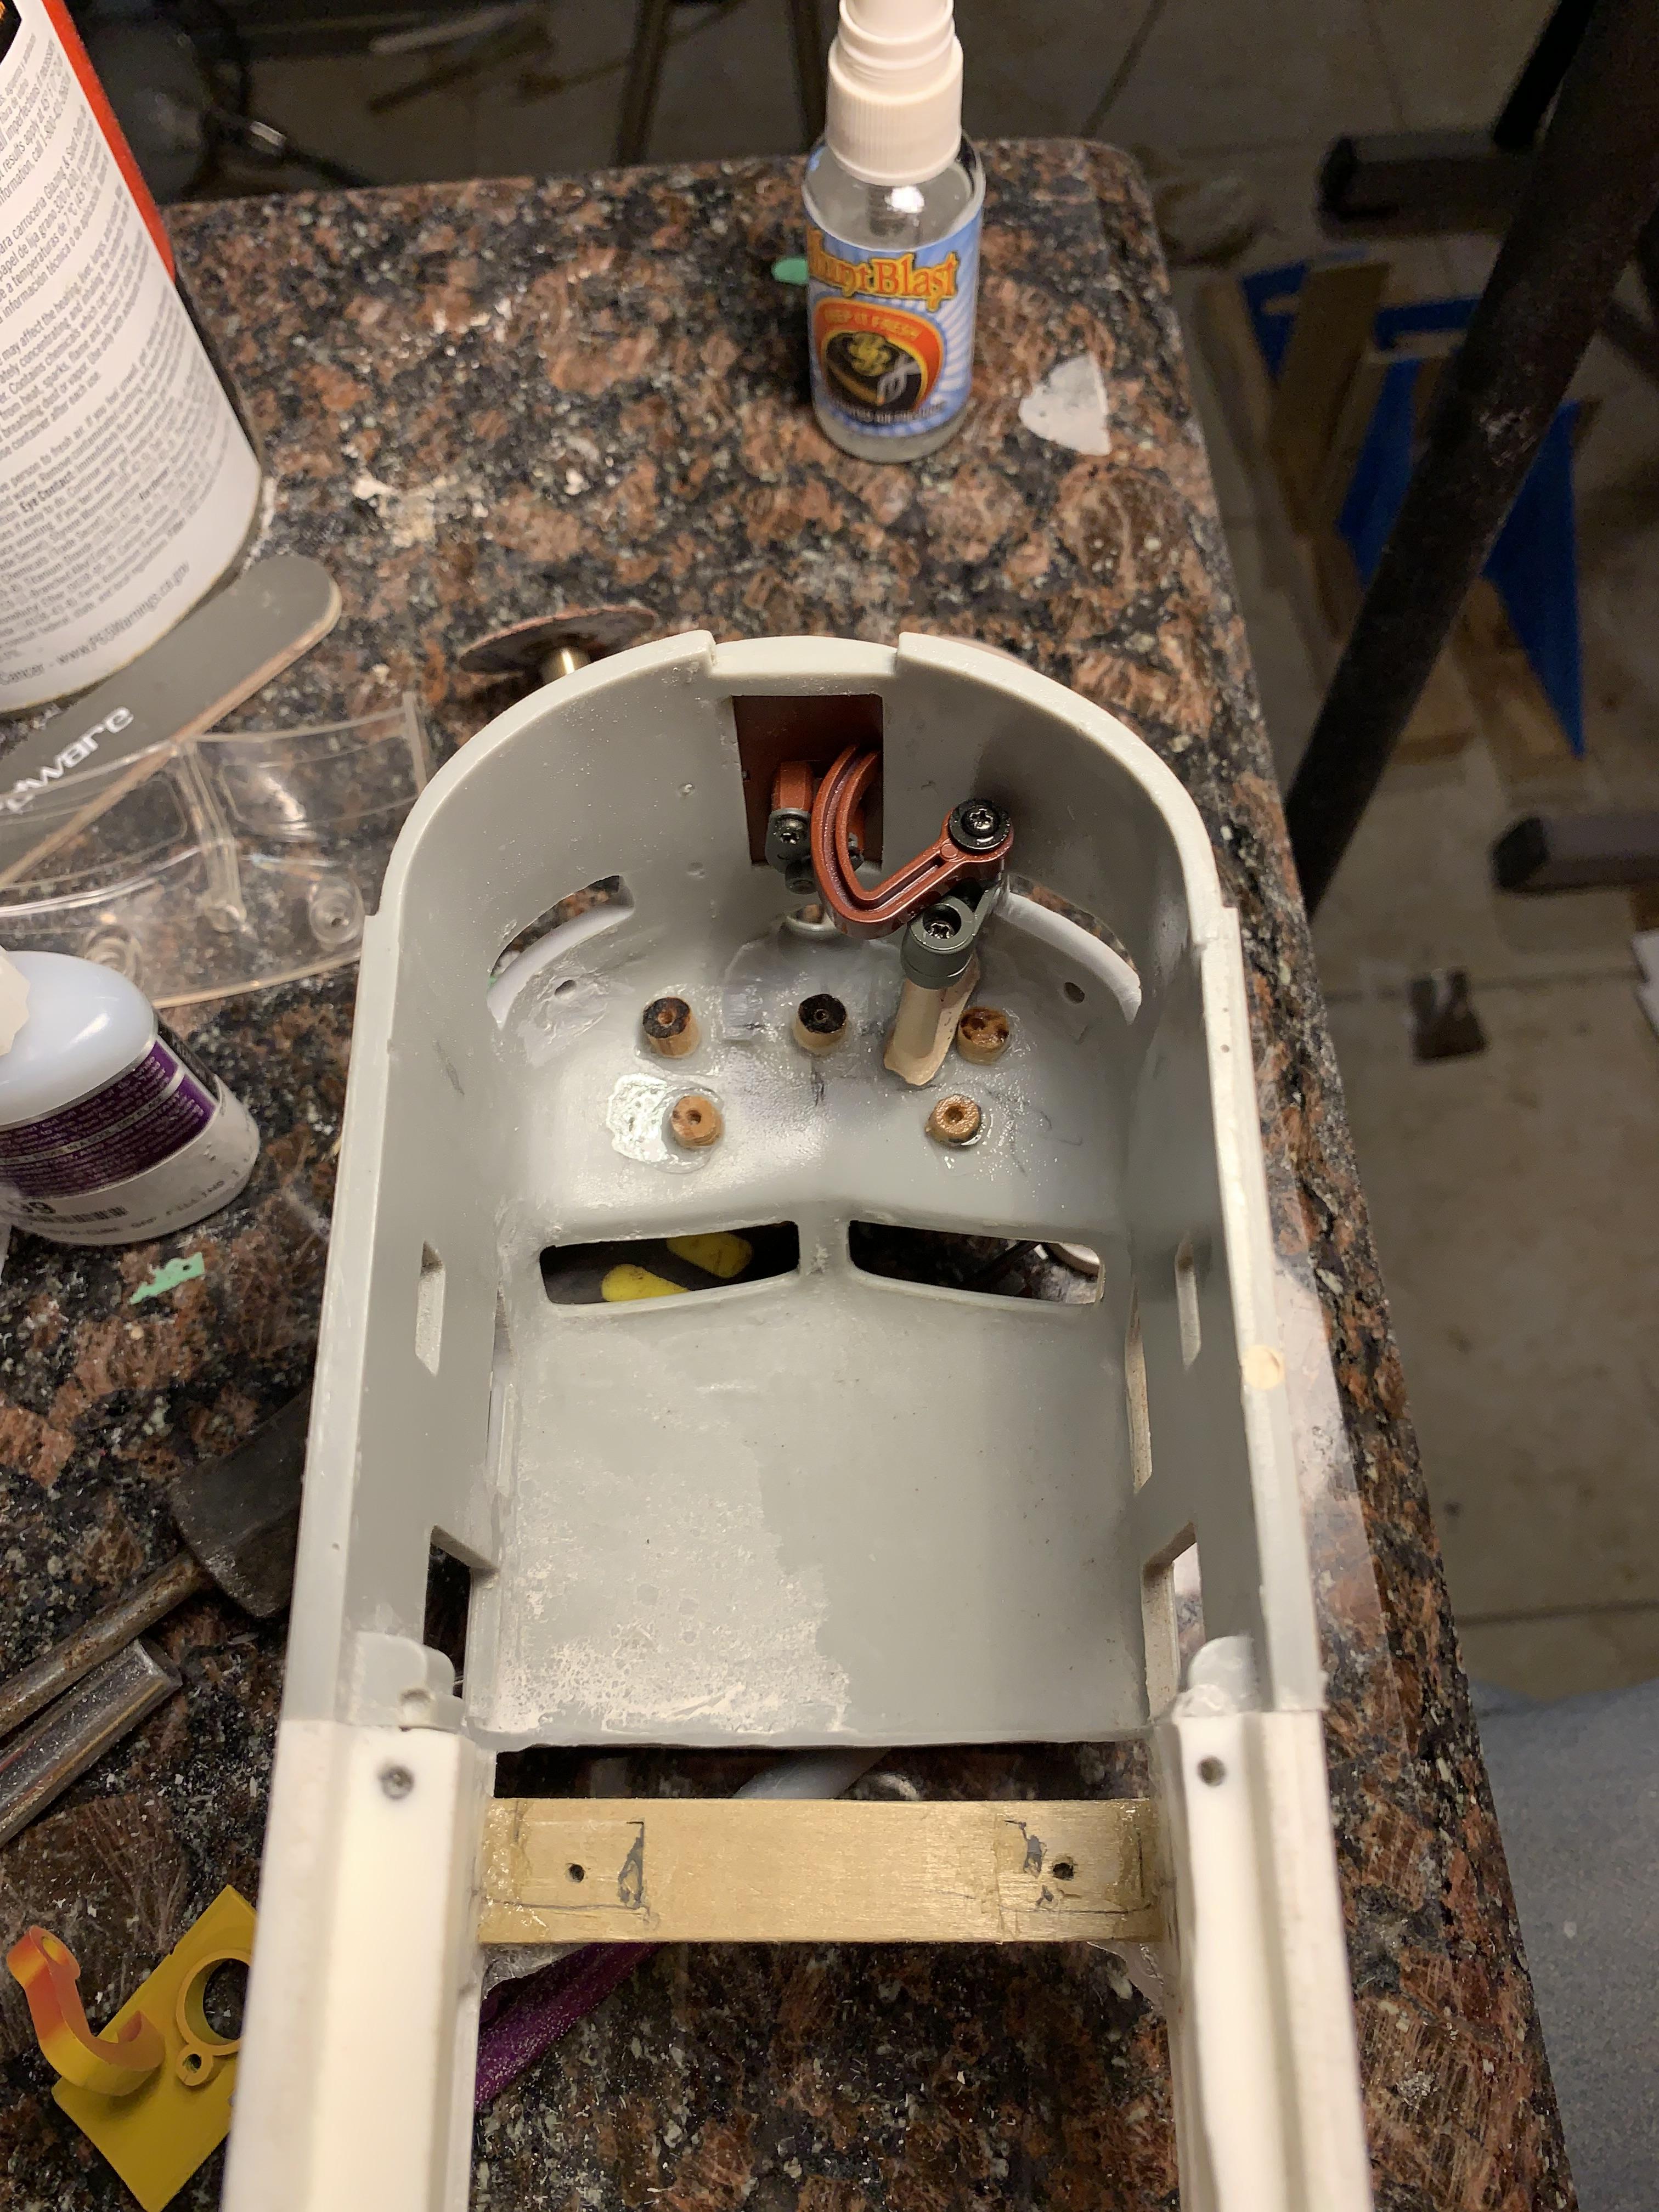
The mounts for the door, lights, cockpit have been mounted. Also the diaphrams have been fitted. This is plus for building in 1:32, even parts from other manufacturers fit. The door fits perfectly. Bob.
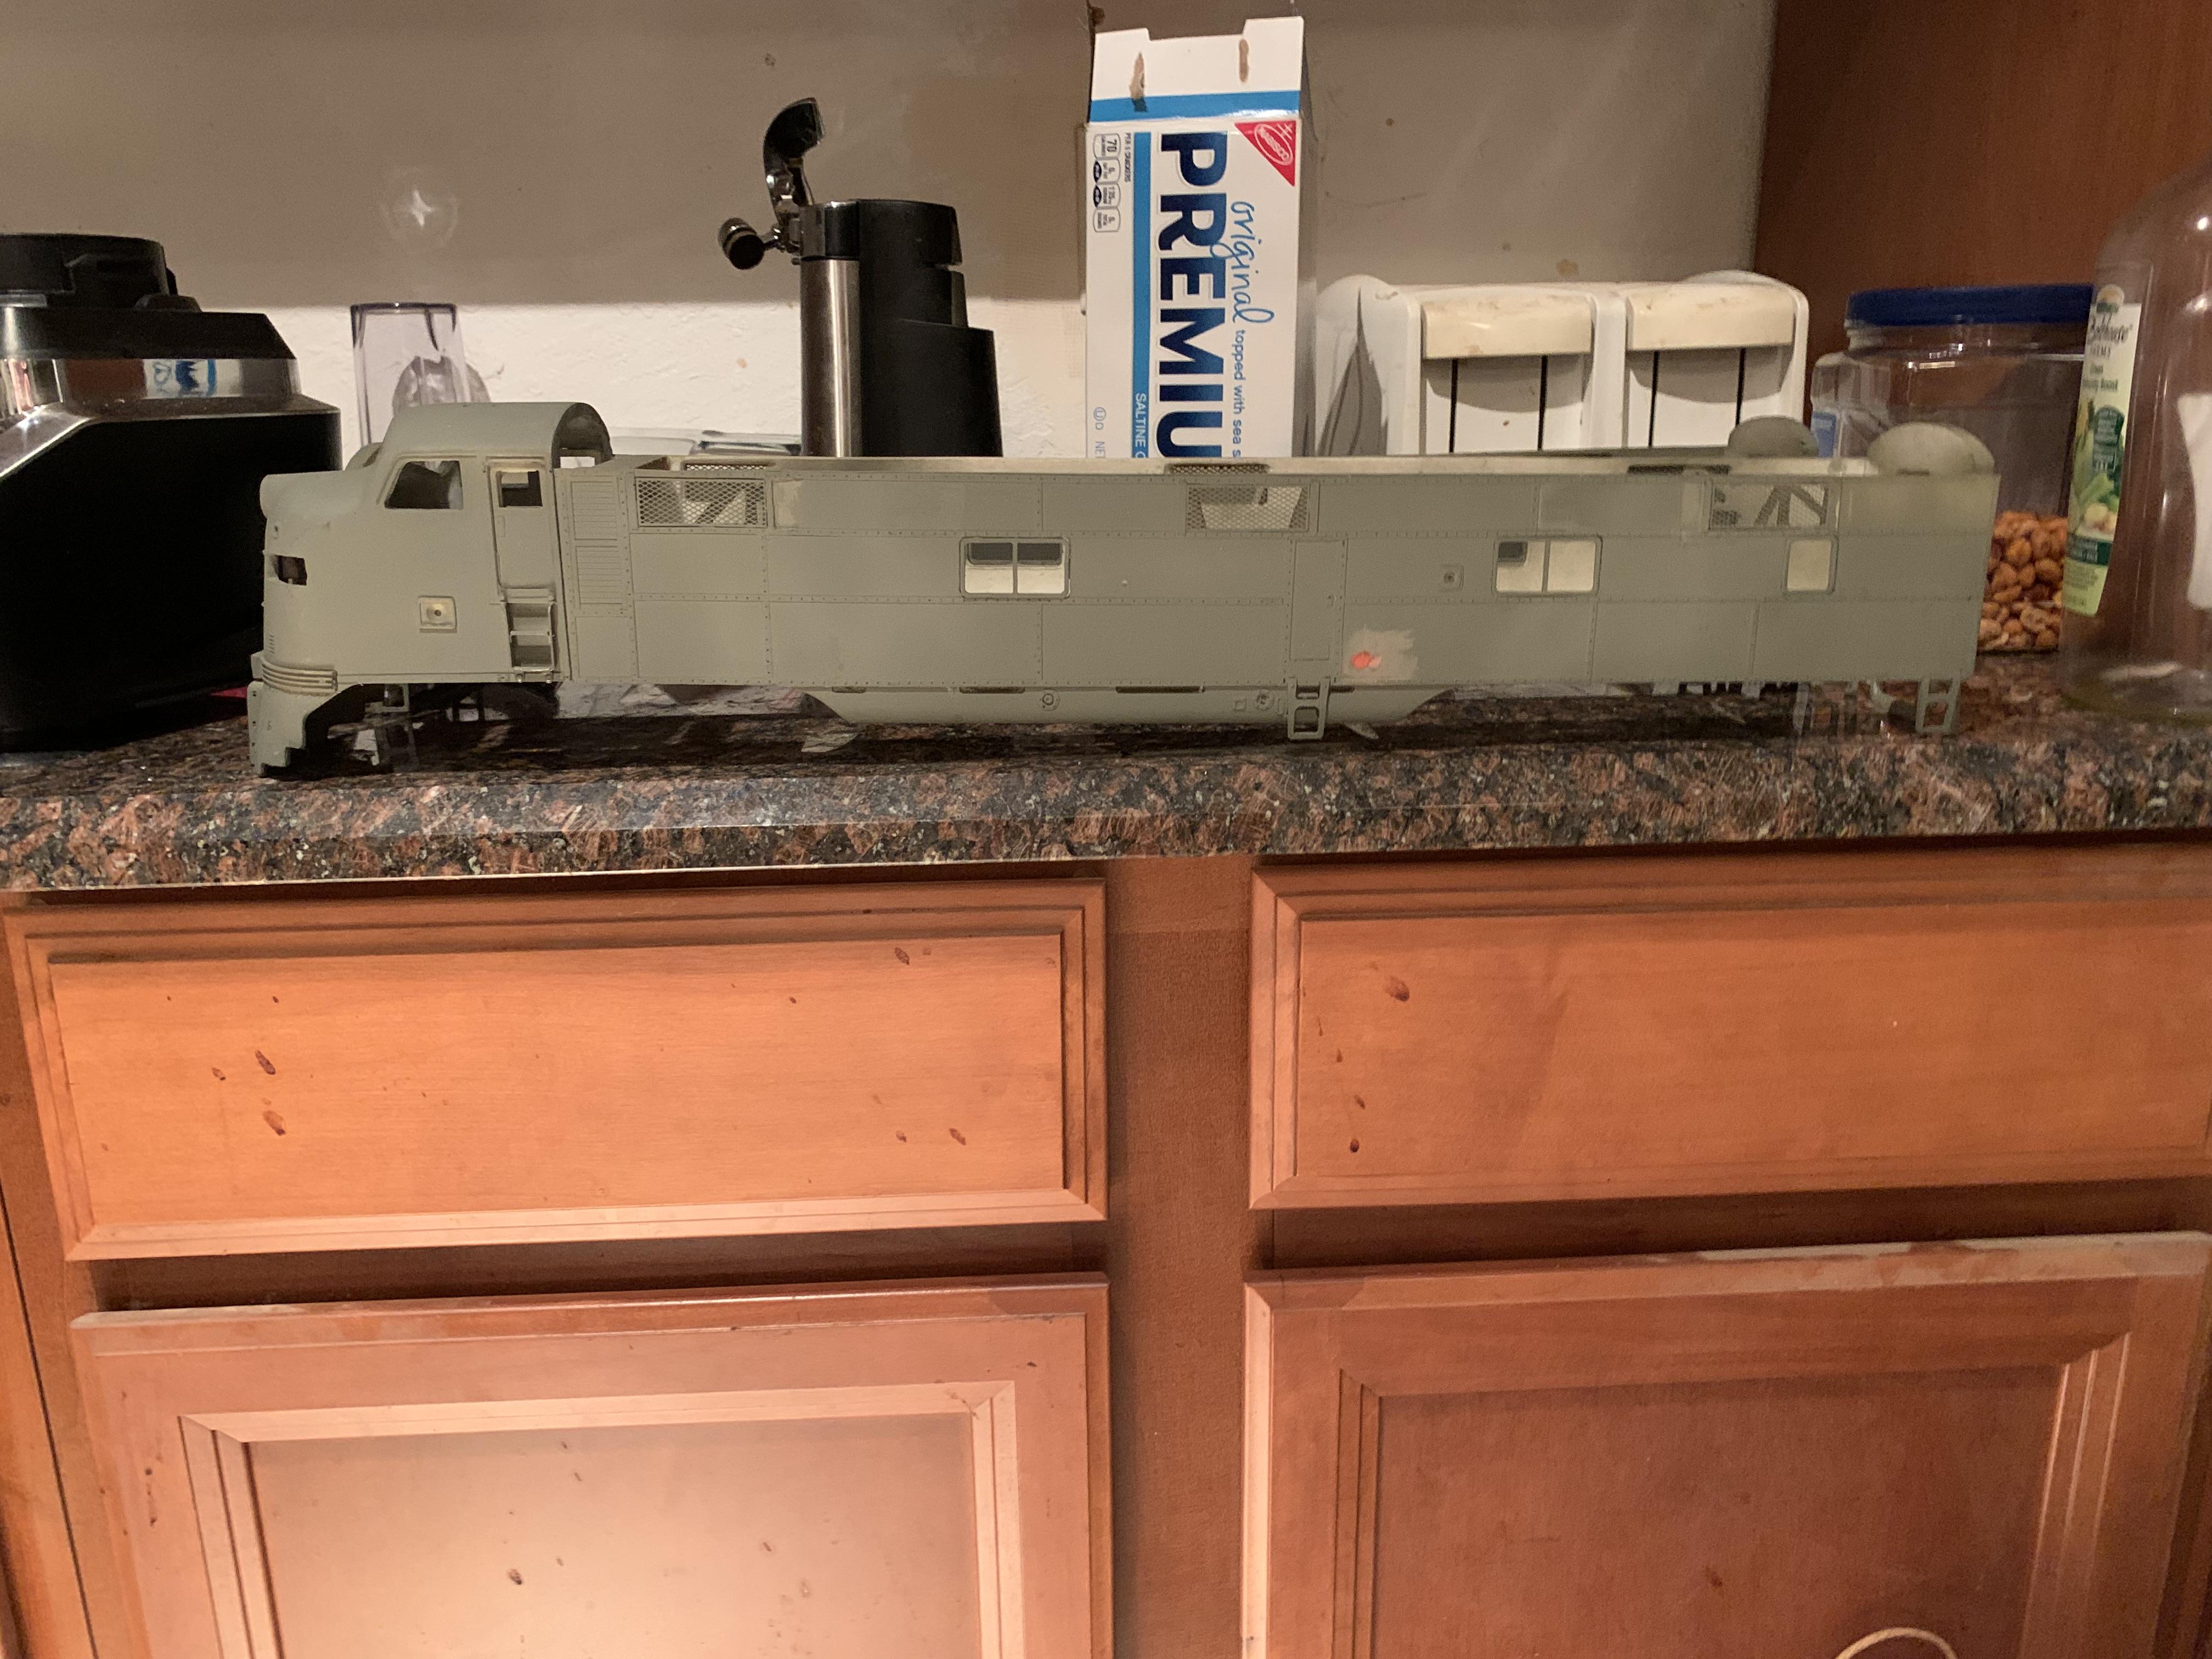
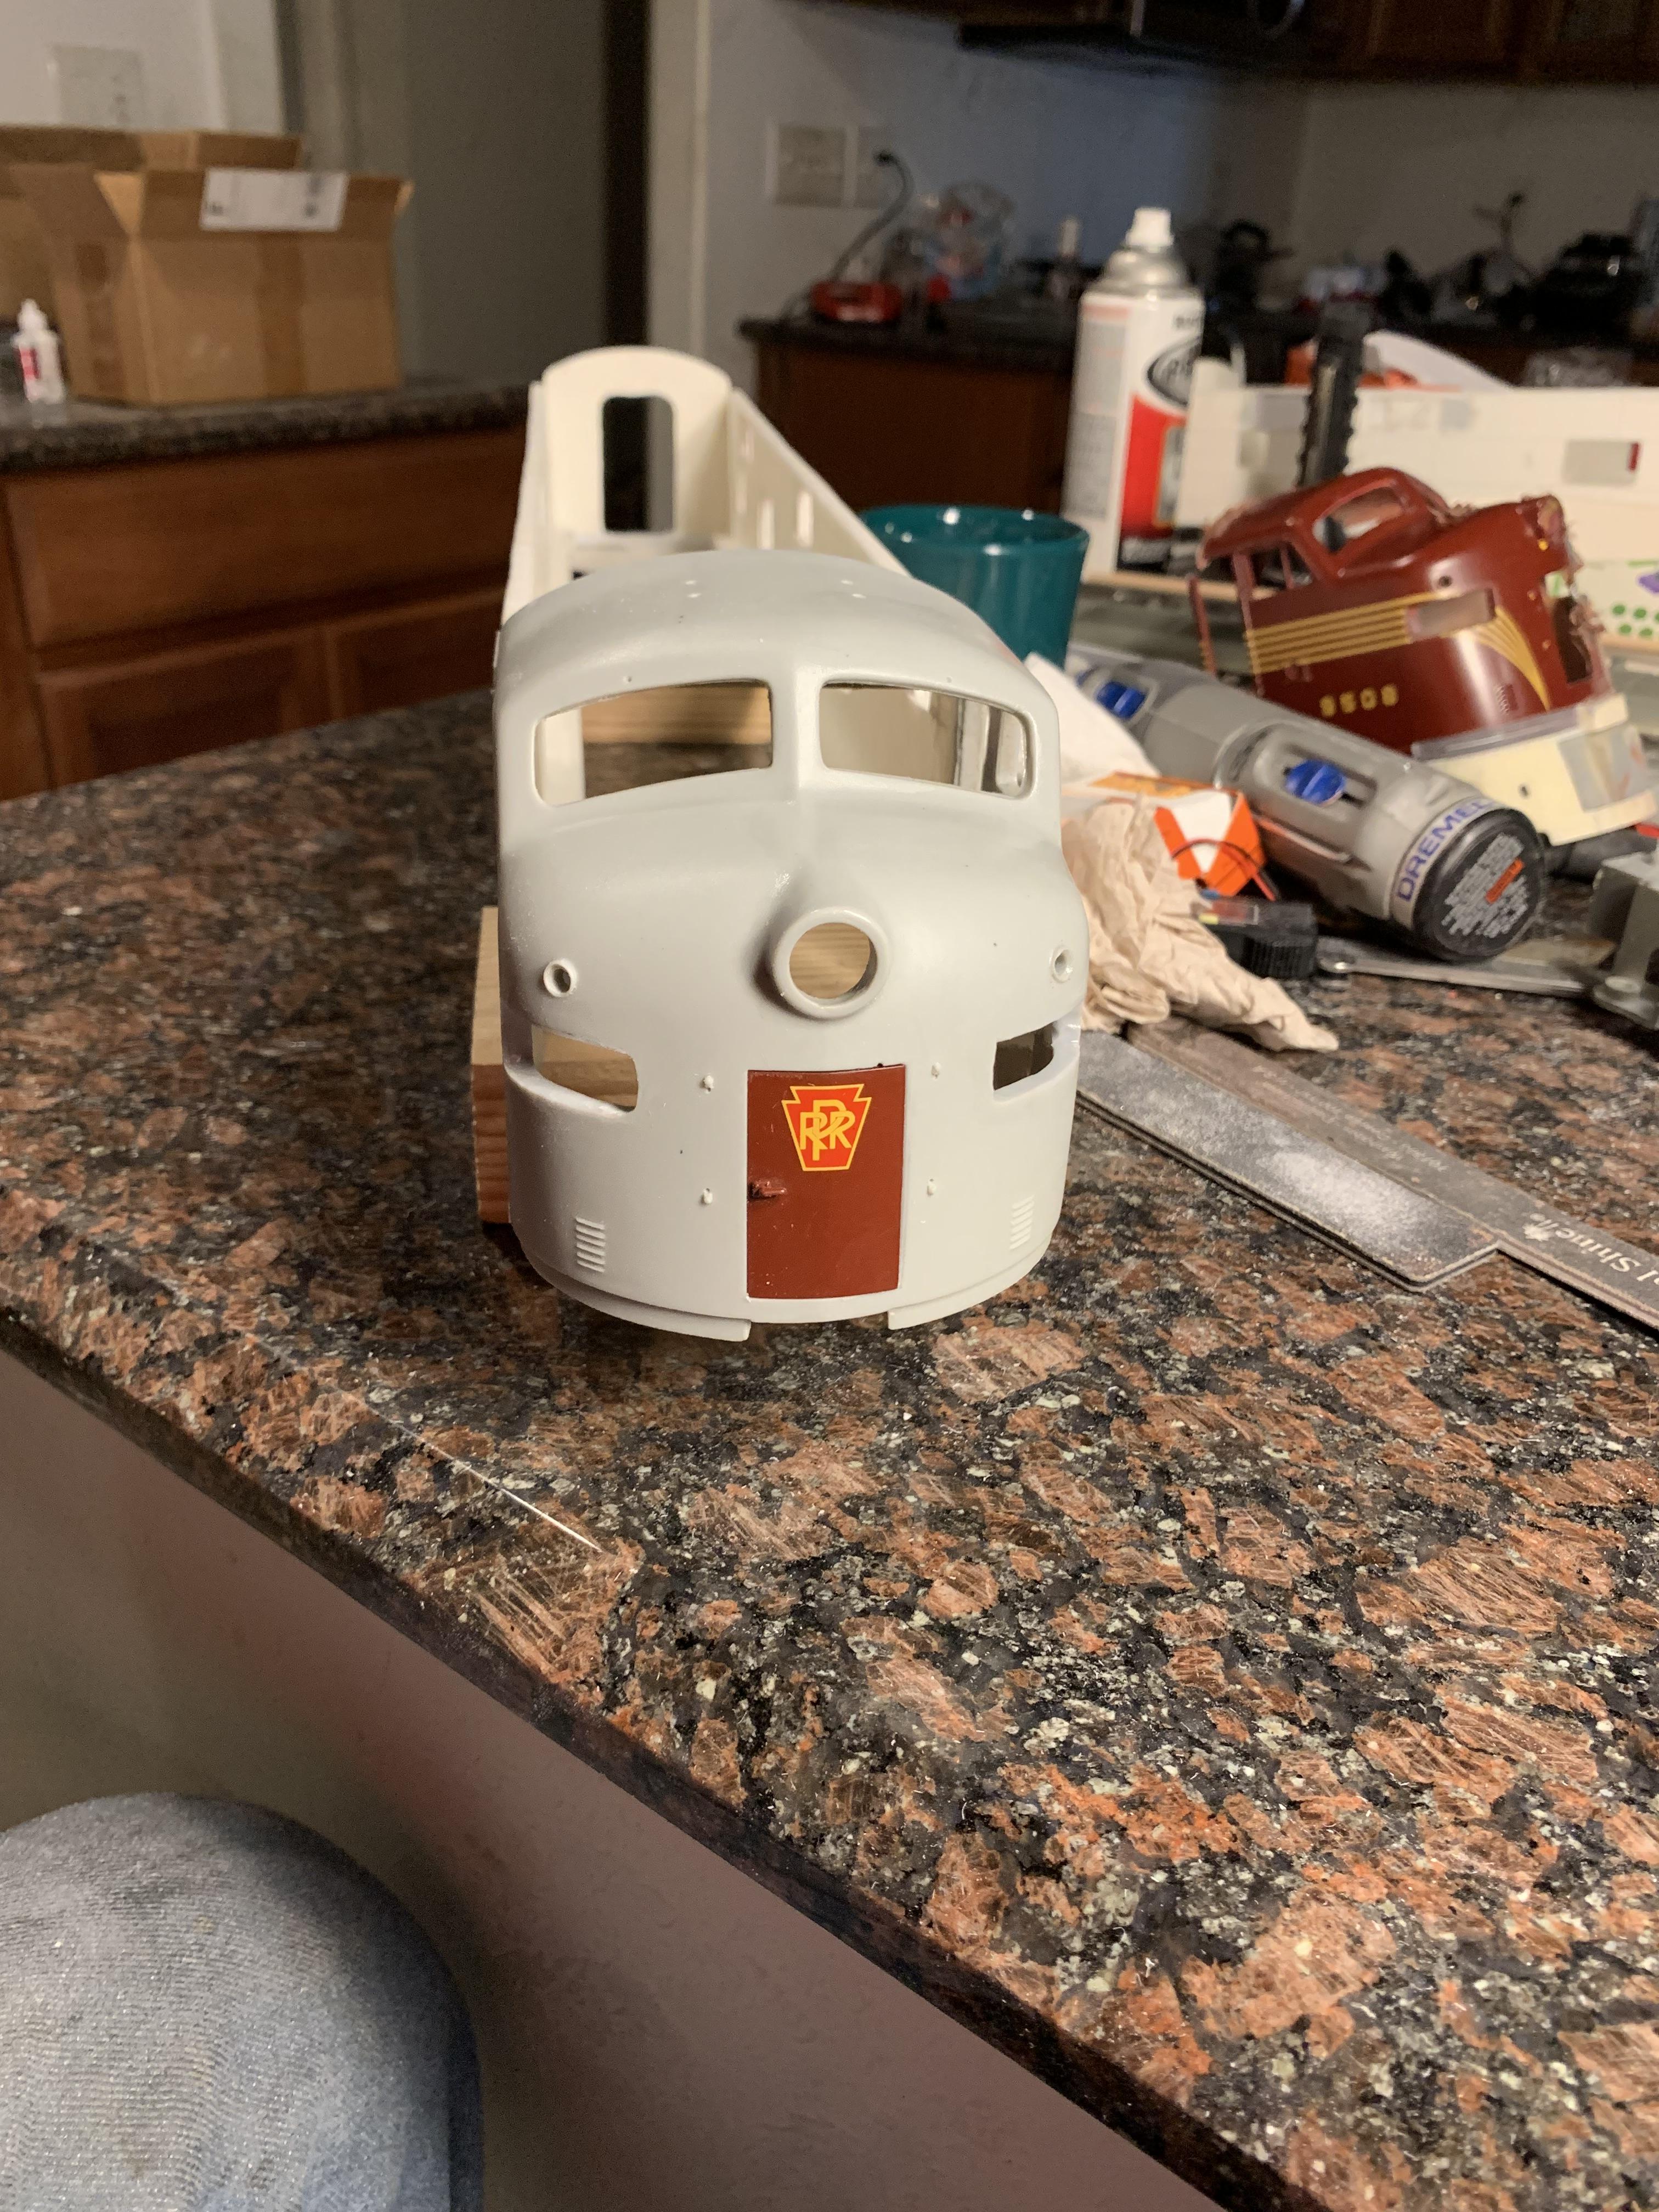
I have changed my mind about using the MTH cab. I removed the cab and replaced it with the Rich Garich cab as it looks more accurate than the MTH cab. I will have to construct the MTH mounts within the cab for mounting the MTH stuff. Bob.
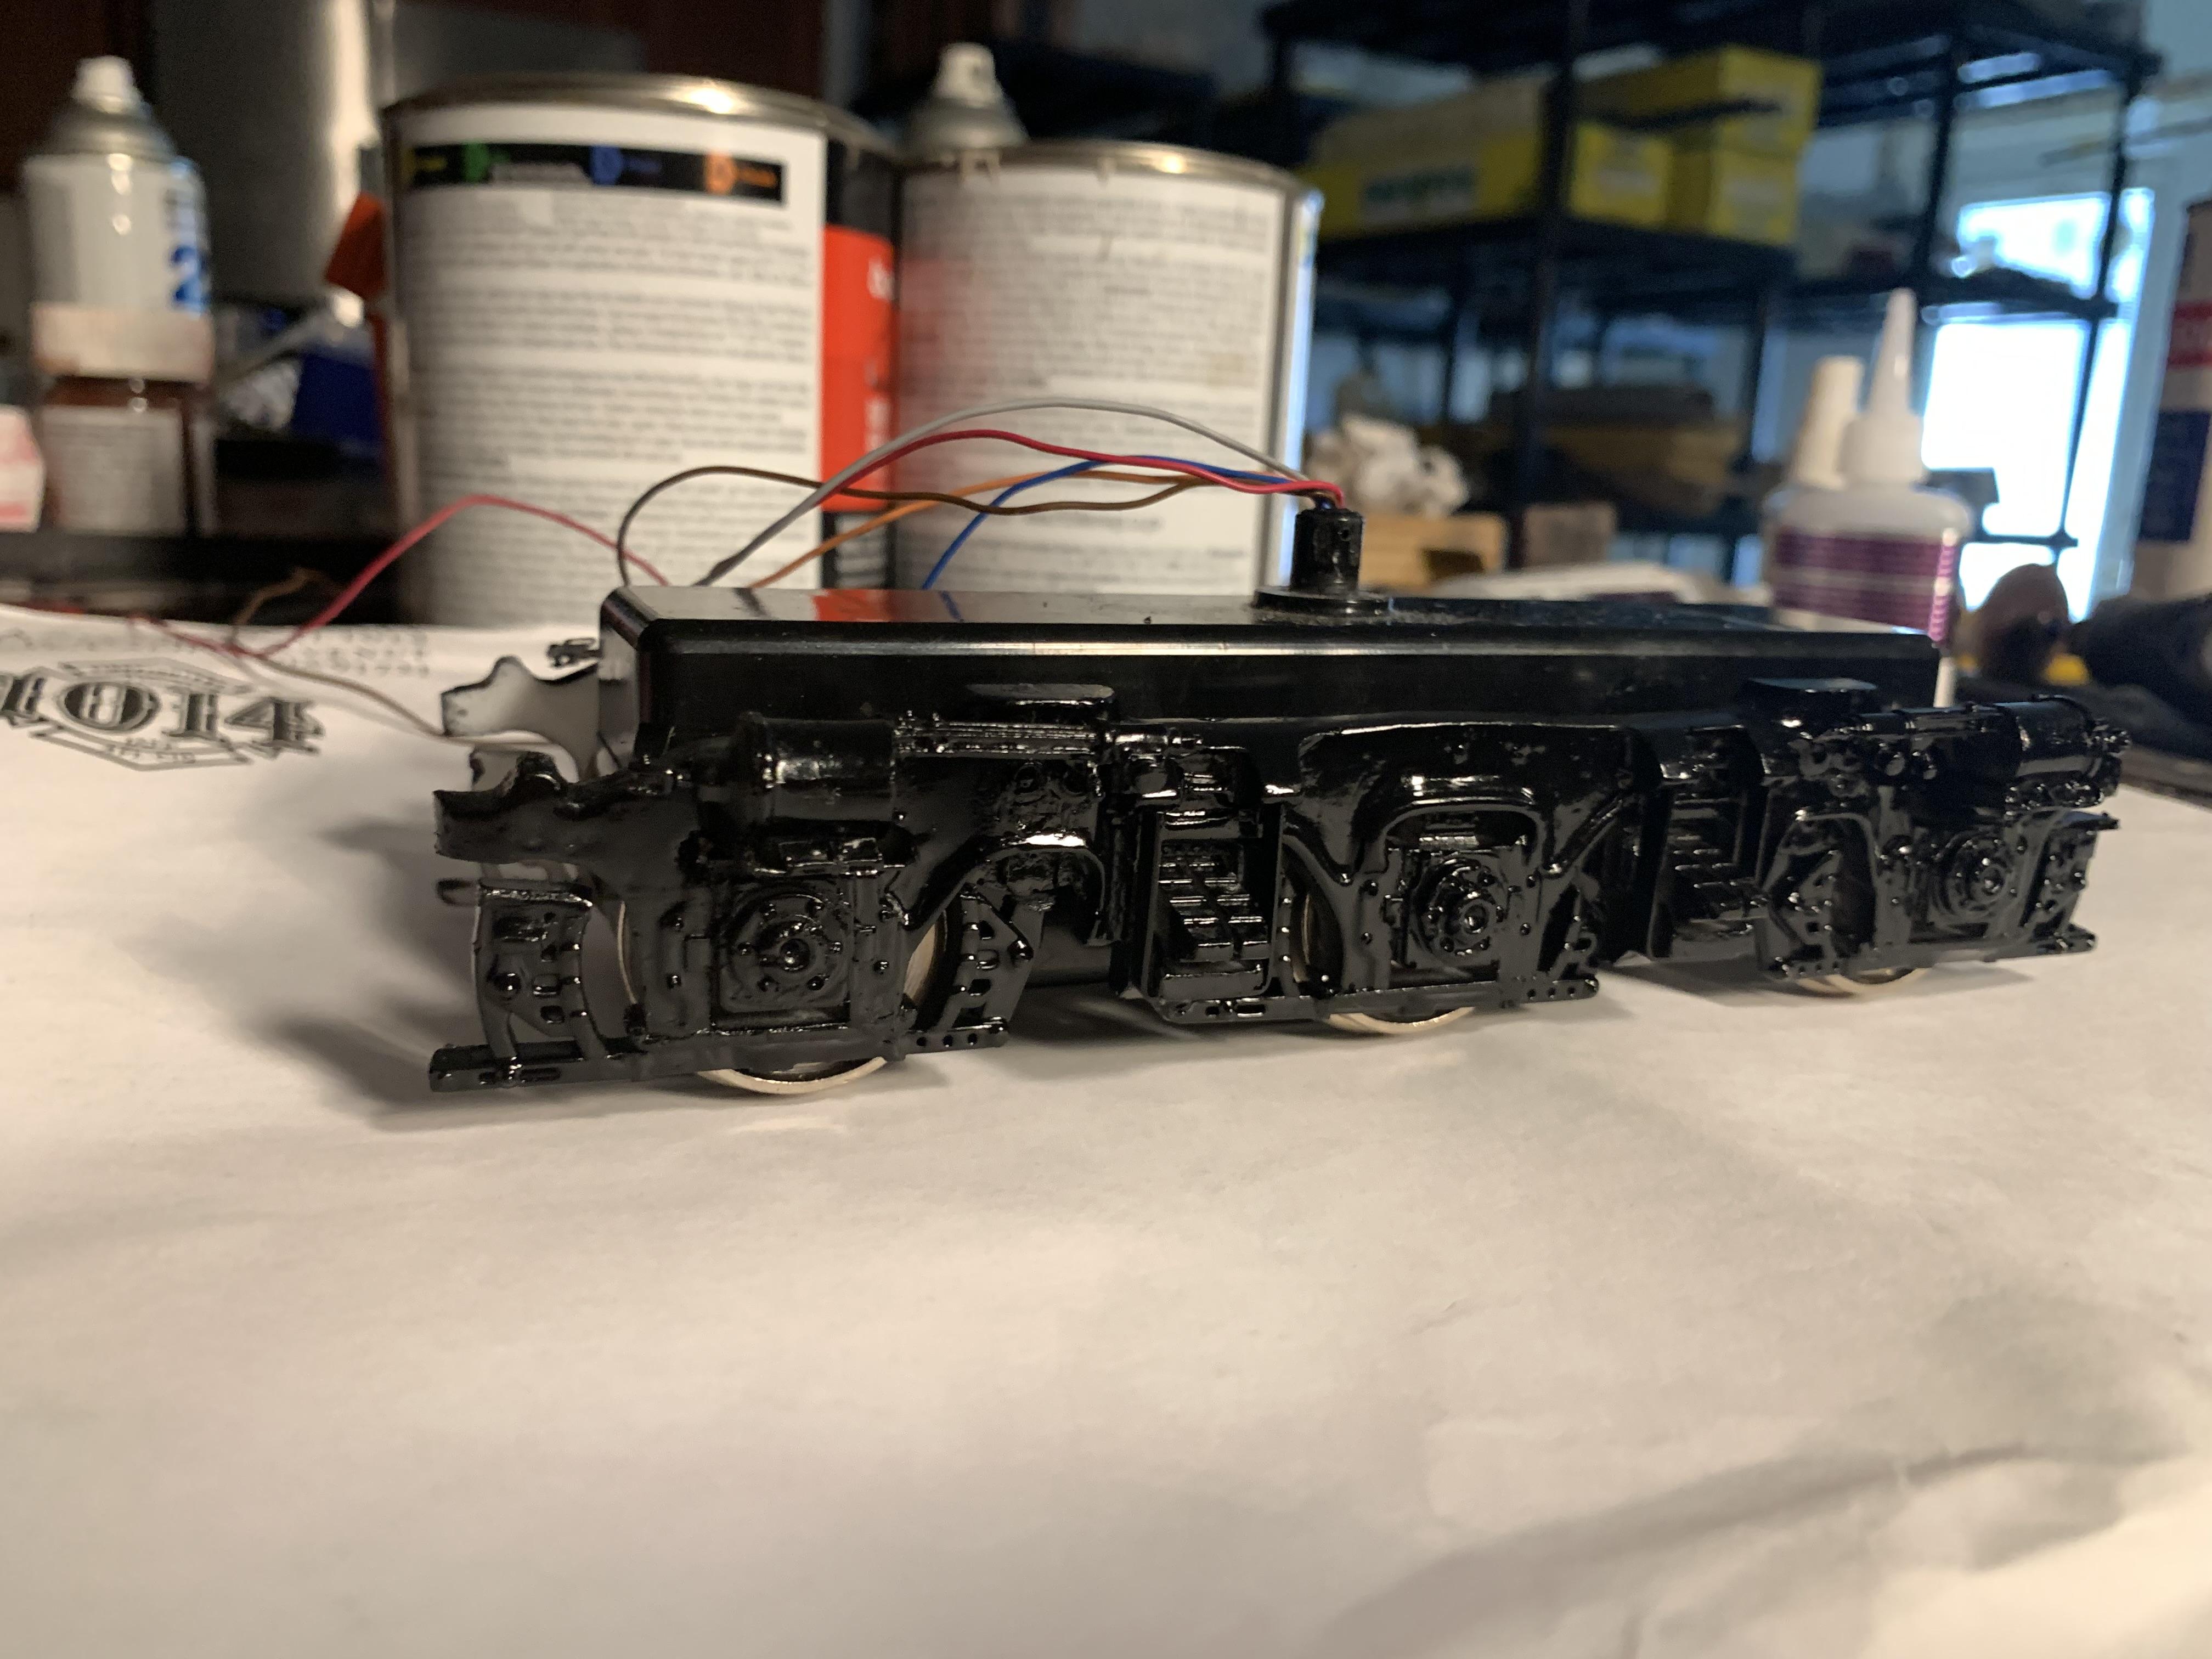
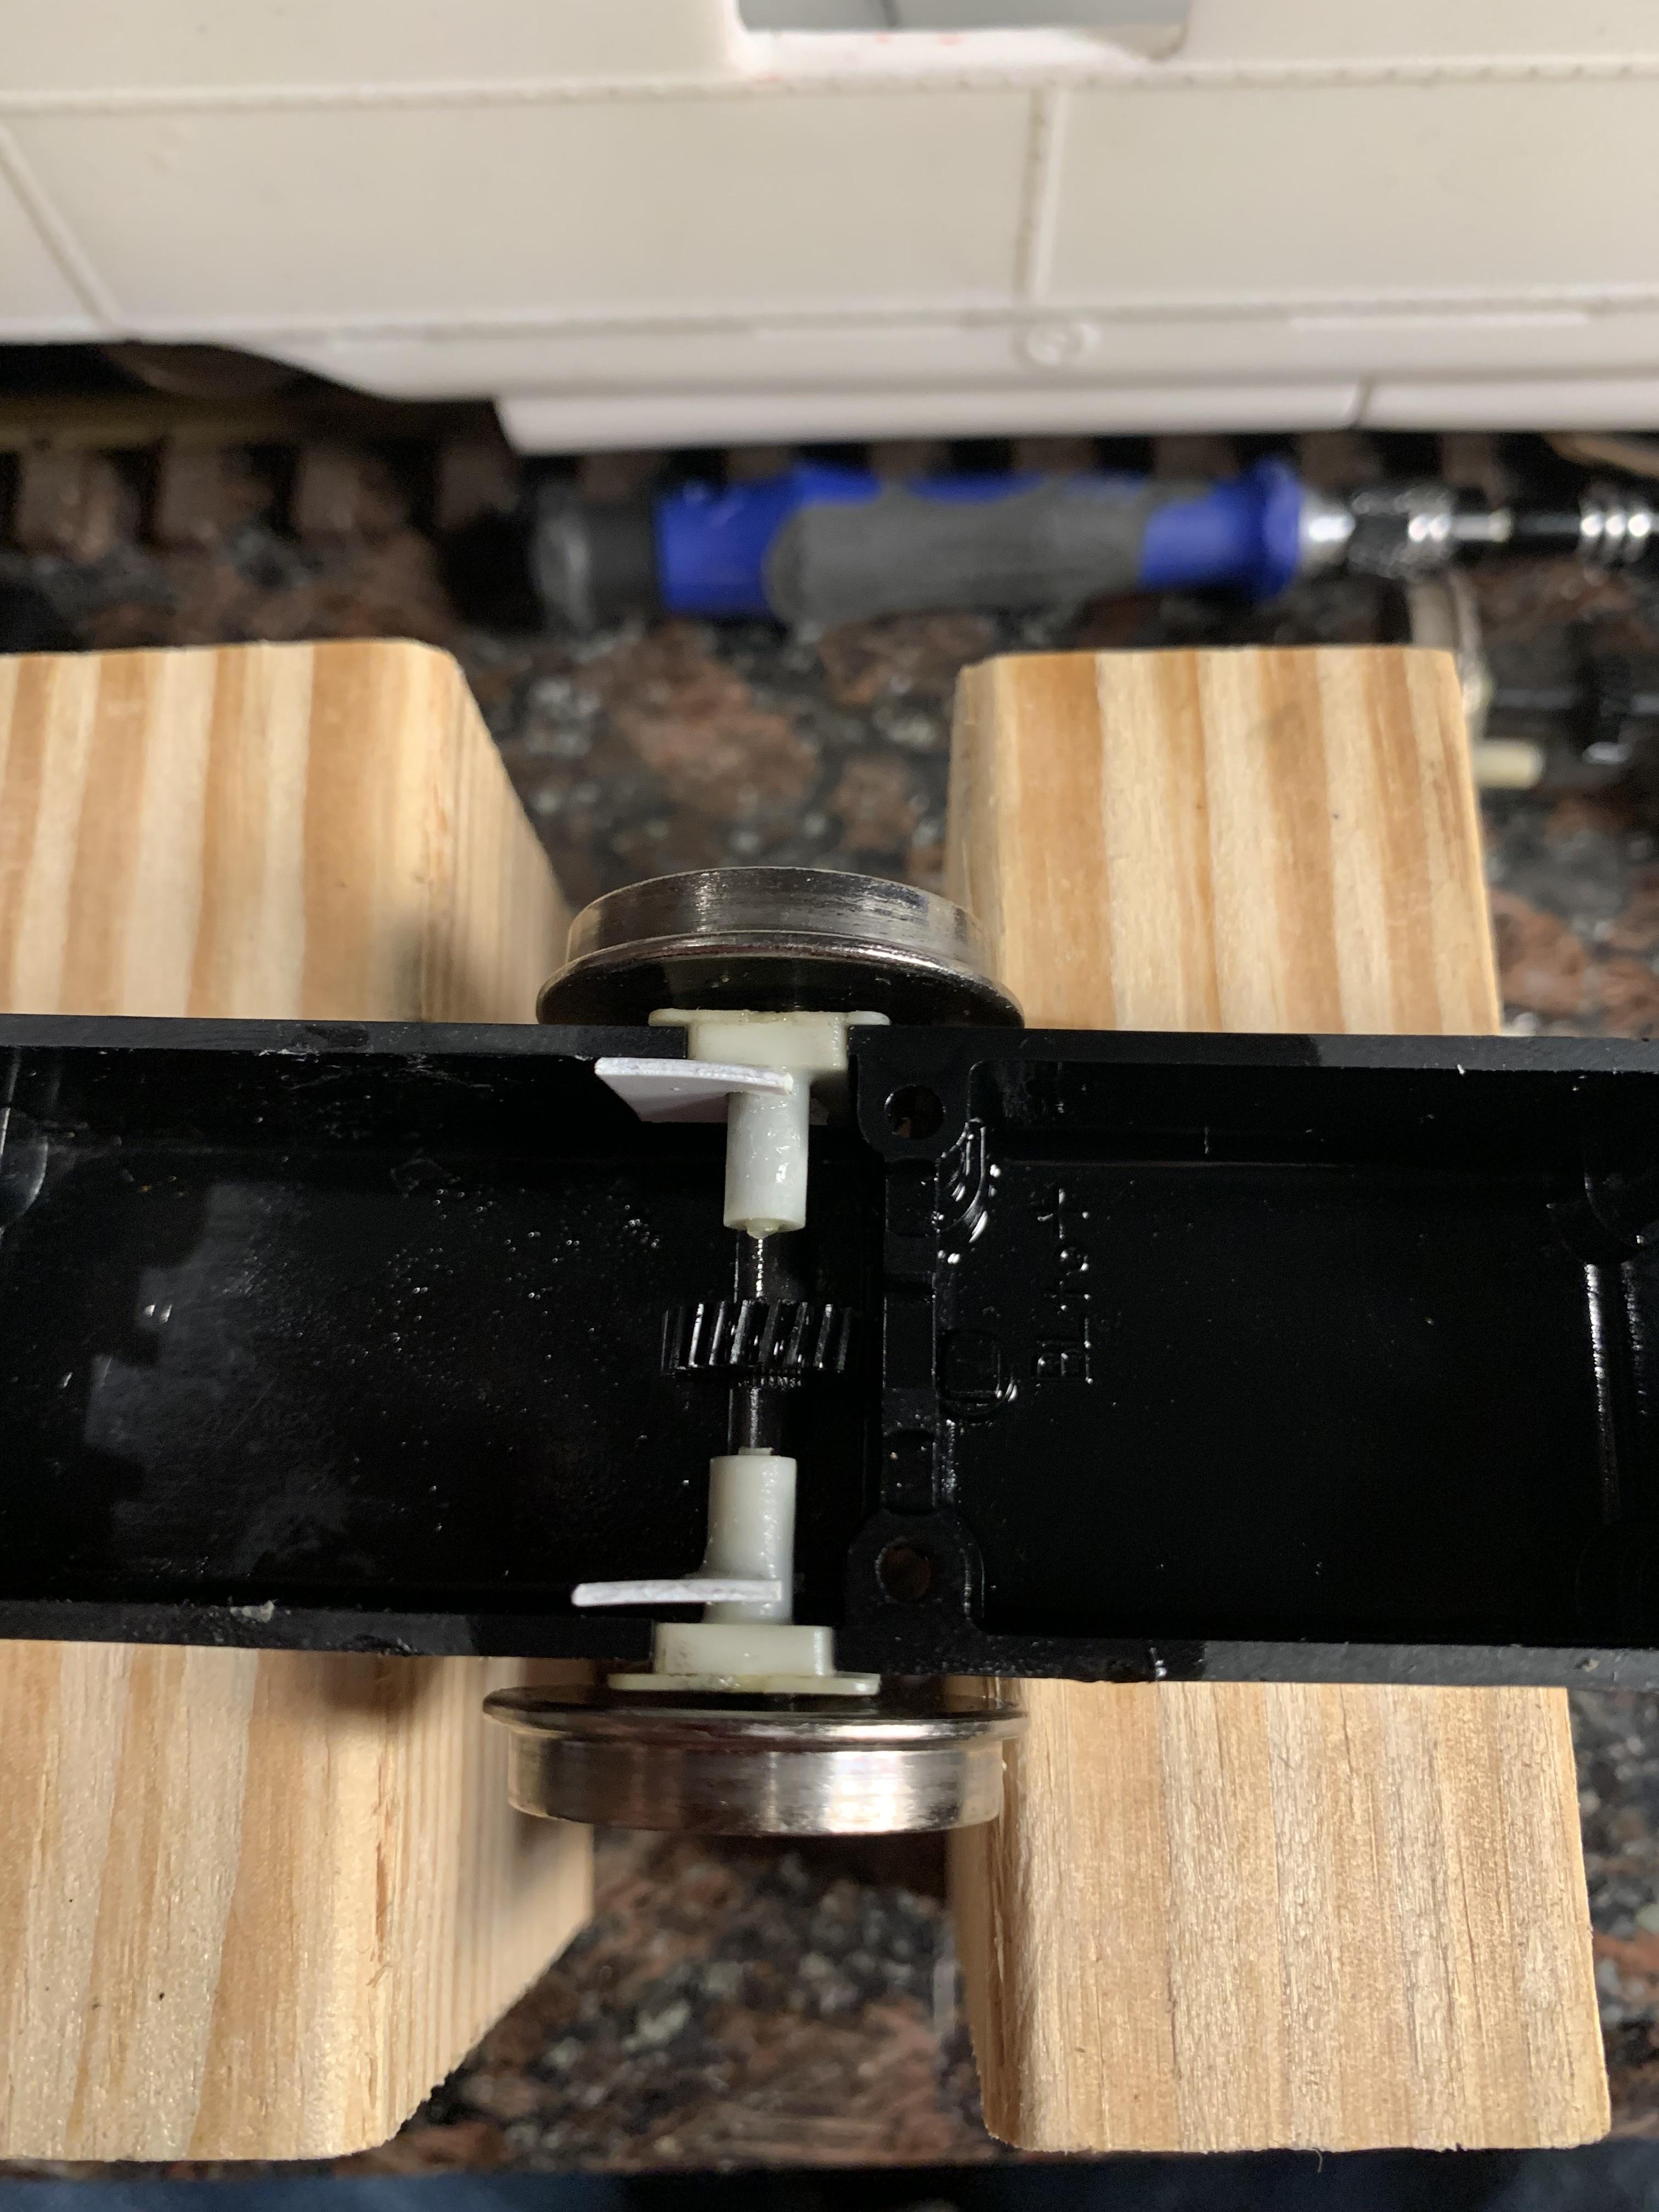
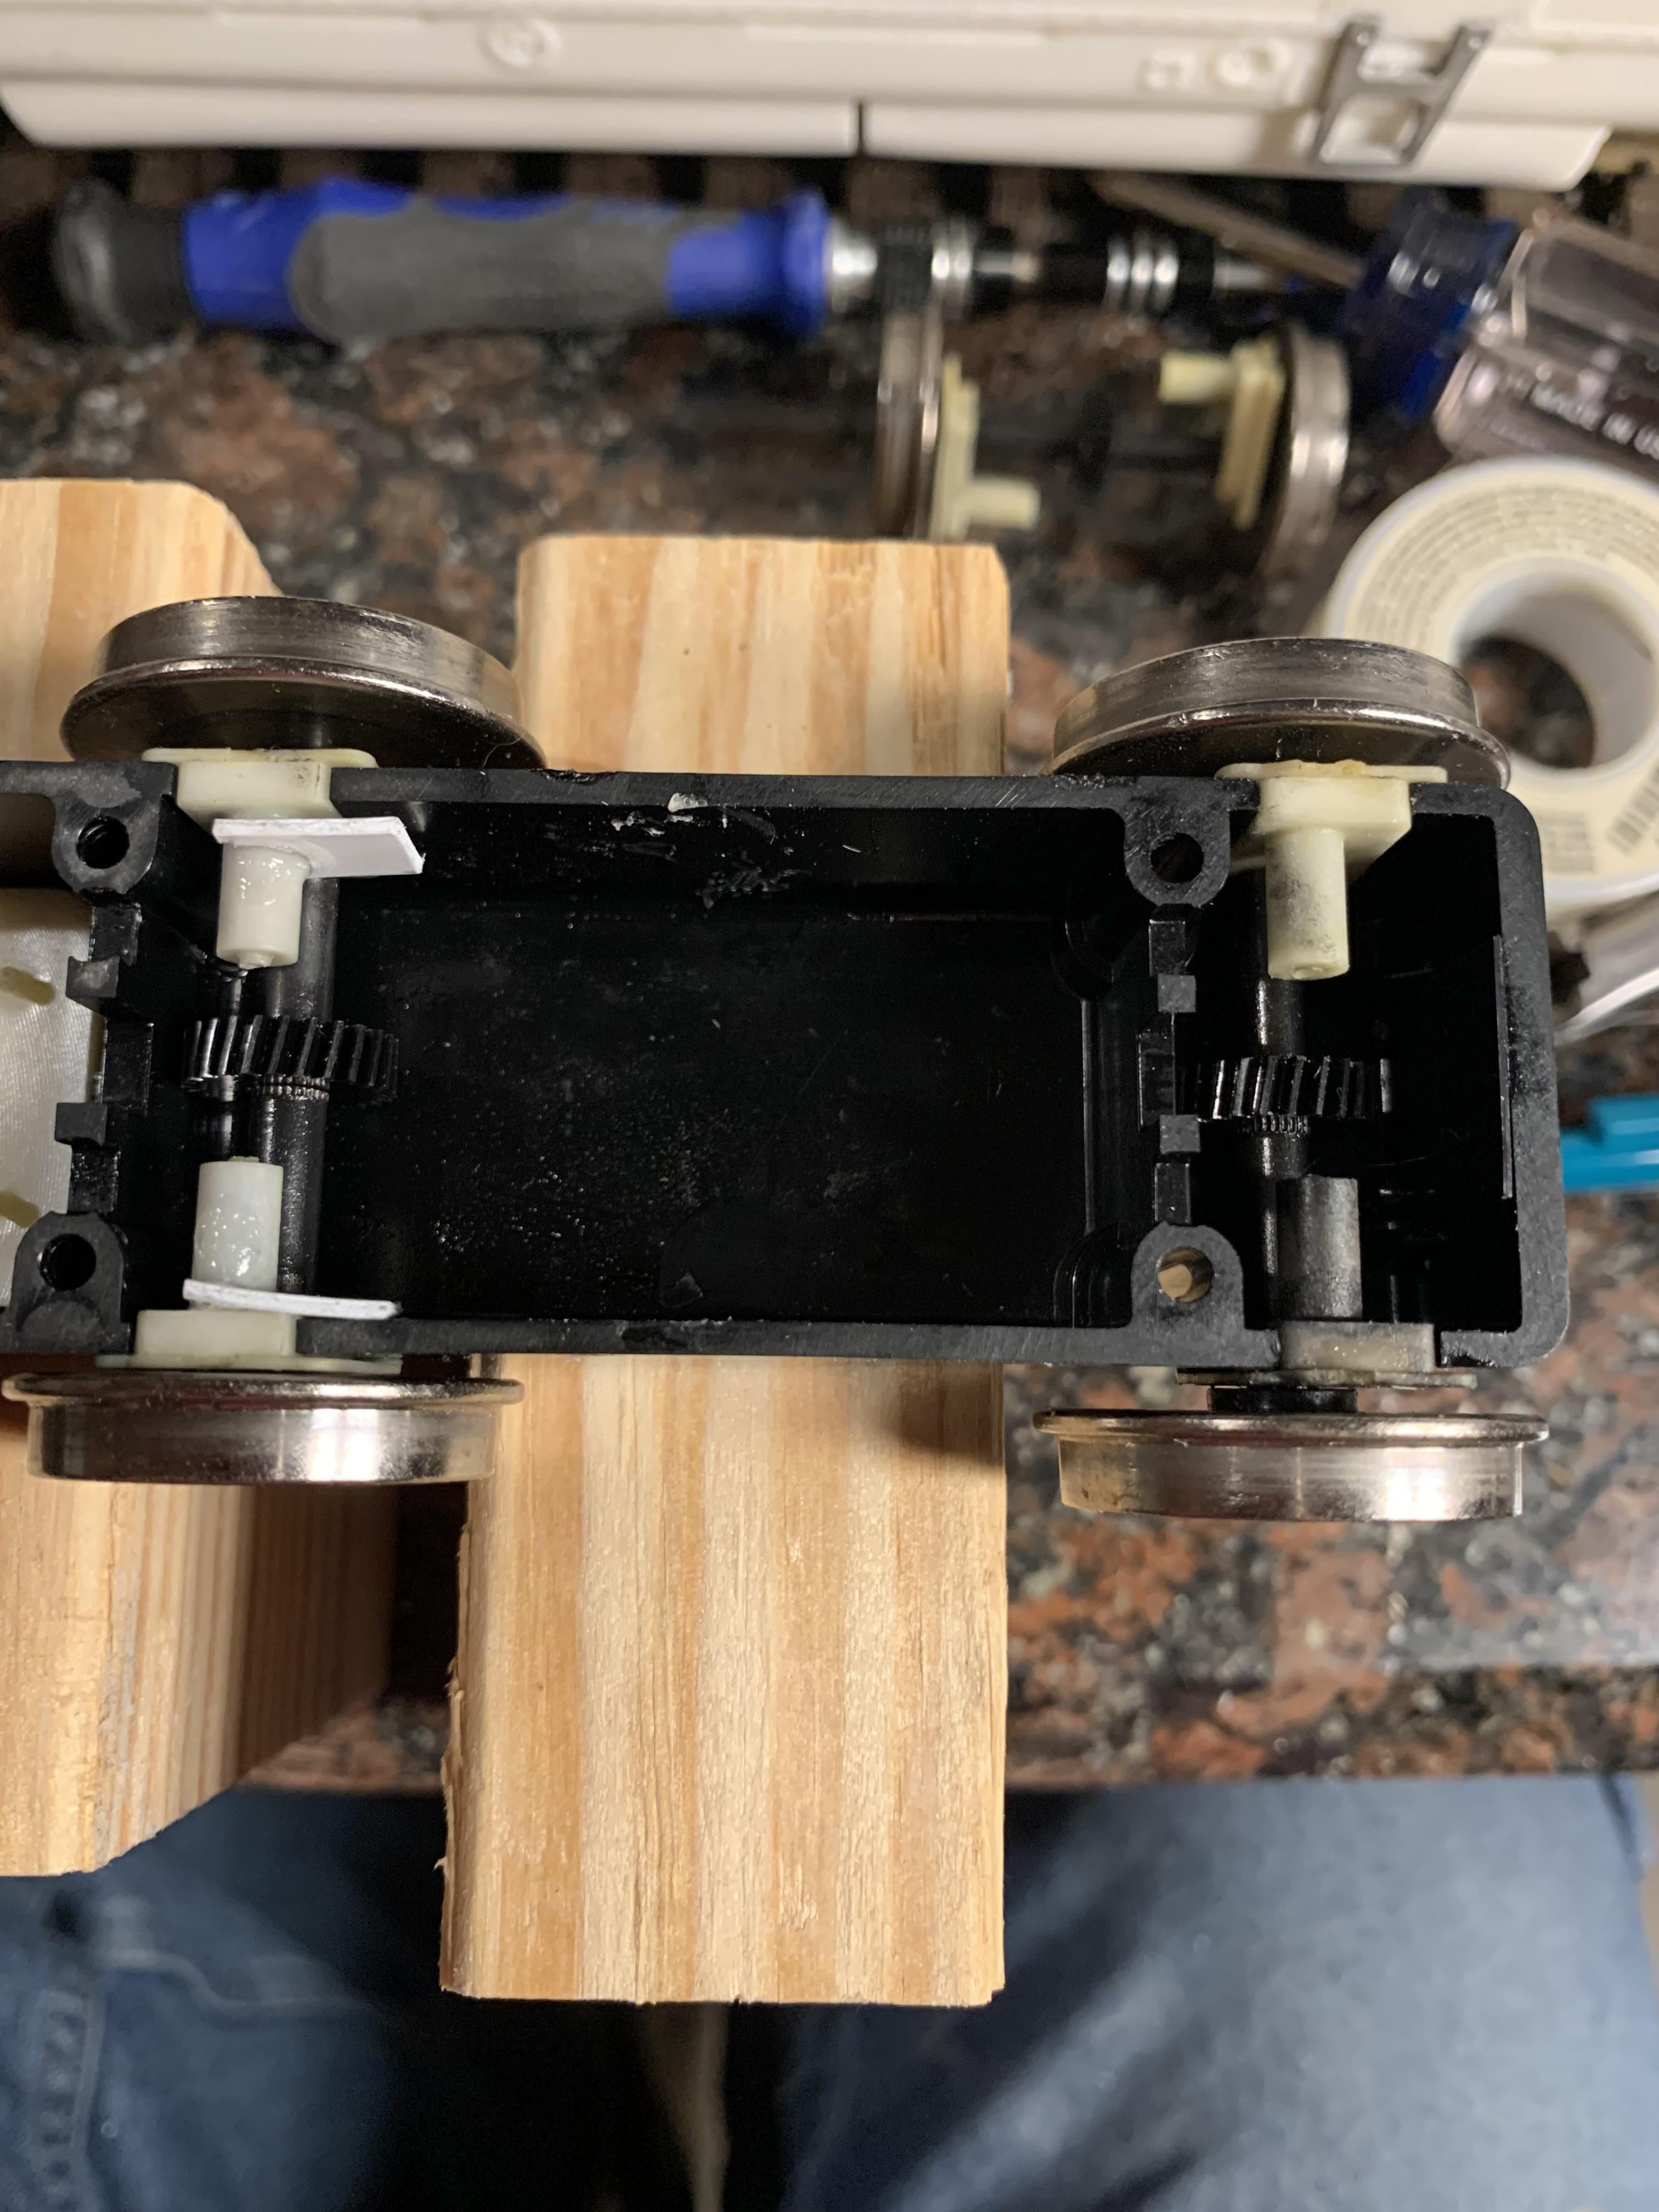
Some of you may know this about the center axle of the 3 axle NWSL block. The center axle does not have bushings between the case and the wheel as the outside axles have. The center one is allowed to float for tighter radii. Well sometimes the pickup bearing will float outside the case and cause the axle to tilt. It will not right itself, so the only way to correct this is to disassemble the block and re install this bearing. The white tabs that you see, were glued on the bearing to prevent the bearing from slipping outside of the case. The axles are still allowed to track back and forth without dislodging.


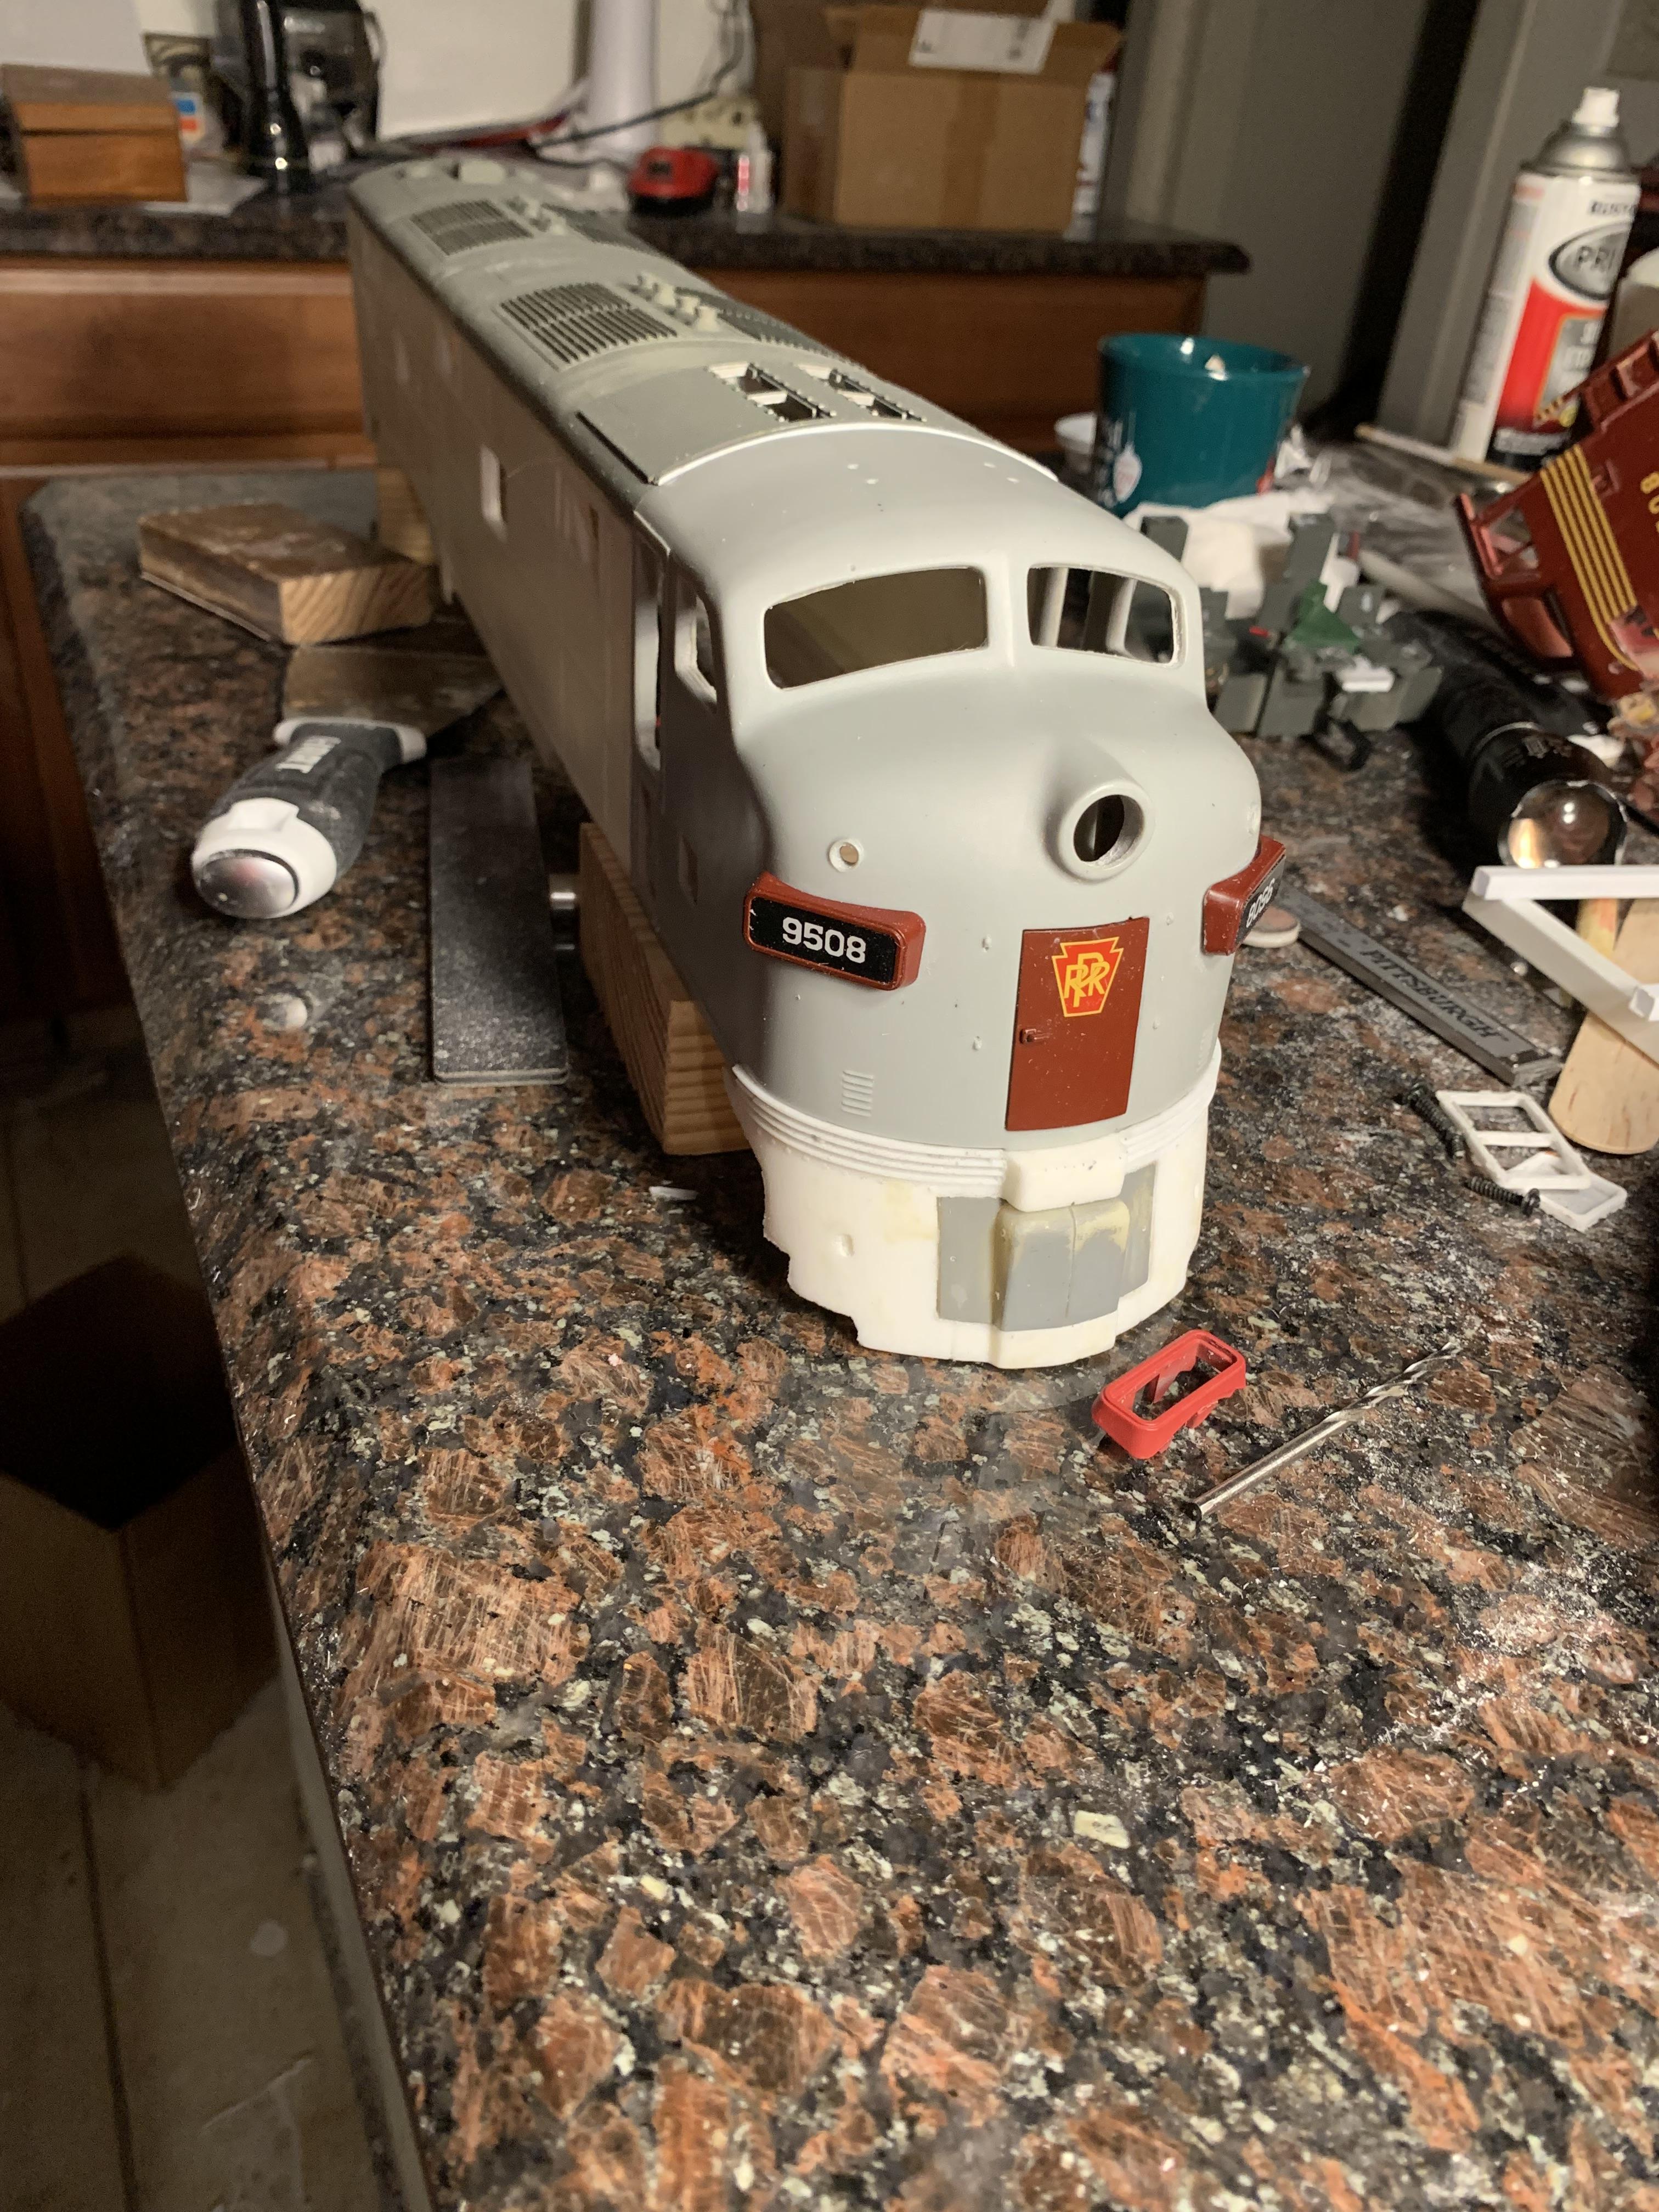
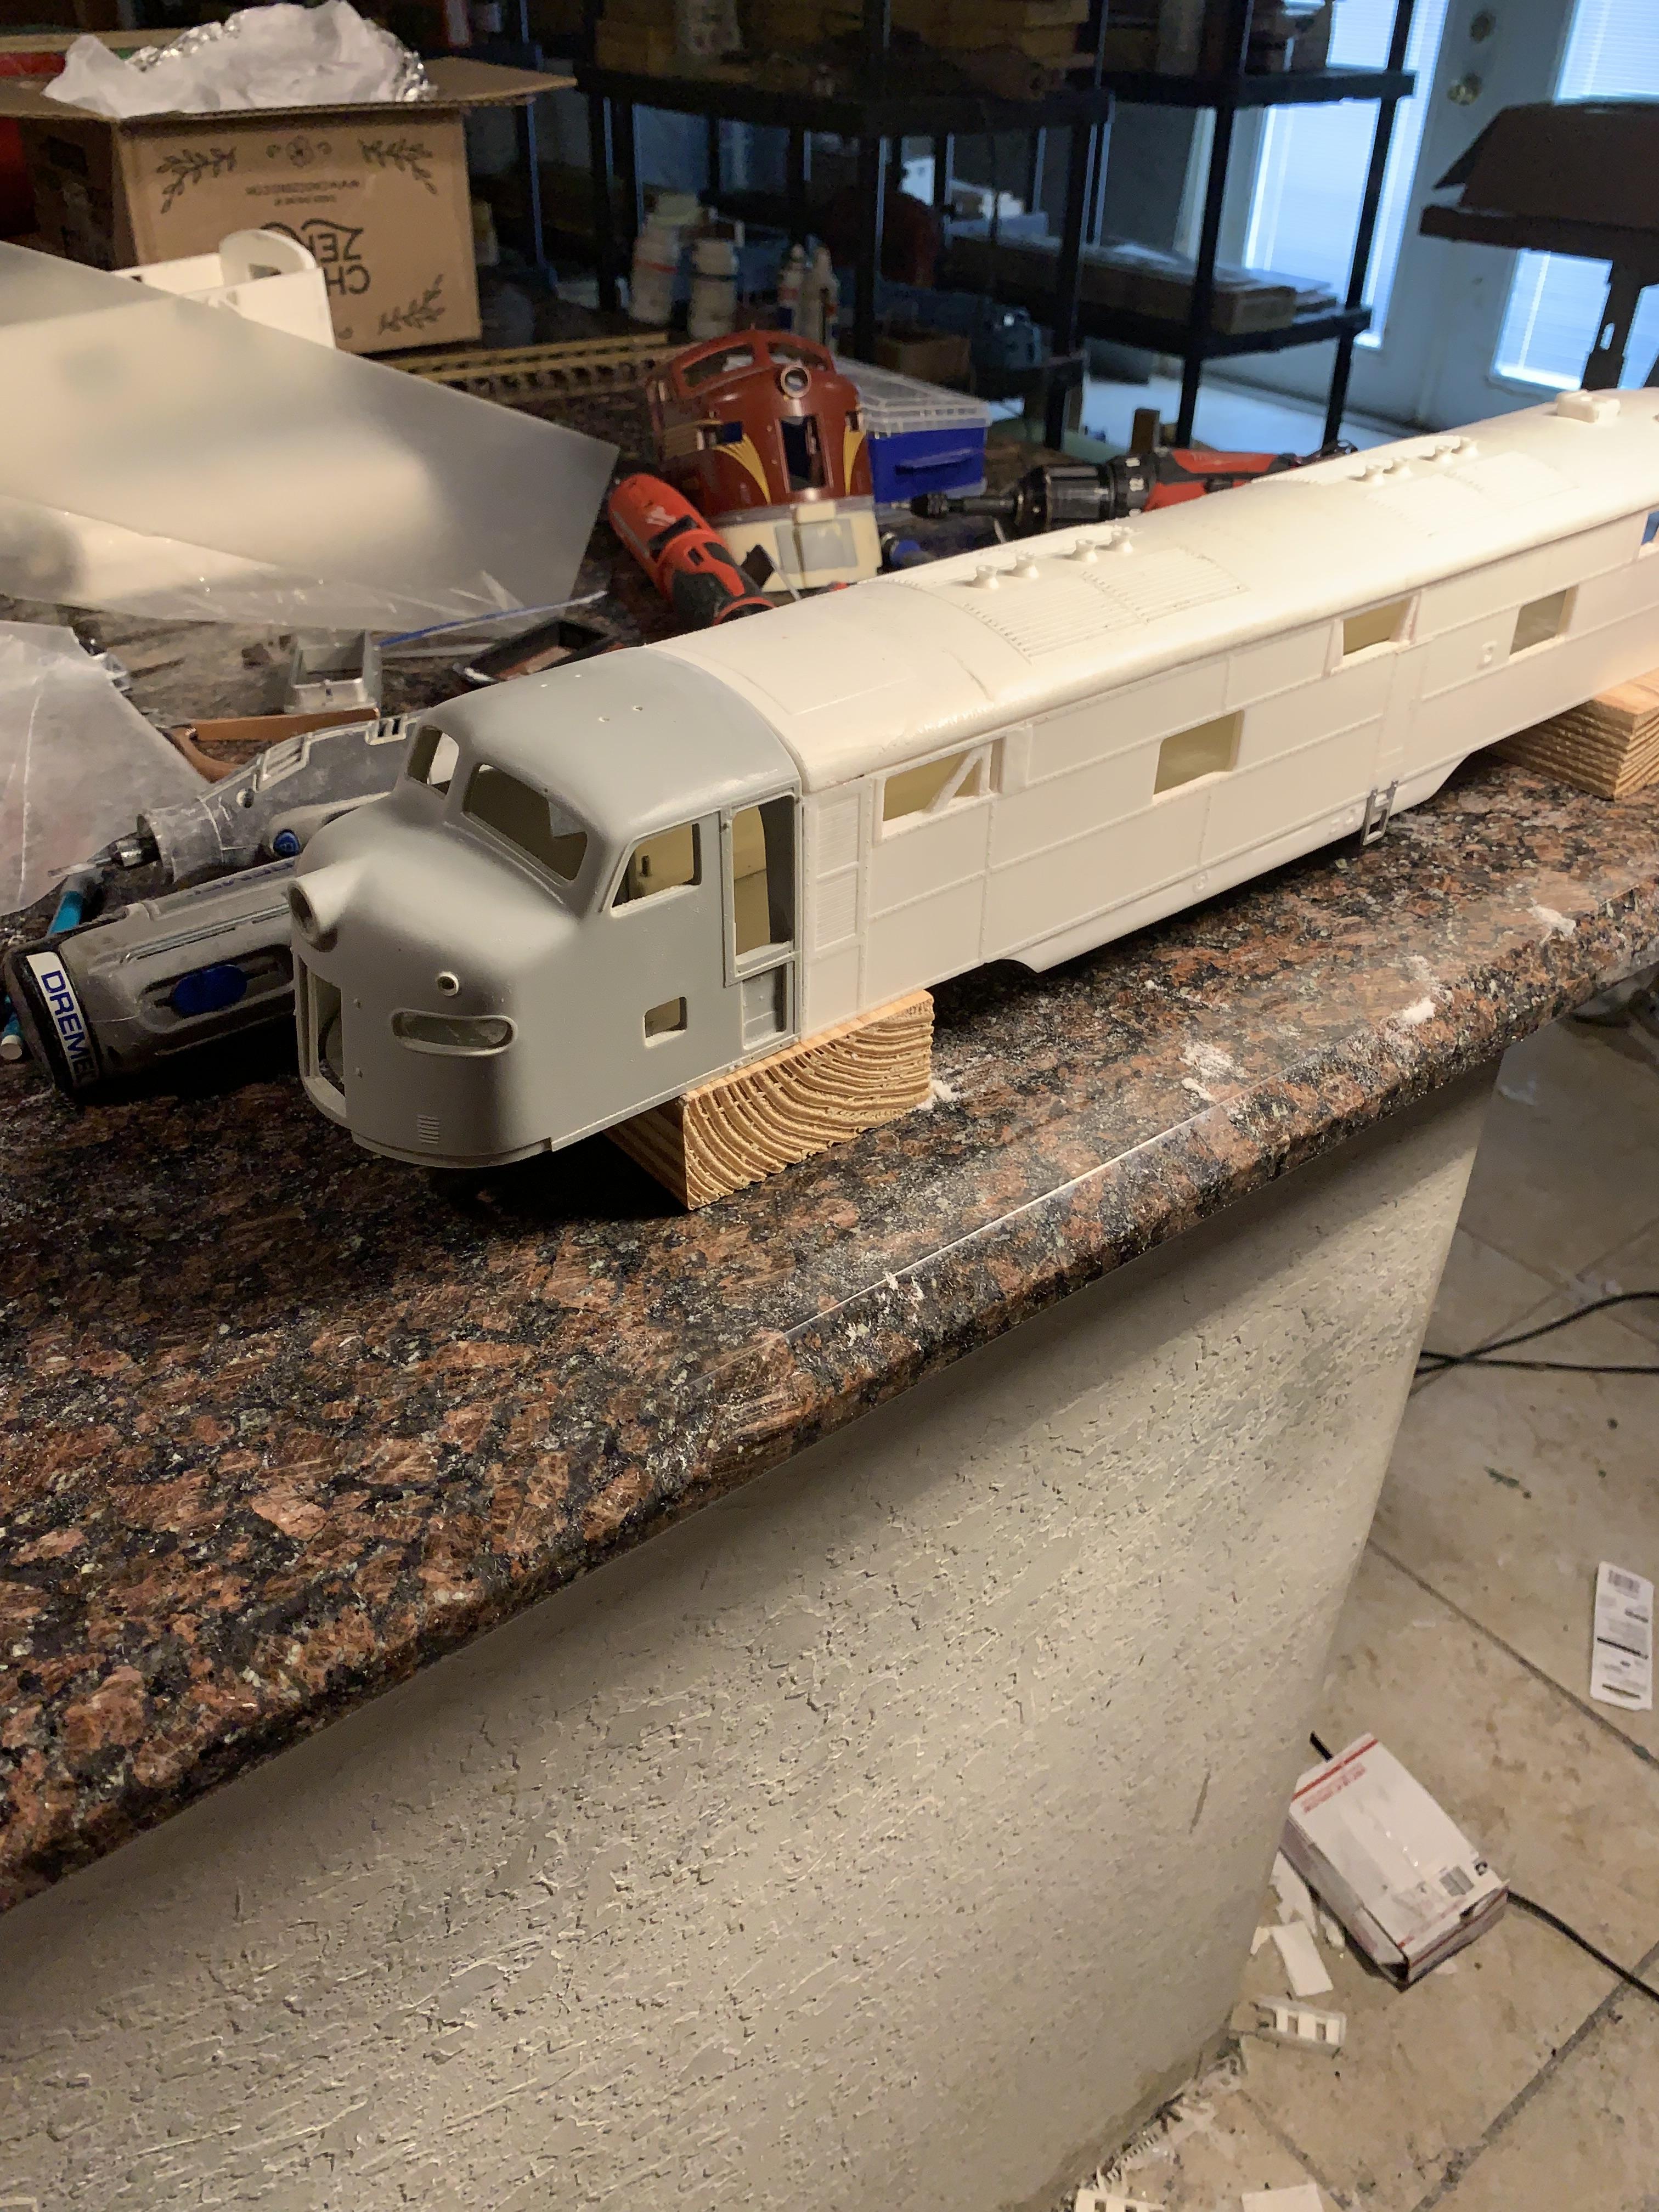
Prr e7-a and e7-b construction
in Kitbashing & Model Making
Posted
Here is both the a and b Bob.