Yes, we do get into it, don't we. I love it. Your curtains look excellent, I hope to have an interior that looks as good as yours. After trial and error, the only glue that would work was CA. I finally got one out of the jig. Please show us how you did the curtains, we might want to put curtains in also. Bob.
I am getting ready to make some blinds for the car, so here is a jig that I made. The dowels are 1/32 by 3/16. This will allow me to orient the blind slats while gluing. Bob.
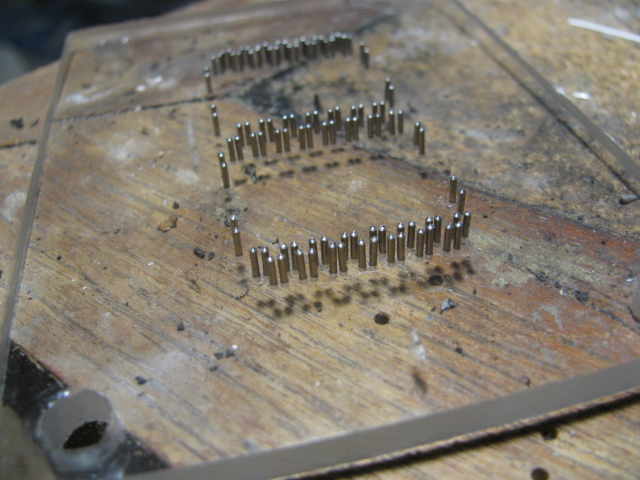
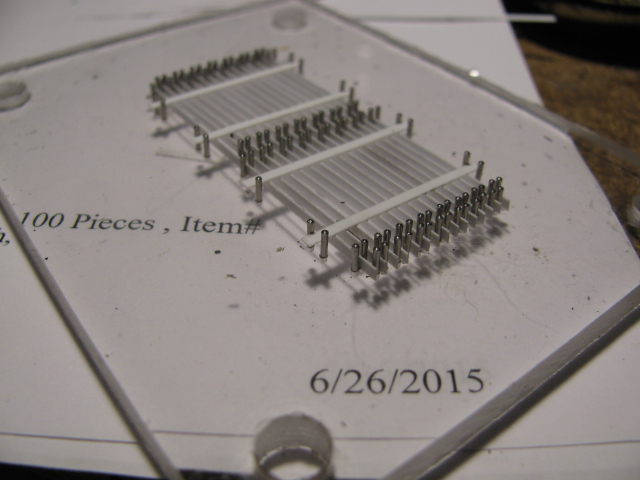
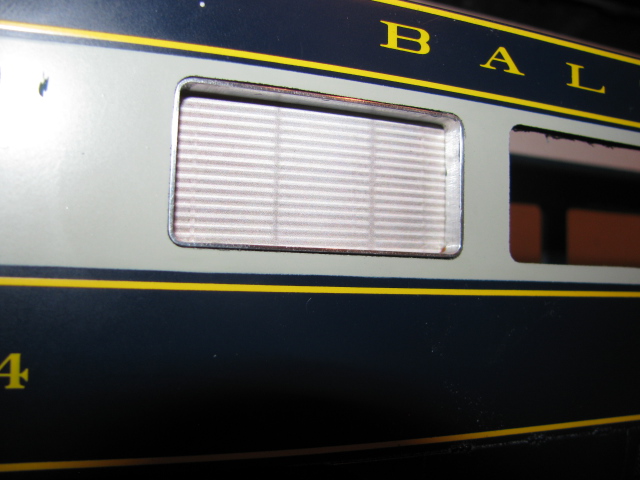
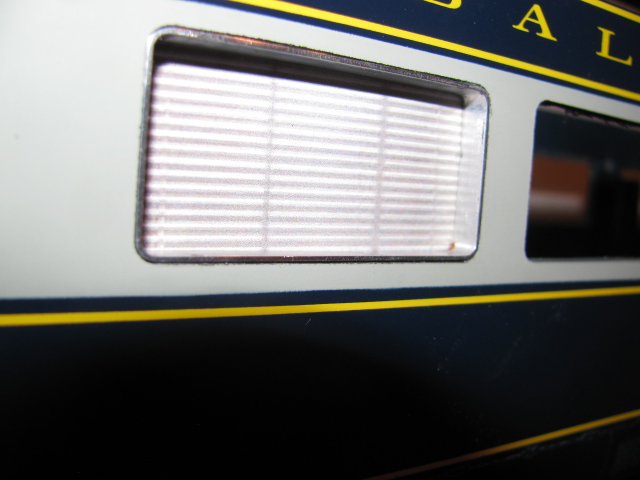
Well, the June, 2007 arrived and I read the article that Jack Verducci wrote about stretching the MTH passenger car. His cars are beautiful, especially the interiors, he went all out. He is a member of the BAGRS club and you should all go see the website and explore the whole thing. It is unbelievable. Go to bagrs, then go to links, then the Lackawanna Railroad.com, or you could just go to lackawannarailroad.com. and there you will see the cars that he built, worth the trip. I have since changed the material that I will use to make the blinds, I am going to use plastruct, .010x.060 styrene flat for the slats. I wrote a program for the fixture to hold the slats and align them. It has 106-- .03125 holes for alignment. I just ordered 200 - .03125 x 3/16 inch stainless allignment dowels for the alignment jig. I was going to use small lengths of piano wire, but when I cut them, they left a ruff end and that is not acceptable. The nice thing about making them instead of a picture, is that you can see through them. After seeing the interiors of his cars, I just have to try to make them as good as his. You should have seen my cnc mill drill those 106 holes, it looked like a made scientist at work. I am cutting the glass right now, the frames are all done, they came out well, just what I wanted, they don't protrude too far and the glass is almost flush with the outside wall. I will send pics. as soon as I have something to look at. Bob.
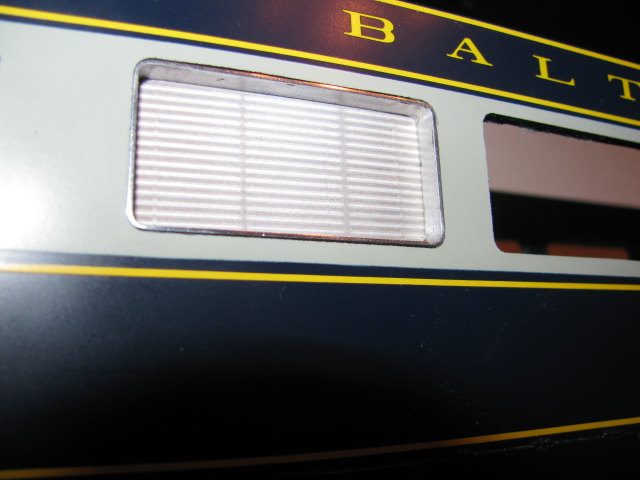
I think I have found the perfect material for blinds. I bought a roll of white aluminum flashing for roofs. I can cut it on a paper cutter. I am working on a jig for positioning while gluing. I think I will have three positions, all the way down see through, 1/3 down folded, and all the way down shut. If this works out, I think it will look nice, lot better than printed on a piece of paper. Bob.
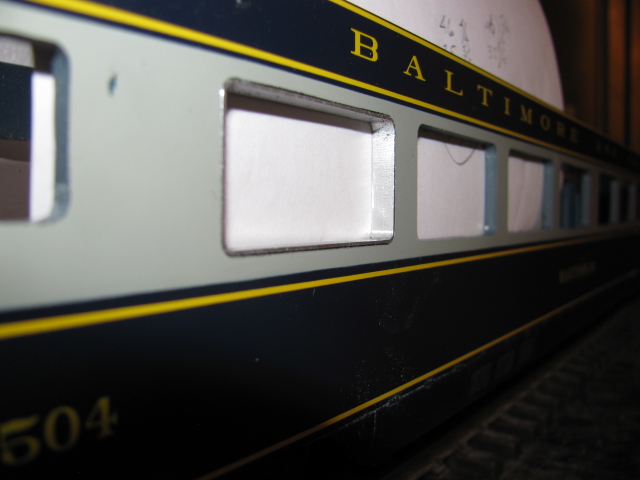
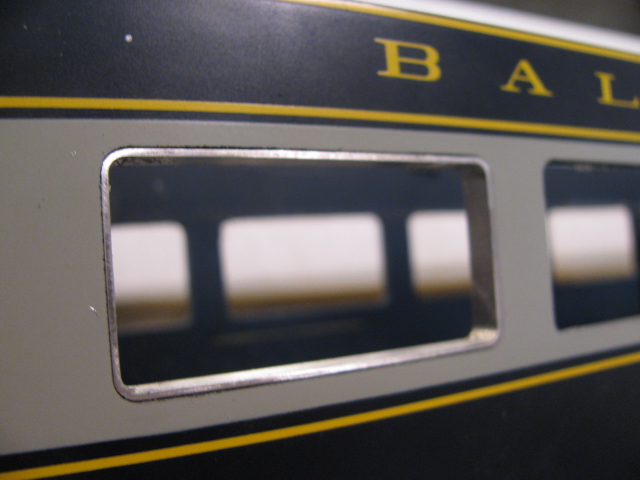
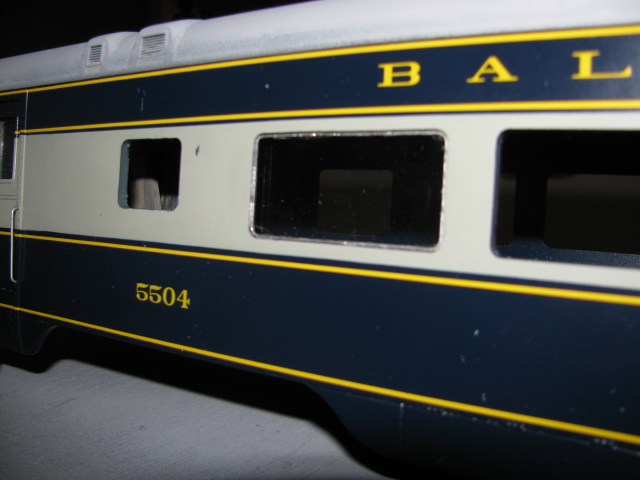
Thanks SteamPower4ever, I just ordered them. I want to see how Jack Verducci did it., How do you like my window frames? I made my frame holder out of wood and while the frame came out OK, tomorrow I am making a more substantial holder because I was getting too much chattering out of the cutter. The wood seems to want to vibrate and resonate. This time I'm making the holder out of aluminum, I'm sure I can get rid of the chatter. Bob.
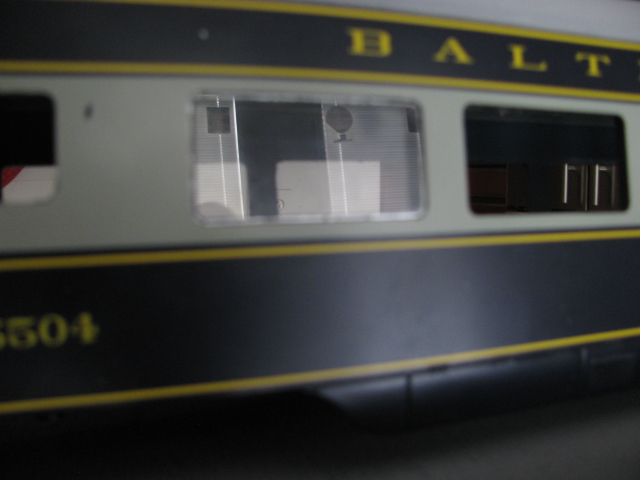
I wondered what happened to you Rayman4449, how have you been doing? Thanks for your compliment, I added two more pictures with the window frames after I polished the frame and what a difference. Well I am all tooled up to make the rest of the frames. Blid, thank you, I was beginning to think that was a wives tale, imagine someone else as twisted as I am for attempting such a project. It is turning out OK though, and I think it will look OK when I get the windows in. Thanks for identifying the issue with the MTH stretch, I will try to find it some where, thanks again, Bob.
Thanks, but if this machining doesn't work out, I will certainly entertain that idea, sounds like a good one. I hadn't thought of that. I just bought 50 bucks worth of aluminum and several cutting tools, so I hope it works out. Bob.
Thanks Sean, coming from you, that is a compliment. Well off to the metal surplus store to see if I can get some aluminum to cut for the window frames. Bob.
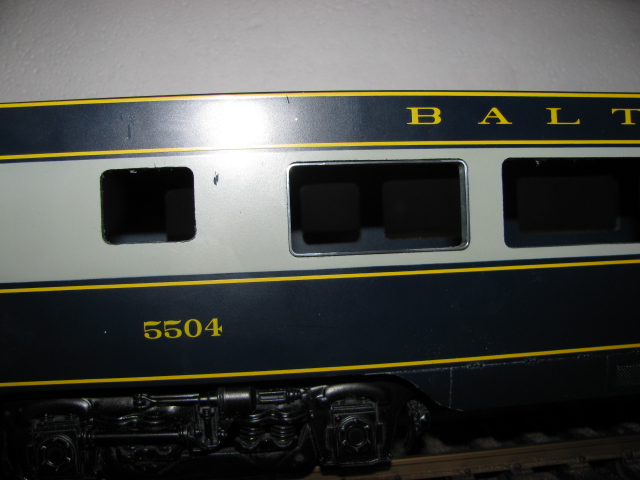
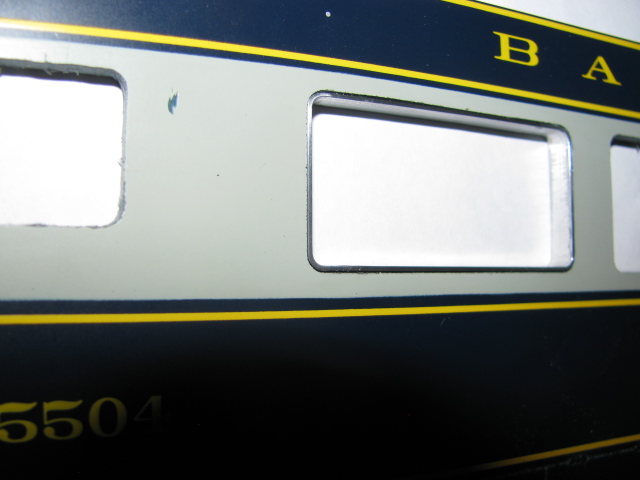
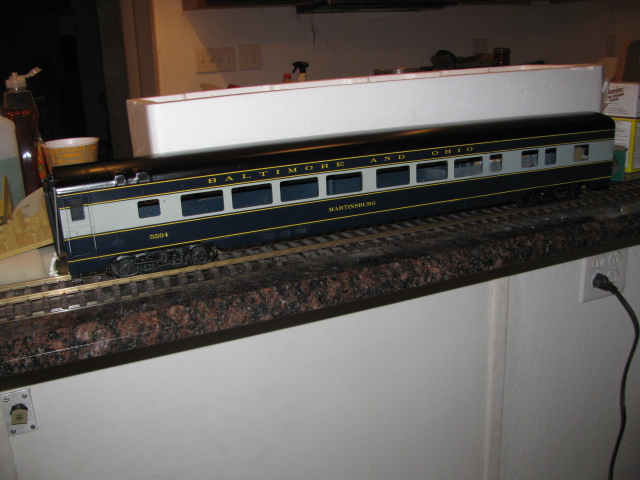
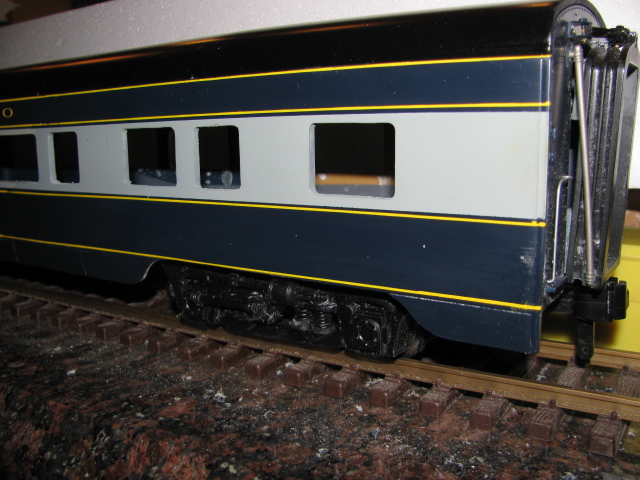
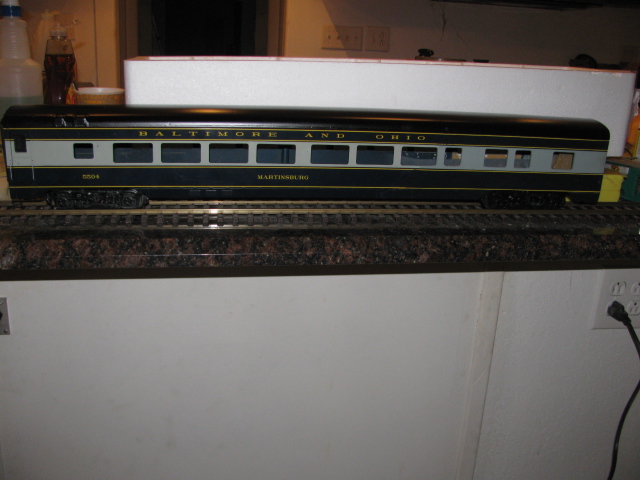
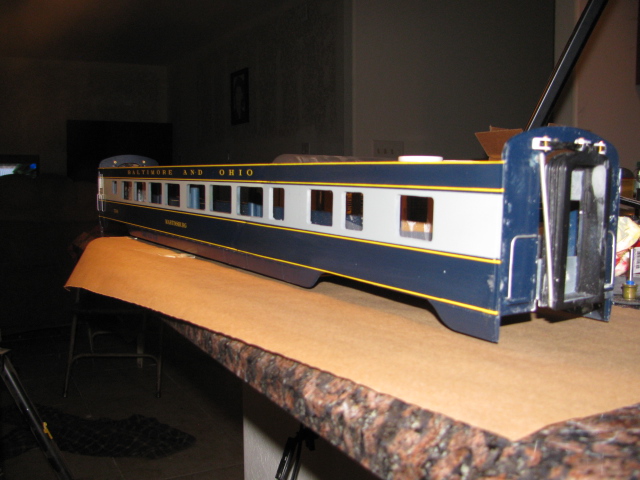
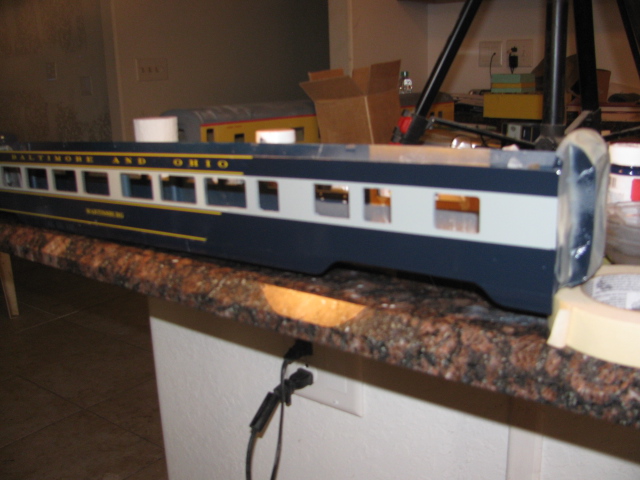
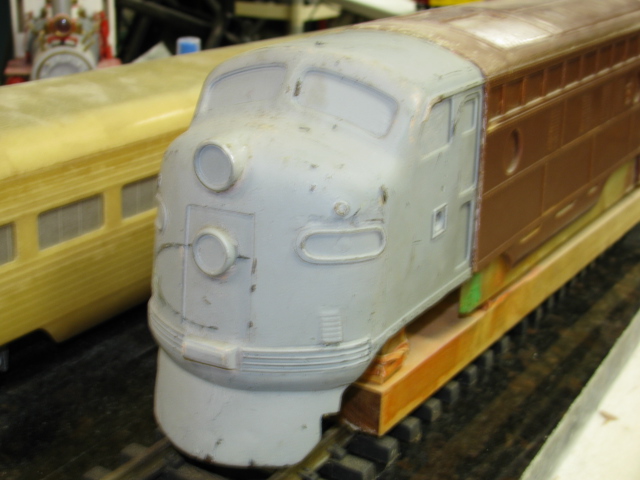
Now for the really big deal, windows. I am going to try to make some aluminum frames, with luck I can make them look good. The silver frame in one of the pictures is paint, and I don't like it, so that's why I am going to try aluminum frames. Here are some pics. of the almost done car. Bob.
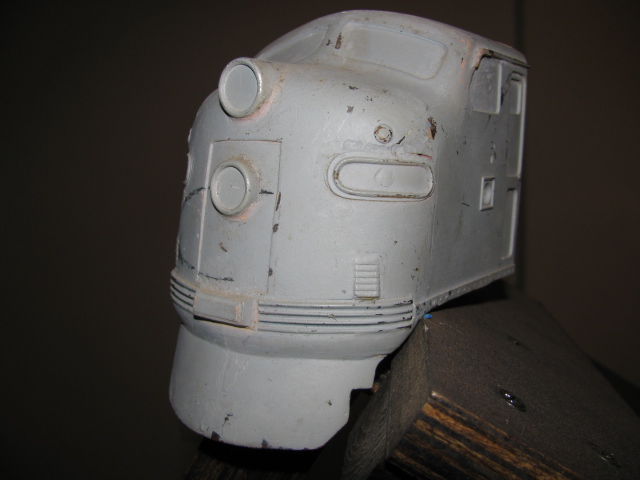
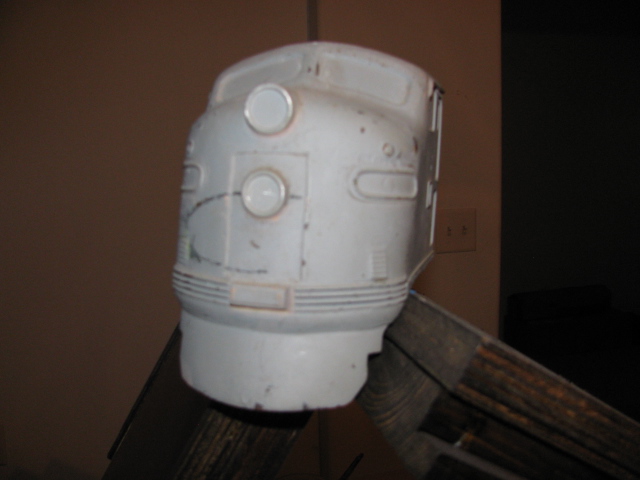
I read the whole story from the president of Rapido and boy can I relate to the difficulty of capturing of the true shape of the bulldog nose. I don't feel so bad now as my cab was done by looking at pictures and various drawings and sculpting my desired shape. I finally got what looks like to me a satisfactory likeness, not perfect, but good enough for the girls I go with. Bob.
Thank you steam power, my contraption on the mill worked after getting used to the setup, had to do one side over, but it is good now. Will never do a kit bash again, whew what a lot of work. From now on I will just use my own molds. For one thing, I won't have to match paints, make parts, stretch the roof, grind the welds on the roof. All I have to do now is fit the interior, lights, move one truck, paint the roof and a few other things, and it is done. Thanks again for your welcomed encouragement. Bob. I will attempt to put a youtube video here. http://www.youtube.com/watch?v=YRFNopKcBuQ
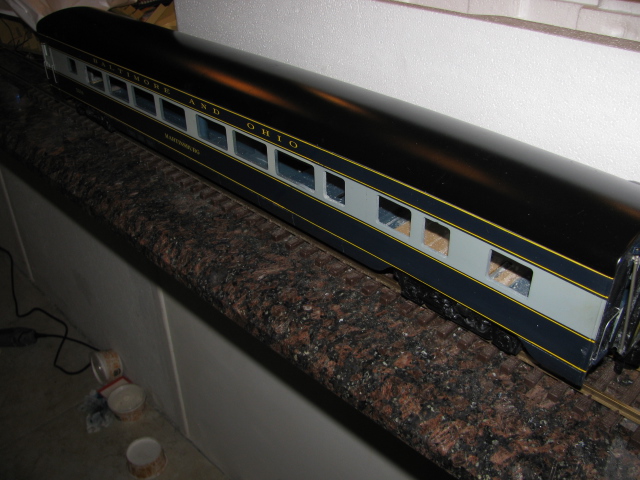
I will know if the striping tool will work in a few minutes. I will definitely find out if the sectioned car is straight or not, that might cause some problems. I am convinced that starting from scratch from my molds is probably twice as easy as redoing the MTH ones. I wore you out?, I am almost done. I found out that the blue paint match is real close after color sanding with 800 and getting rid of the ridge of the paint. Also the blue that MTH uses is a satin, so my gloss didn't look right, but after color sanding and then using rubbing compound brings the color to almost match. Bob.
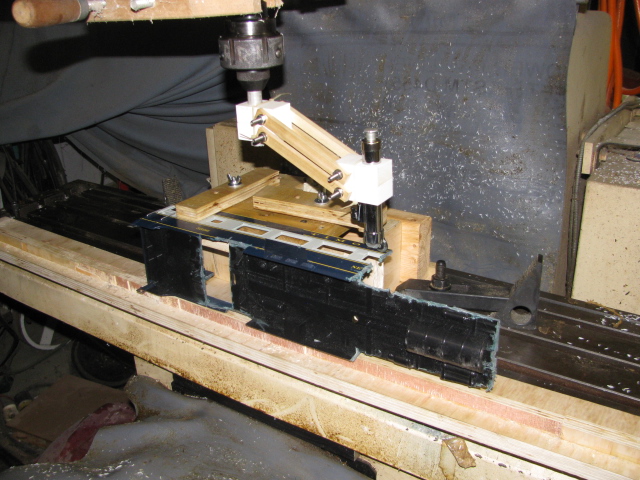
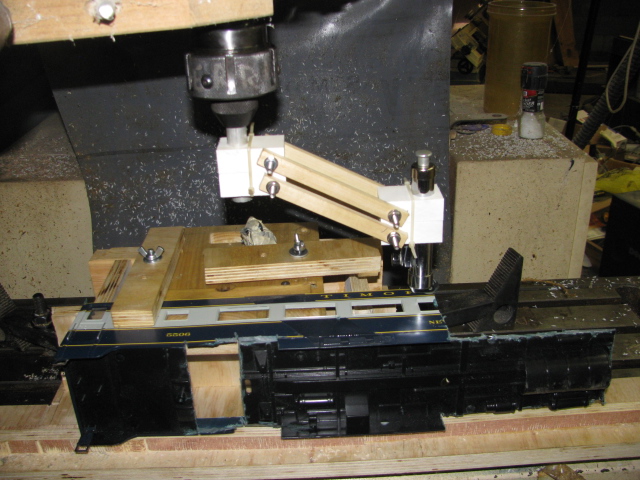
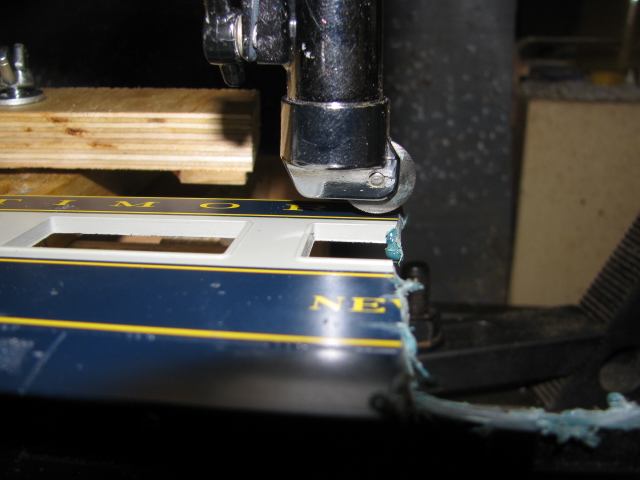
It is time for the pinstriping and my hand is not too steady, so I came up with this idea to make the stripes with a Beuglar pinstriping tool and mount it on my mill to keep the lines straight and parallel. I will be cranking by hand for more precise control. Here are some pictures. I have made some dry runs and I think it will work. When the blue dries, I will do the striping. Comments appreciated. By the way, that is a test piece in the picture. Bob.
Thank you. The next locomotive that I will make will be an E-7, but this time I will use all of my own stuff, including the cab mold from the cab in the picture. It is not perfect, but I think it will look OK. Bob.
Yes they are. After trying to duplicate the prototype look many times, I know how difficult it is to get just the correct compound curve. The difficulty in machining a plastic injection mold is that it is easier to use movements of the mill cutter in straight geometric moves, so the large radii are difficult to reproduce. I see it in almost all E unit models. I didn't make mine on a mill, so after about 6 or eight evolutions, I think I got it about right, or as close as I can get the curves by hand. Here is a pic of mine. Bob.


Stretched MTH passenger trucks
in Kitbashing & Model Making
Posted
Yes, we do get into it, don't we. I love it. Your curtains look excellent, I hope to have an interior that looks as good as yours. After trial and error, the only glue that would work was CA. I finally got one out of the jig. Please show us how you did the curtains, we might want to put curtains in also. Bob.