Well, I have come to the conclusion that I would rather build a Pullman Standard car from scratch with my molds than kitbash an MTH car. I won't be kitbashing any more passenger cars, too much work. Bob.
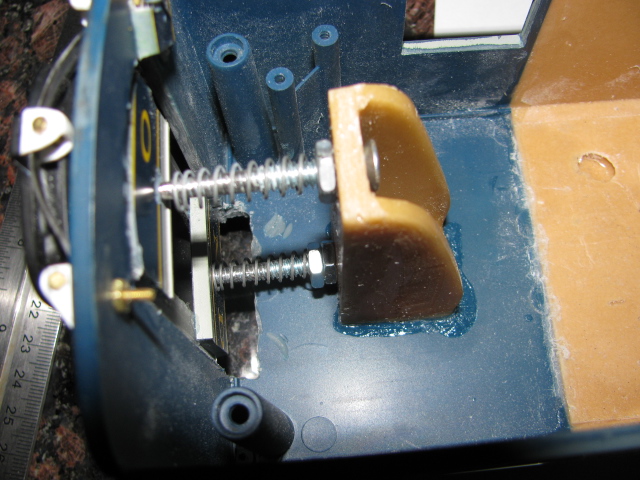
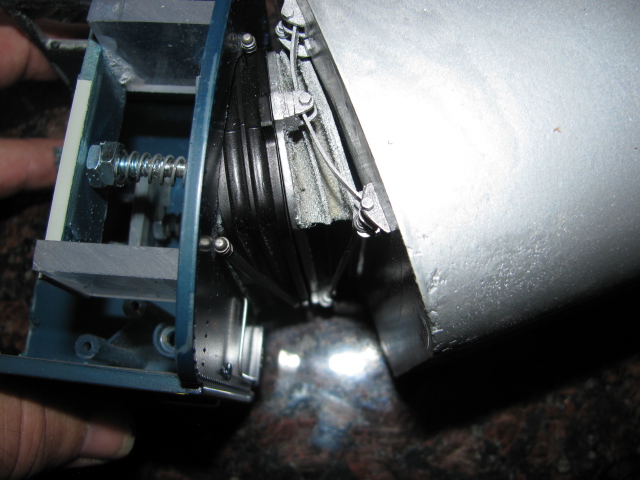
As it turns out, I don't need the inside upper compression spring, because the carbon fiber leaf spring does the job. Thanks Sean for the encouragement. Bob.
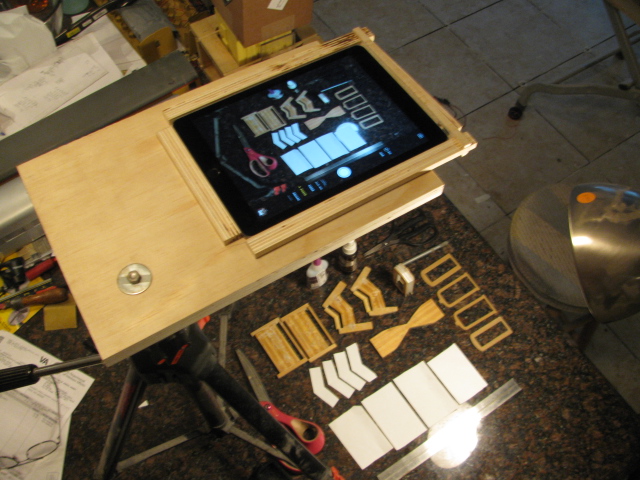
Here is the camera setup for the tutorial for the making of a diaphragm. It will be a slide program, a video has too many gigs. I am using an ipad with a remote shutter control. Bob.
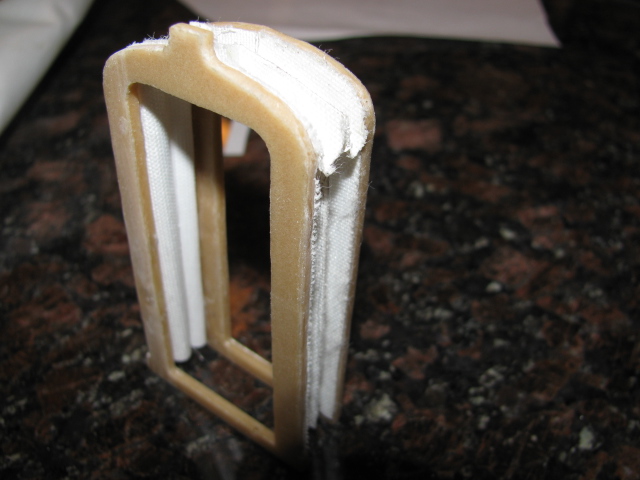
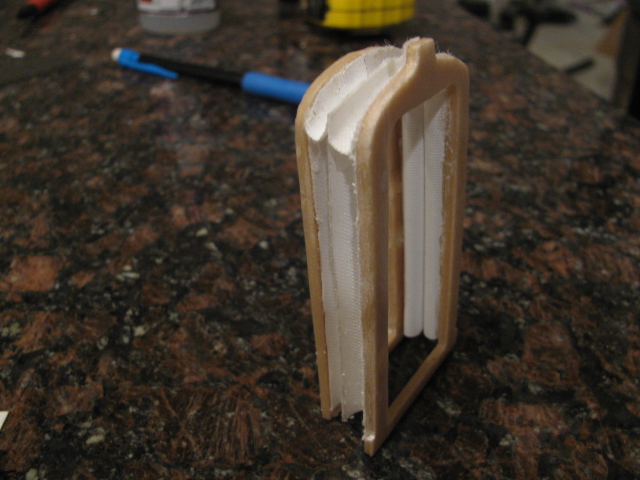
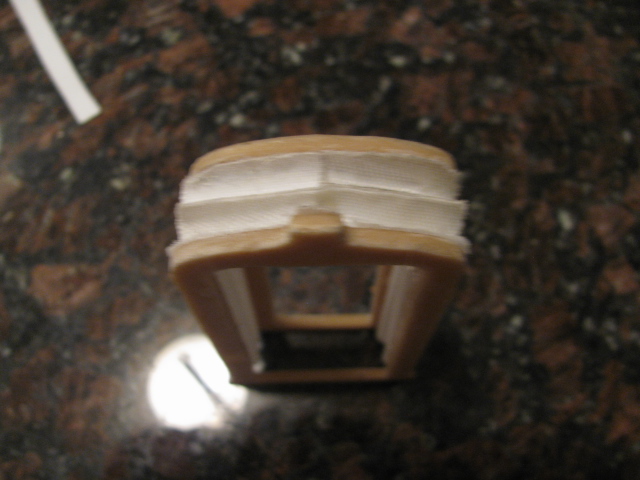
Here are some pics. that are of a diaphragm that I made yesterday. I am trying to make a video and I am finding out that it not as easy as I thought. Half of my video demo was out of frame, so I will try again.
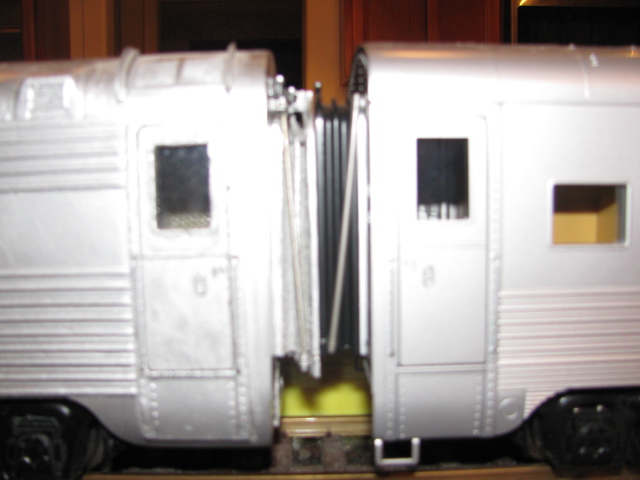
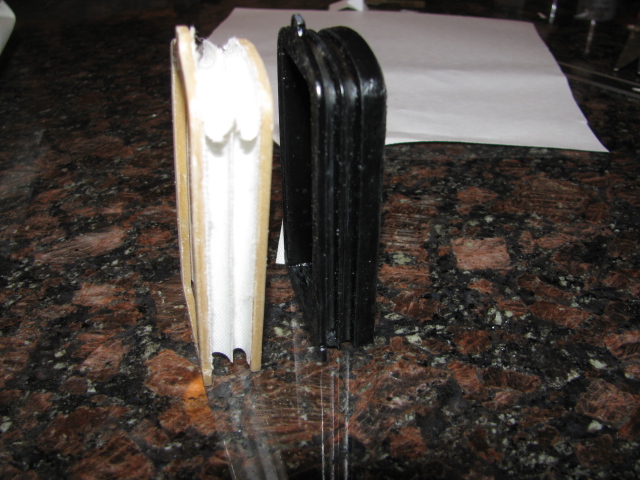
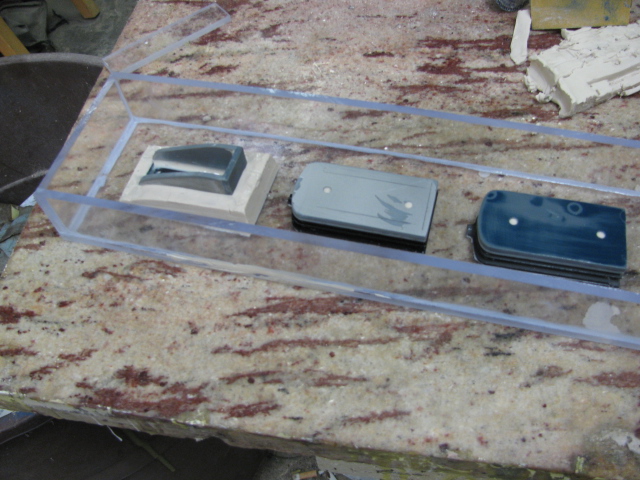
Thanks again, yes, to make an 85 ft. scale car, it took another 4 5/16 inches and 1/2 inch on the truck. In addition, I had to move the truck bolster 5/16 inches away from the either end and adjust the length of the coupler bar 9/32 inches shorter to get the diaphragms in the correct position, I hope. It's not over yet. Today I am trimming the carbon fiber leaf spring. Caution, if anyone is working with carbon fiber, use sealed goggles and a mask. The small cut fibers will float and get in your eye, I know this, because it has happened to me. I just went down to Home Depot and bought some new goggles and a mask for that reason. I am getting ready to make a movie tutorial on how I make the cloth flexible diaphragms. It has been a long time since I have made any, so it might take several days. The cloth diaphragm is the one on the right. Bob.
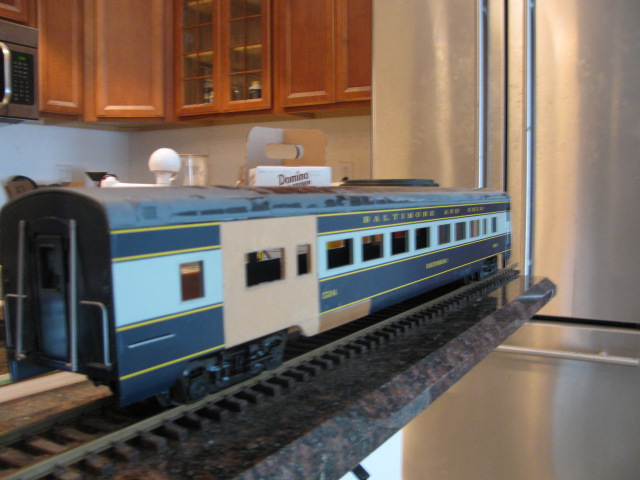
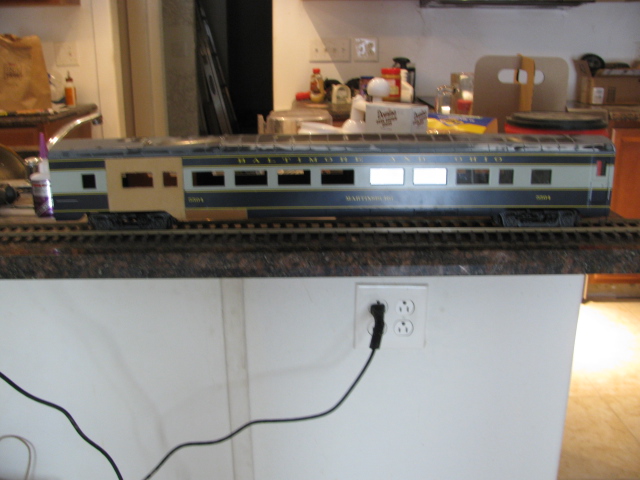
Yes, it is not a match. MTH's color is not a standard color, go figure. They have to have a special color. I think I can match it though. I have been testing some mixtures, and I am getting close.
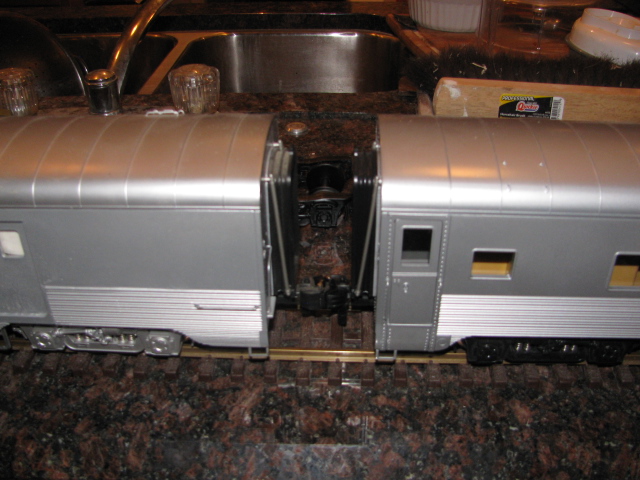
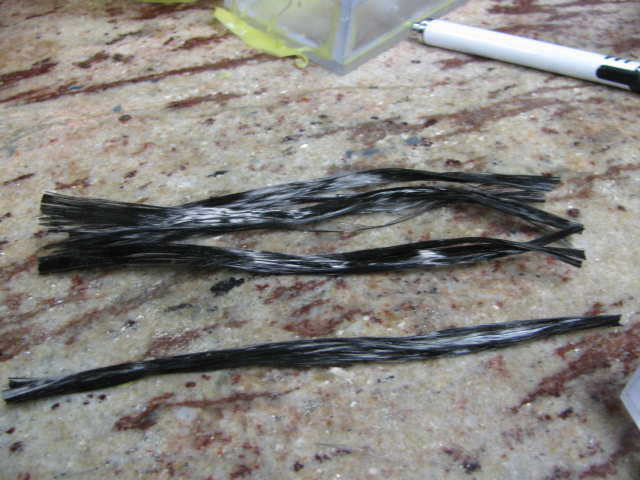
Yep, I know what you mean. Today, I make the leaf springs for the diaphragms. In one picture you can see how far away the diaphragms are apart, 1 1/4 inch. That gap will be closed. I laid up the leaf springs, boy carbon fiber is sometimes hard to work with, especially uni-directional because it doesn't want to stay together and it is stiff. Depending on how the springs turn out, I might have to add a ply or two after I remove them from the mold. Here are some pics. Bob.
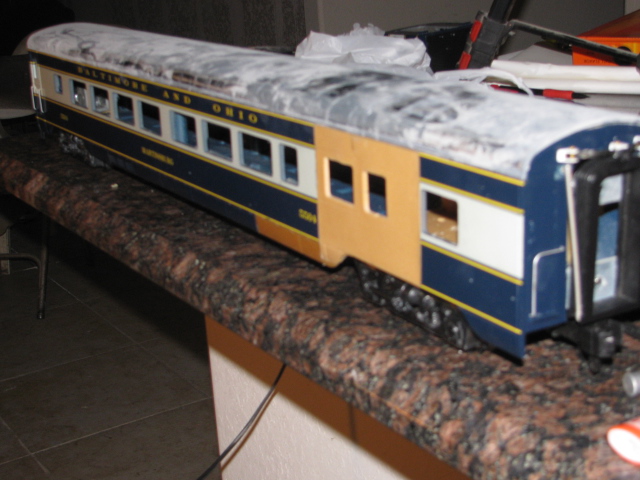
The only thing left is a little work on the diaphragms, placing the couplers, cutting new windows, and paint. I am having a hard time matching the colors. The numbers that MTH gave me of the paint from Dupont are unknown to Dupont or the affiliate that they are partnered with, so I will have to mix my own and can only get them as close as I can. The classic colors from todays B&O colors are not a match. Everyone has there own interpretation of B&O royal blue and the gray. No help from MTH.
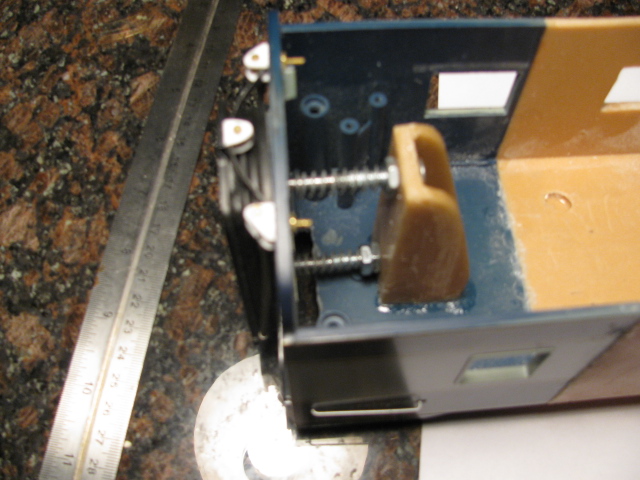
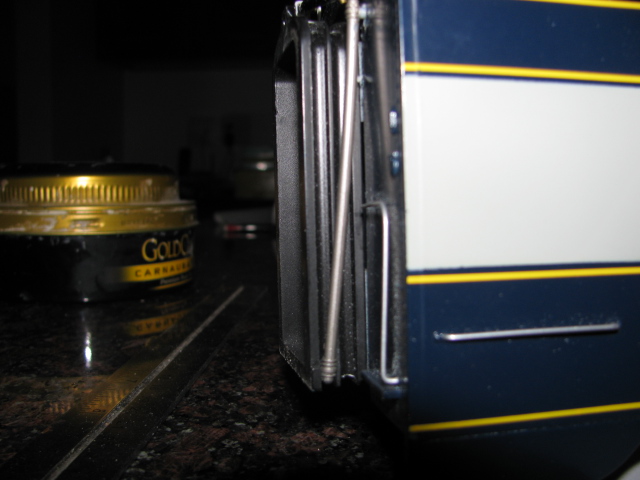
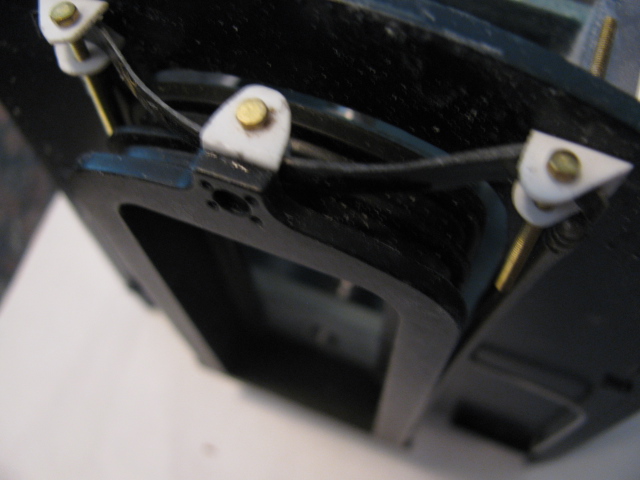
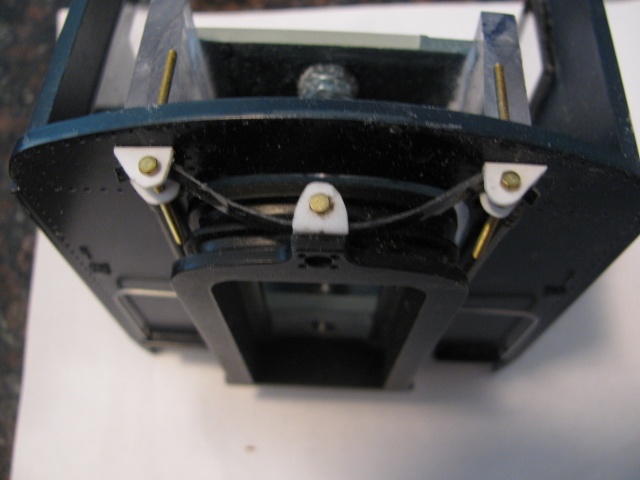
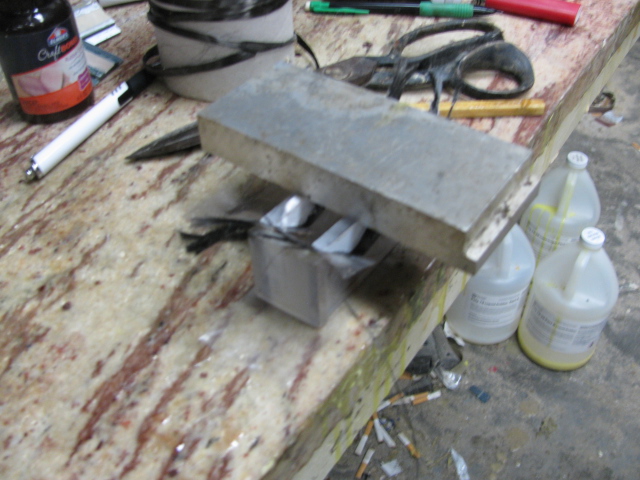
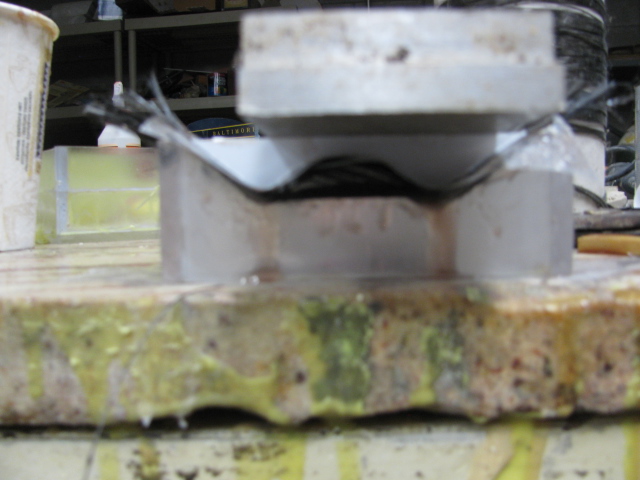
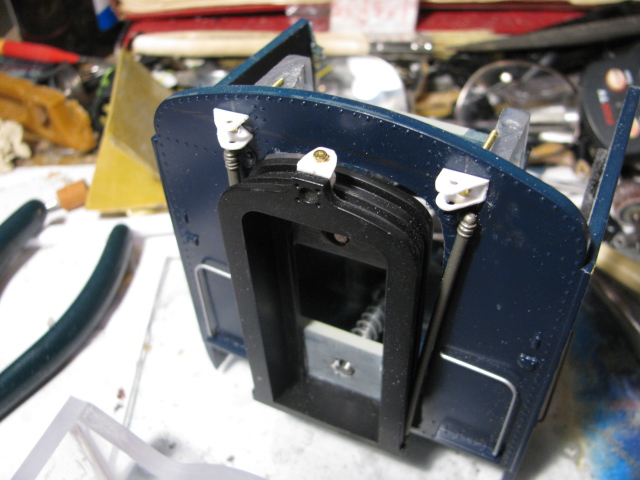
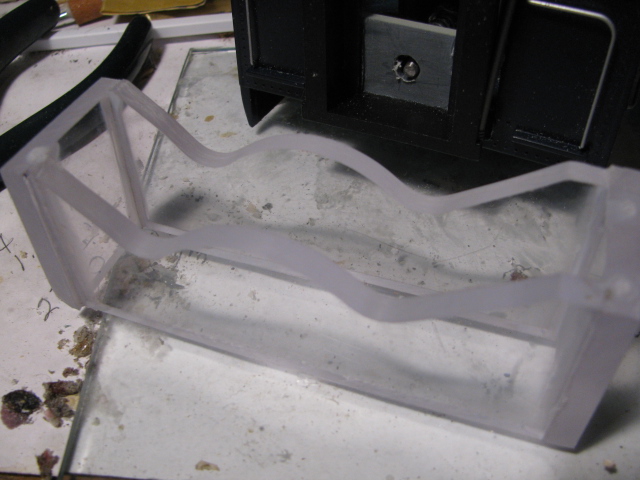
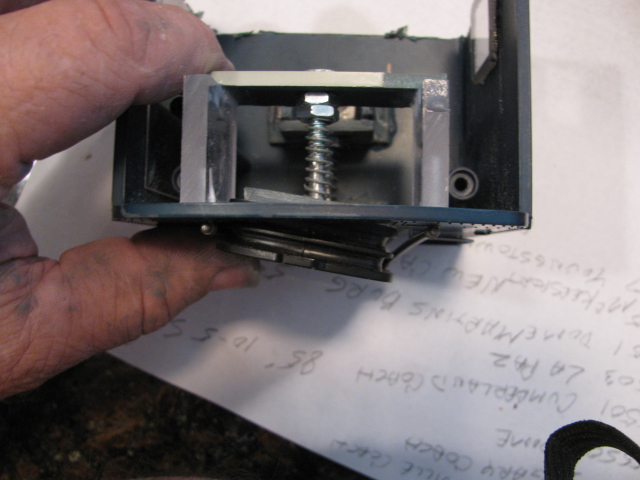
I have decided to add a leaf spring to the diaphragm. I lost my last mold, so I made a new one for the spring. The mold is made of 1/4 inch plexiglass and the spring is made of carbon fiber uni-directional. The carbon fiber is actually wing re-enforcement stock that can be bought at any airplane hobby shop. If I remember correctly, I used three plies. The stuff is really stiff, so one has to be careful on how many plies to use. It has to be flexible. Here are some pics. of the mounts and the mold. Bob.
It's not the end Jerry, you are just in a slump. No one that loves trains forgets it forever, you'll be building again as soon as you see something you like and no one builds it, like me if they don't make it and I want it bad enough, I build it. Bob.
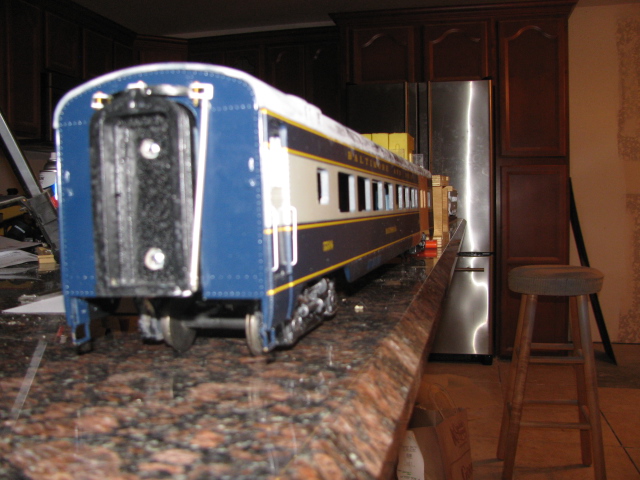
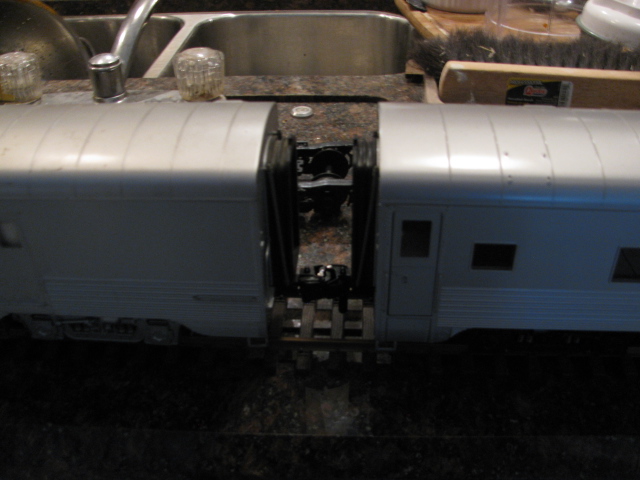
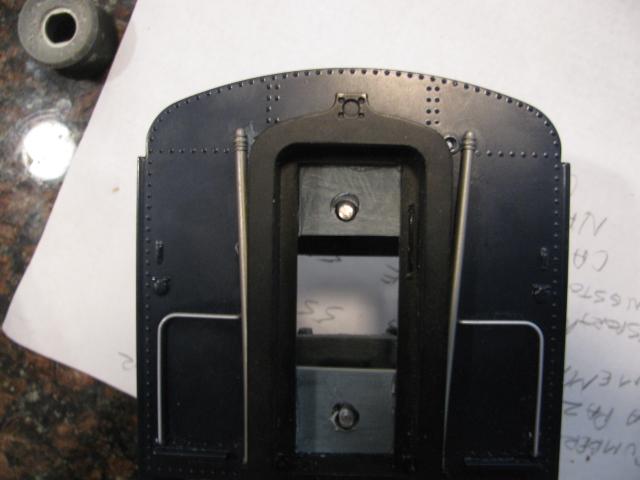
Here is an update to the rigid diaphragms that I putting on the stretched PS car. I ran into some rubbing issues when the diaphragm was compressed. The lift bar was hitting the center of the diaphragm, so I moved the hole on the top over about 1/8 of an inch on both sides and that eliminated the problem. They now move smoothly without any contact. I also had to enlarge the spring slide holes so that there was also not contact. I think that this is the easy answer to scale looking diaphragms. It will look 100% more scale to see that the diaphragms are in contact when viewing on the straight. Someone mentioned magnets. I don't think that would work because when entering a turn, the diaphragm plates will have to slide back and forth until stabilized in the turn. I have tried that with these and they work well. A 1/2 inch gap in the diaphragms are unacceptable. I am curious. Is there anyone out there trying this method? I haven't heard any feedback on this method. I welcome feedback both good or bad, let me hear from you please. What do you think? I came up with method because building the cloth/scale ones are really time consuming. Bob.
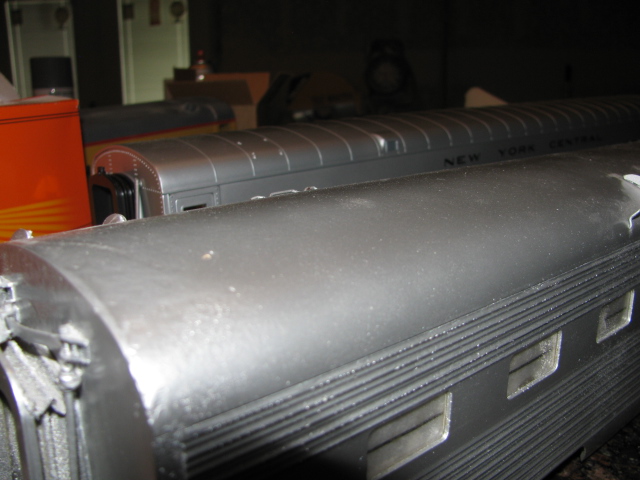
Well, this project, the stretched PS car, involves quite a few of molds and molds are my favorite challenge. It is over though, I am done with most of the molds and now I am starting to build. I am working on the roof now, got the ridges off and now I am preparing to paint it. Might make a mold of the whole roof because grinding off the ridges wasn't fun. I work everyday on the trains right now. Bob.
Nice work, I didn't know that you were a scratch builder, I guess I should get out of my shop and look around a little more, very, very nice work. Bob.
Well engineer joe, I didn't know that you scratch built, nice work. Why didn't you say anything. I was so busy doing my thing that I didn't know. Very nice work. Bob.
Well, I think that I have all of the molds made for the kitbash. The extension of the car, the mold for the stretched truck and parts, the roof extension, the articulated diaphragm molds, the skirt extension molds, the truck bolster molds, the paint, a close match, but not perfect. The only other thing that I can think of is the position of the trucks to make the diaphragms close enough to make contact. If anyone can think of anything else, feel free to mention it, so now I start putting everything together. Bob.
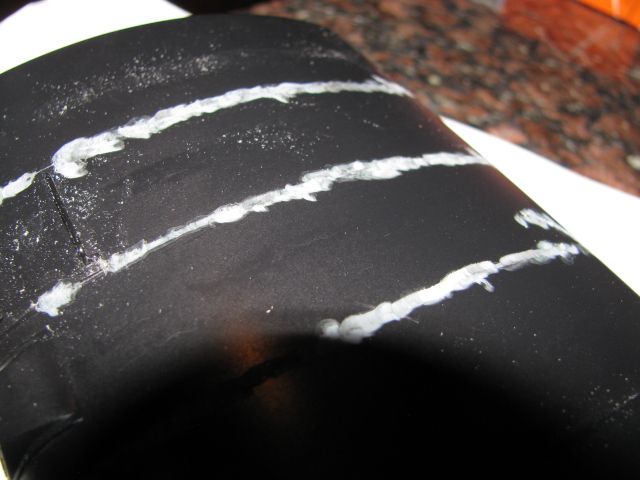
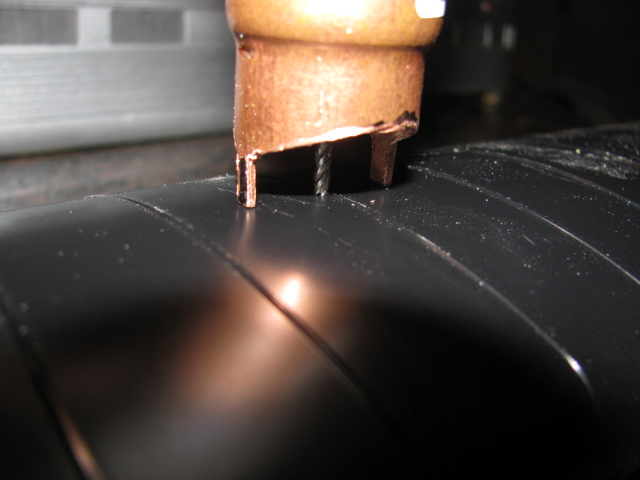
Here are the results of the milling of the ridges. I might be .002 too deep because it is going into the paint, but that is a matter of adjustment. Primer will take care of that. I adjust the height of the cutting tool this way. Because when you tighten the collet the tool will be drawn up, so, I don't tighten the prong very tight, then after tightening the tool, then I tighten the prong, because it too will be drawn up. After some trial and error, the tool height will match the prongs. I was able to cut right up to the edge of the roof, but in areas that have obstacles, those areas will have to be done manually with a steady hand. Here is a picture. Bob. Also here is what I had to buy, a router base, and in the base is the part that is used to make the pronged part.
OK, I put some wood pads on the prongs and they work well. It takes a little adjustment to truly get a flush cut, but after that, it works perfectly. I super glued the wood pads on and then shaped them. Here are some pics. Bob.
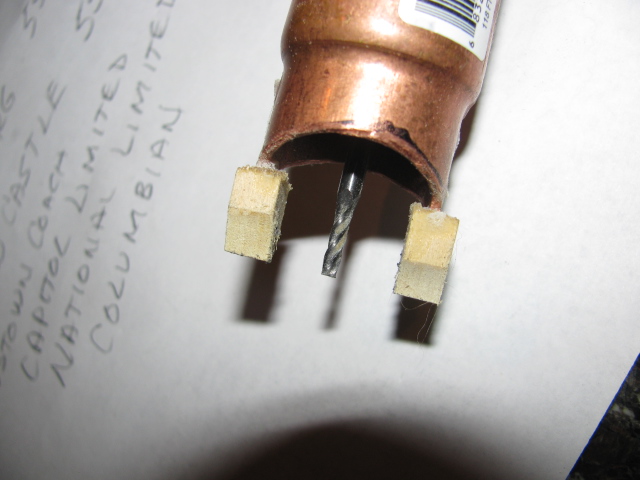
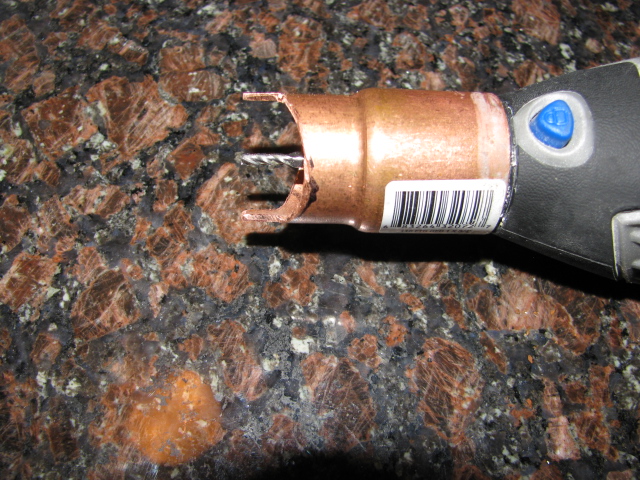
Yes, and the prongs should be the same shape profile as the cutter, that way there is no way to gouge. On a curved surface, one has to keep the prongs at 90 degrees. I have found that the prongs have a tendancy to scratch the painted surface, so today I will put some wood pads on the prongs, to prevent that from happening. Obviously, the whole roof will have to be primed and painted again, but I think that touch will improve the scale of the car. I should do this once and make a mold of the whole roof, and then I wouldn't have to ever do it again. The way I made this, I went down to Home Depot and bought a dremel router adapter and in the package is an insert. You take the insert that screws on to the tool and cut the two extensions off. I then bought a copper adapter that closely fits the Dremel adapter and used bondo to fix them together. I then cut the copper fitting to the shape of the cutter. If you use a wider cutter, make sure you make the prongs the same as the diameter of the cutter. I will post a picture when I add the wood pads. Bob.
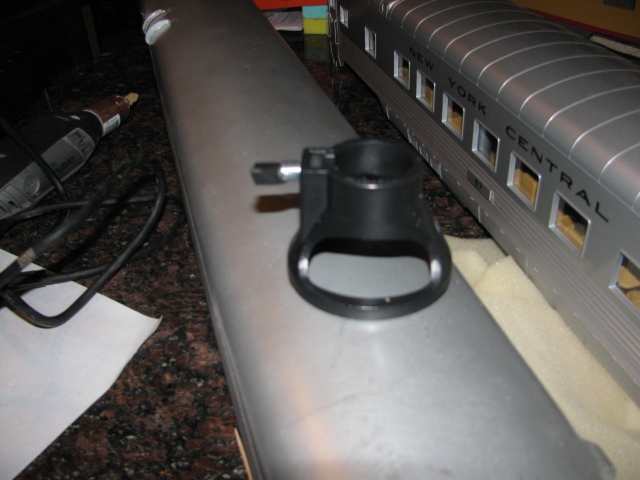
Here is a tool to remove the ridges on the roof of the MTH passenger car. I made it from a reducer, copper, and cut it as shown. I attached it to a Dremel and it is designed to cut without gouging. The prongs are the same width as the cutter, so it will only cut when the tool is a 90 degrees. There are some areas that the tool will not fit, so those areas will have to be done by hand without the aid of the tool. I redesigned the movable diaphragms and am making molds for them. Here are some pics. and an example what the roof should look like. The Pullman standard roofs are welded seams and are flush. Just trying to make them look more scale. Bob.


Stretched MTH passenger trucks
in Kitbashing & Model Making
Posted
Well, I have come to the conclusion that I would rather build a Pullman Standard car from scratch with my molds than kitbash an MTH car. I won't be kitbashing any more passenger cars, too much work. Bob.