Hello everyone. I put a short video on YouTube showing the movement of the MTH diaphragms. Here is the title, search--- " 1:32 scale operating diaphragm for Pullman Standard passenger car"
I am in the process of making some diaphragms that I have made in the past. I use cloth for the soft part with the aid of some jigs. I will post pictures of the entire procedure in the near future. I am making these for the stretched Pullman Standard cars. I have made a spring movable diaphragm, but I am going back to the cloth version for looks, although the spring system works. We shall see how these turn out. How did your efforts turn out?--Bob.
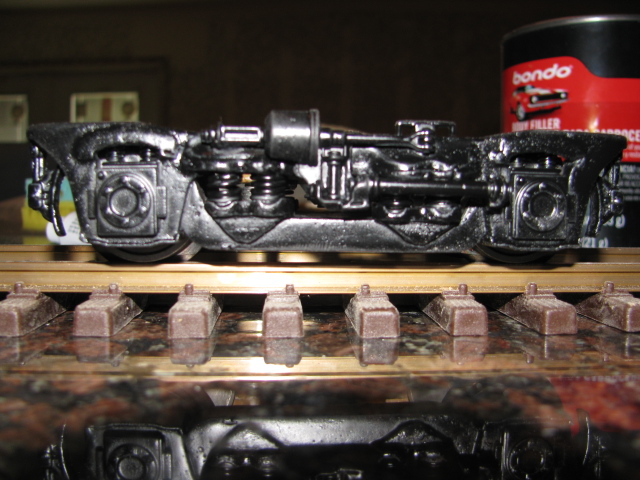
Hi, du-bousquetaire, I would like to see some of your trucks made from the USA trucks. I have a pair and would like to see if it easier than what I am doing with the MTH trucks. The MTH trucks are nice, but about 1/2 inch too short. Here is a lengthened MTH truck. Bob.
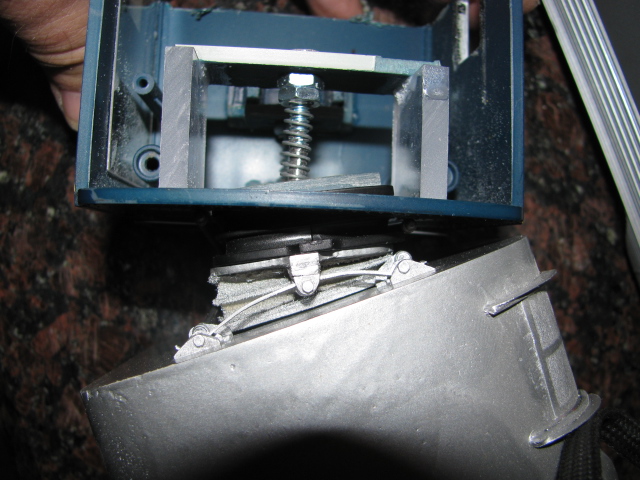
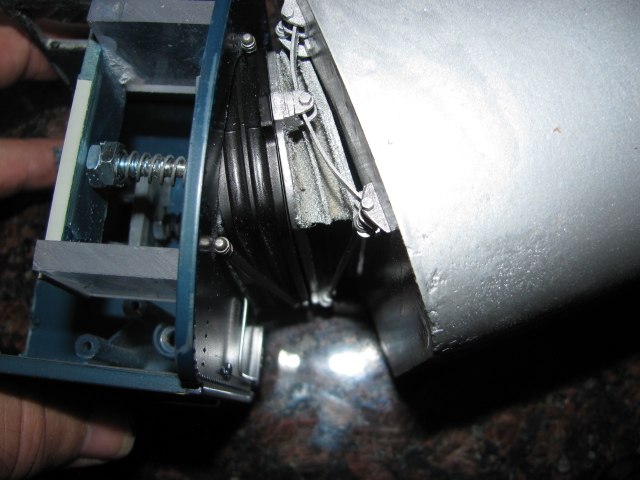
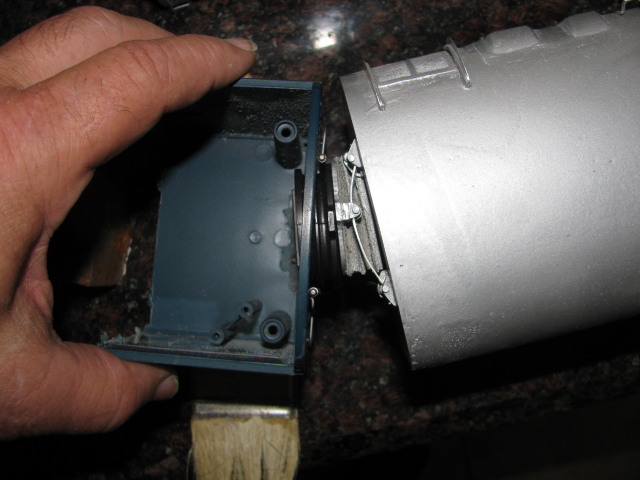
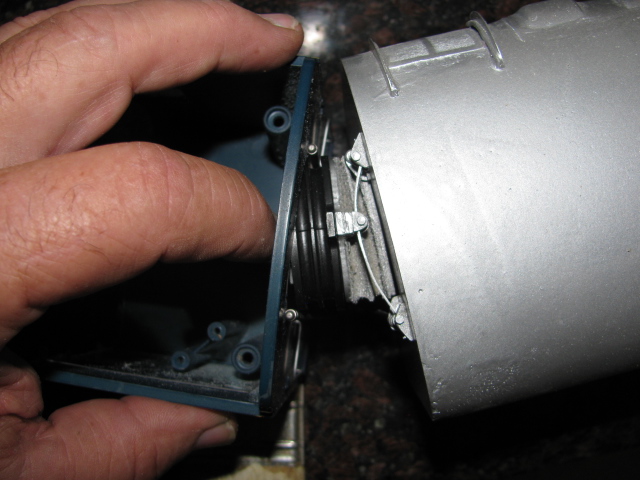
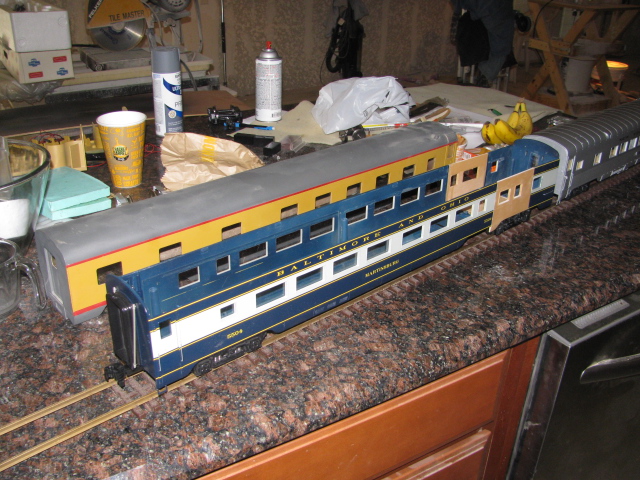
Thanks again Jerry, yes and I did it with a router, no mill. Here are some pics. of the diaphragm, it works. Mounted two springs behind the door. I will be able to close the gap to the cars and it will look more realistic. Also, the first half of the roof mold. Bob. Also, I found the Tru-Colors for the B&O and ordered the paint. Thanks for the suggestion.
Thanks for the heads up on B&O colors. I will be operating with 10 ft. radius, but after I get into it a little further, I will let you know how tight of a turn they will negotiate. I think pretty tight, because when they turn tightly, I think they will actually move away from the other diaphragm. I don't know yet, but I will see. Bob.
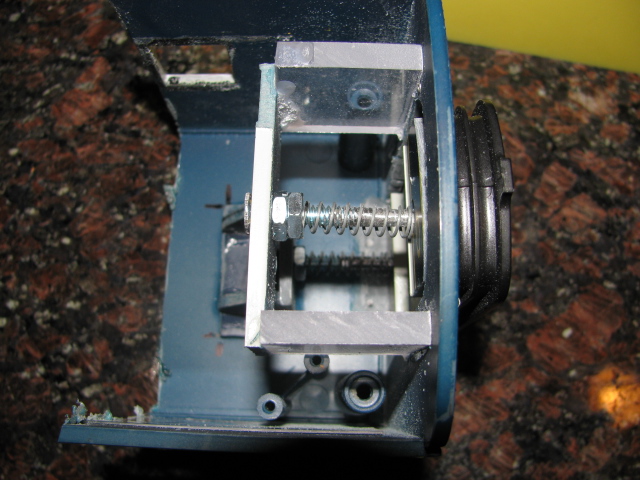
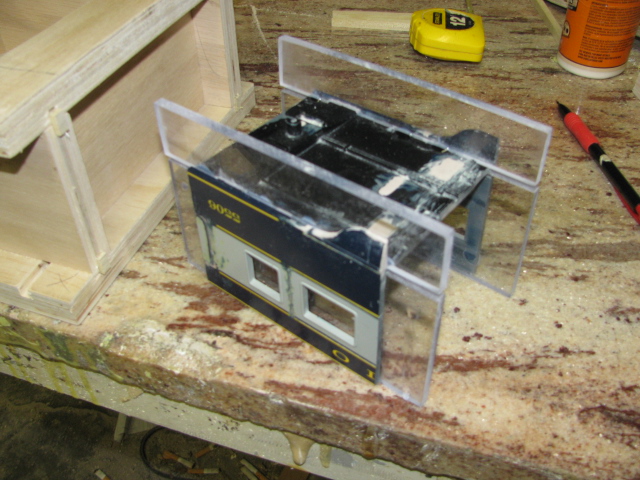
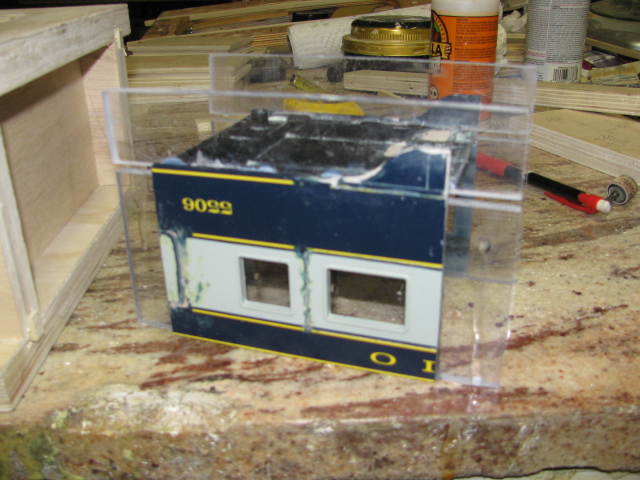
Well, here is my answer to the diaphragm problem. Rather than going to all of the trouble of constructing the fabric diaphragms that are on the right, I will use the stock ones and make them rotate. I am figuring out the springs now, haven't yet, but here are some pics, I think this will work. Bob.
Thanks, Jerry and Jens. If I can, I want to stay with the B&O colors, if not, well something else, but thanks for the hint. The diaphrams are the stock MTH. They are nice, but they don't move, but I will fix that. Bob.
OK, it's together, so now some paint and fill in part of the skirt and mold the roof, so not quite done yet, but close, the hard part is done. Any ideas about matching the paint? If not I will paint the whole thing. Bob. Here are some pics.
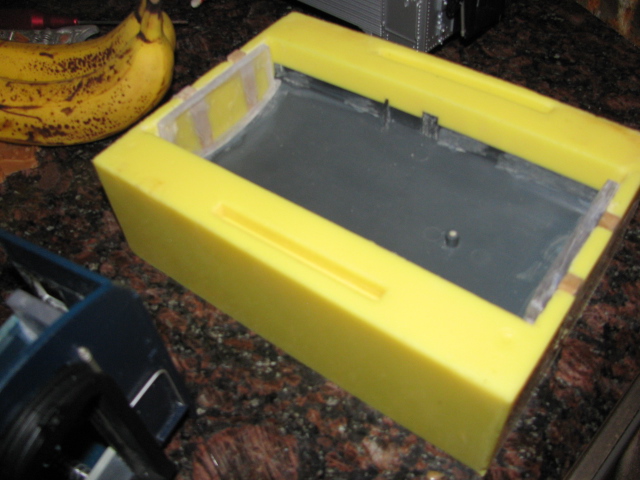
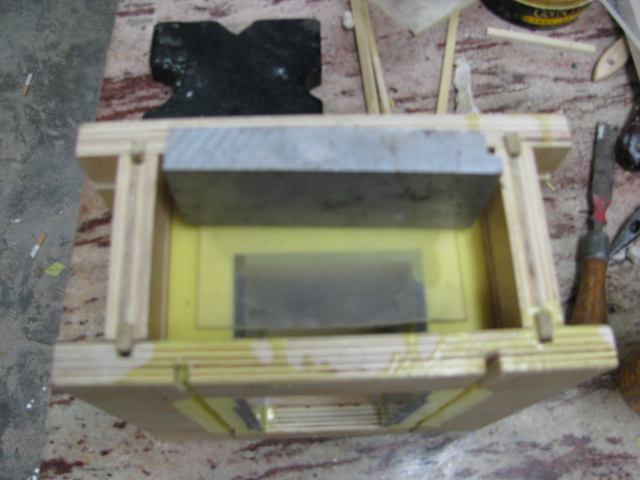
OK, here is the final mold for the stretch section. All I have to do is wax and apply mold release and pour the epoxy. Next, will be the part. Bob. Here are some pics.
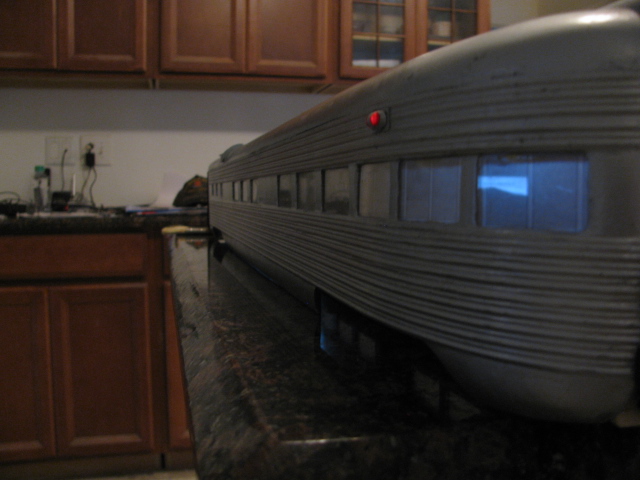
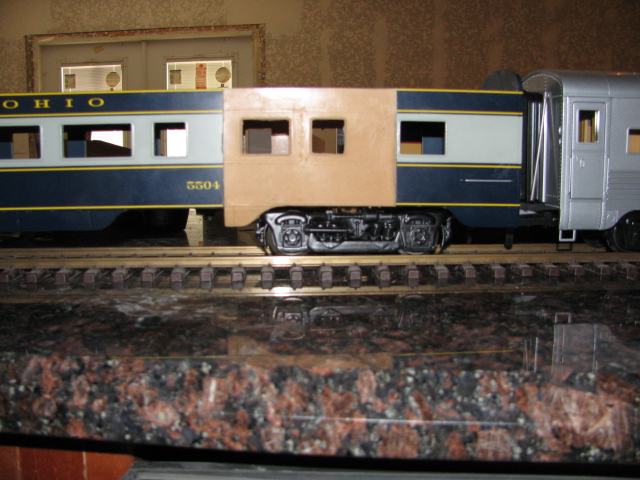
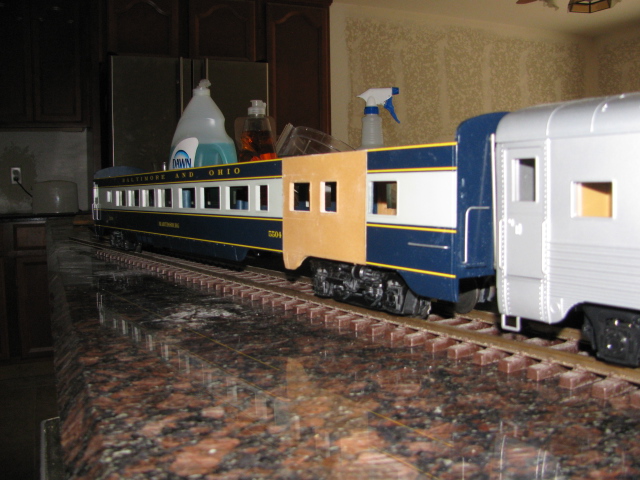
What happens sometimes, is that I have to wait till next payday to buy supplies, so I will work on something else to keep the momentum going. I receive urethane and stuff today, so I will continue on the viaducts and the passenger car. I am cutting out flush windows for the car today, I think they will add a little to the looks. Bob.
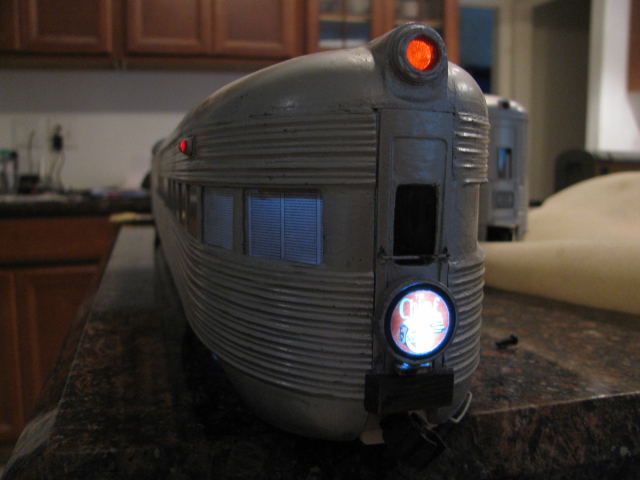
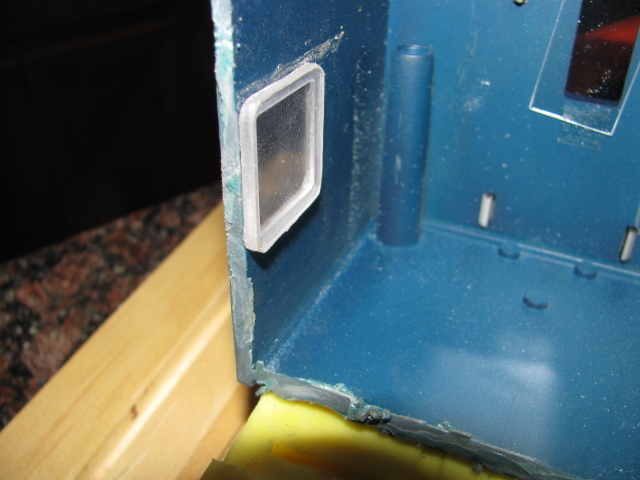
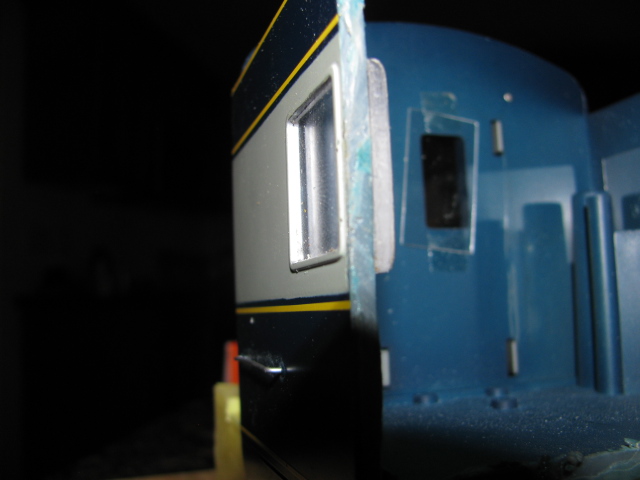
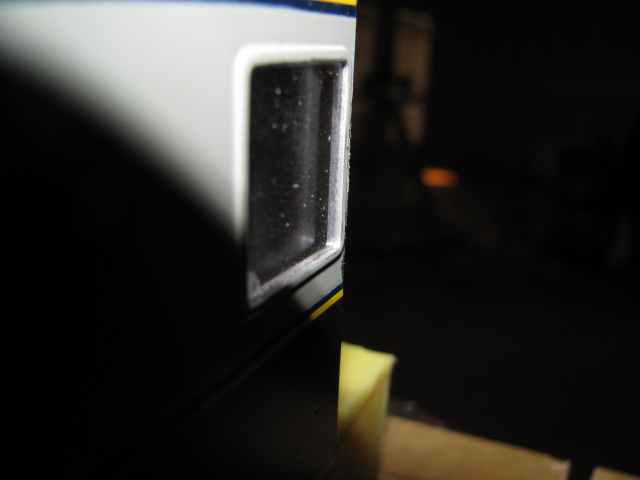
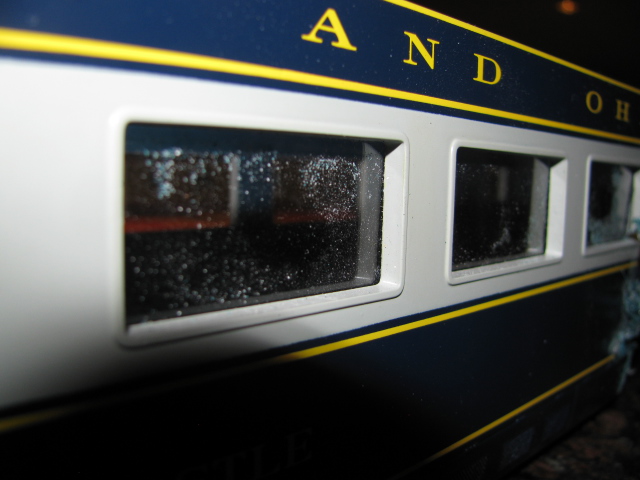
Thank you. I just tried painting around the glass black and because of refraction, it makes the glass look thinner and more realistic. I am now experimenting with shades. Bob.
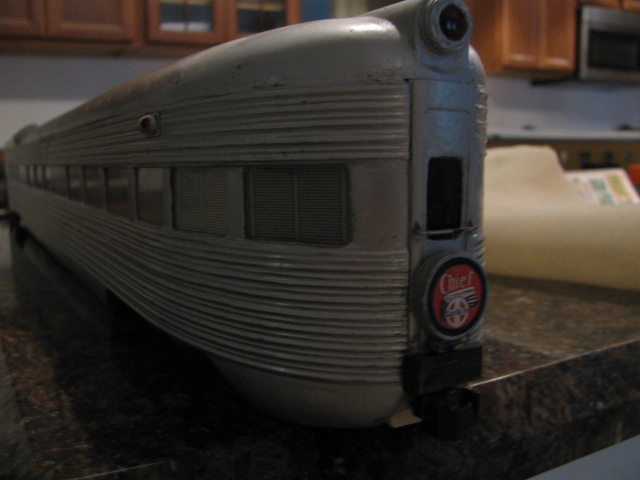
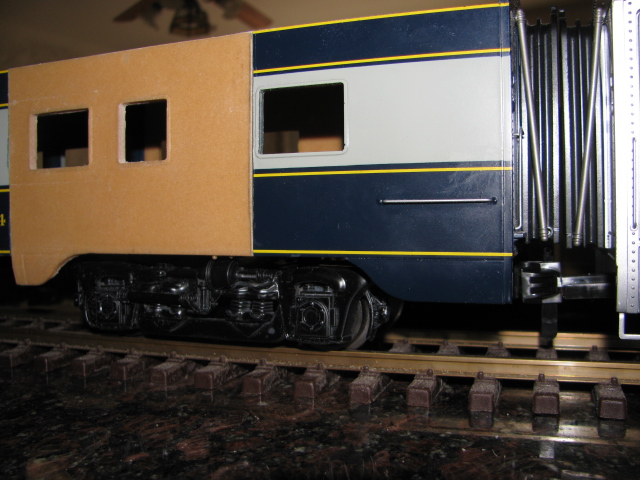
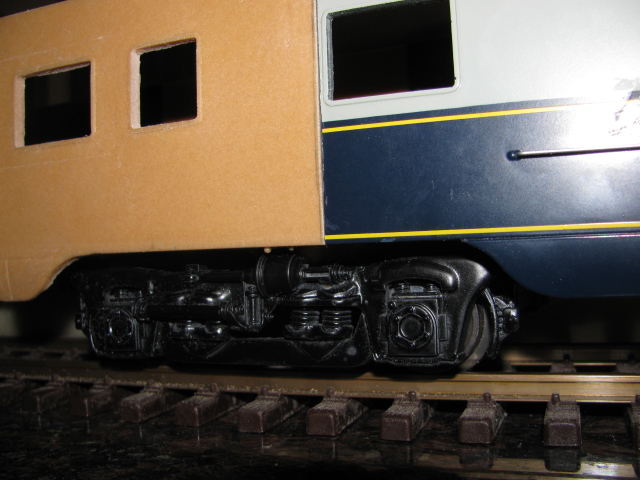
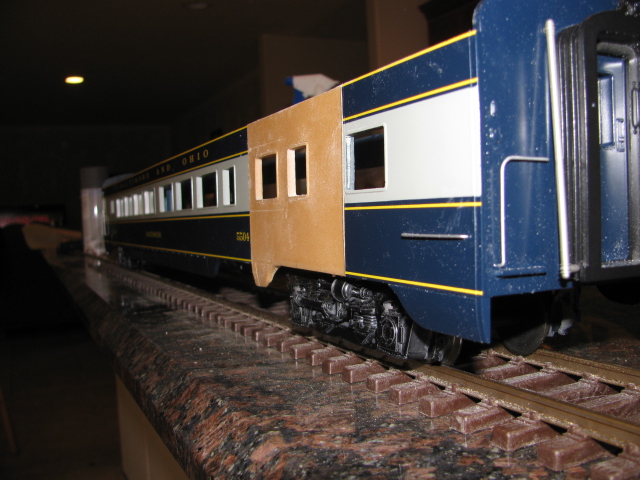
I am installing flush windows in the MTH passenger cars. They look more scale because the windows in the cars are almost flush to the outside. I am cutting them on a CNC mill and they fit well without glue. I am experimenting right now, but here are some pics. I might have to paint around the windows, black, to make them stand out more. I might not have them close enough to the outside, still trying the fit. Bob.
Jens, have you decided whether or not to stretch the MTH passenger cars now that you see what I am going through? And, I am not done yet, I have to stretch the roof, that's what I will begin today. Bob.
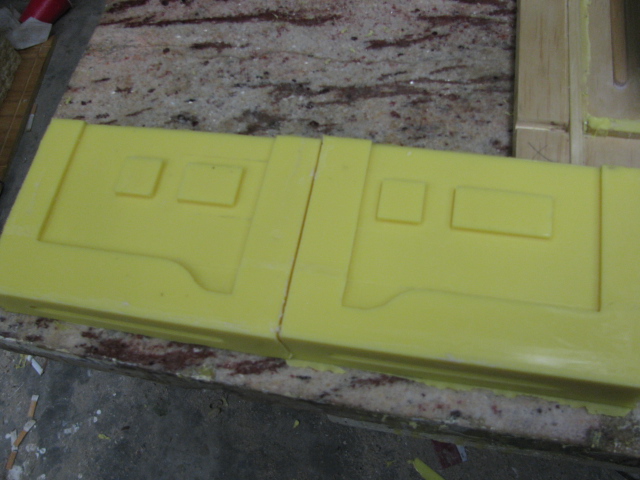
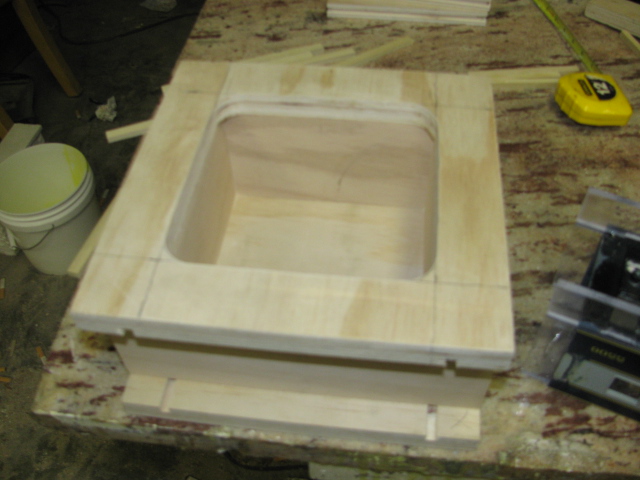
The fluted pattern is ready for the rest of the mold. The bottom was already made, so I didn't have to remake that. I cut the windows from the first pattern so that I wouldn't have to remake the windows, so it is ready to pour the sides. Here are some pics. Bob.
I want to make a correction of a statement that I previously made. I said that it would take two cars to make one, that is not true. In order to fill some windows in the added 4 5/16 section, if you make a mold of several of the windows of the car and use the parts from them, the original car stays intact and the pattern can be used to restore the original car. I goofed and didn't make a mold of the windows, so I destroyed, unnecessarily, the car. I suppose, if I wanted to go to some additional work I could recover the original car, but I don't know if I want to. So, to sum up, only one car is necessary to make parts for the stretch. Bob.
There is one final step for making stretched PS, MTH passenger cars. Now that I have made a mold for the smooth side car section, the next step is to make one for the fluted side car. One advantage of the design of the mold and mold box, is that one section of the mold is the same, the bottom, so this time, when I cut the pattern out of a fluted car, and position in the mold bottom, all I have to do, since I am using the same mold box, is to pour the sides, one less step. So there are many advantages in using the splined mold box. The next set of pictures will be the construction of the fluted car extension and the smooth side extension itself. Bob.
For those of you that have thought about stretching an MTH passenger car, you probably have figured out that it would take two cars to do this operation, whether or not you just do it once, or you make molds as I am doing so that it can be repeated. The difference is that once molds are made, the operation can be repeated with buying just one passenger car. Like I say, you have probably figured this out, but I just thought I would mention it. The rest of the mold is setting up right now, I will be able to demold after 4 hours and I will post the final pictures of the mold before I make some parts. I am curious, is anyone doing this?, I would appreciate some response, if you are, If you have any questions, just let me know. Bob.
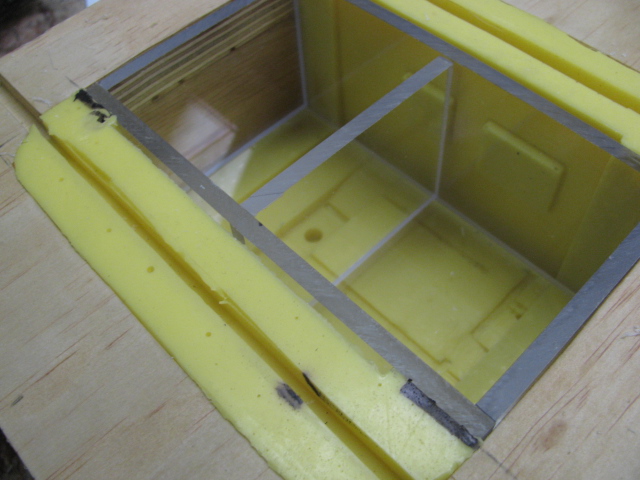
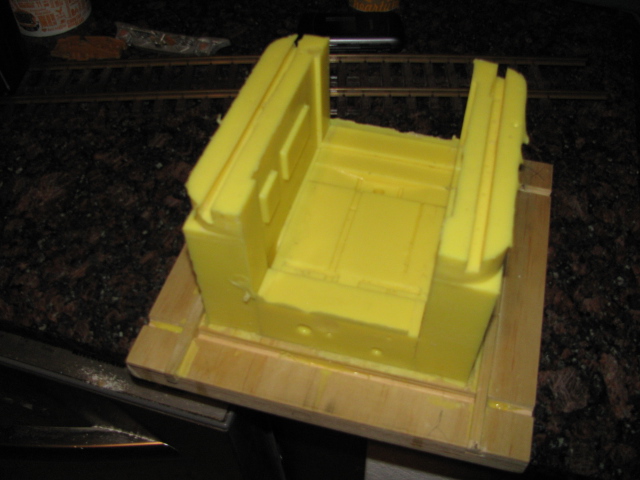
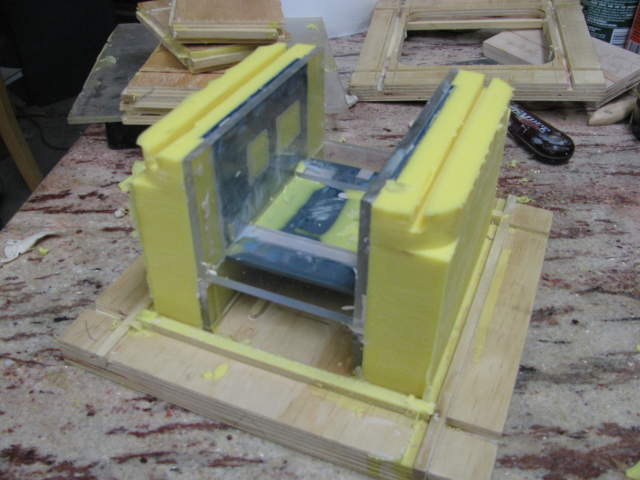
The making of the mold was a success. I poured the first two sides, took the box apart, removed the two bottom fences and then reassembled and then poured the bottom part of the mold. The nice part of the design of the splined mold box, is that one side can be removed for access. In this case to pour the last part of the mold. Next post will be actually making the part. Bob. Here are some pics.
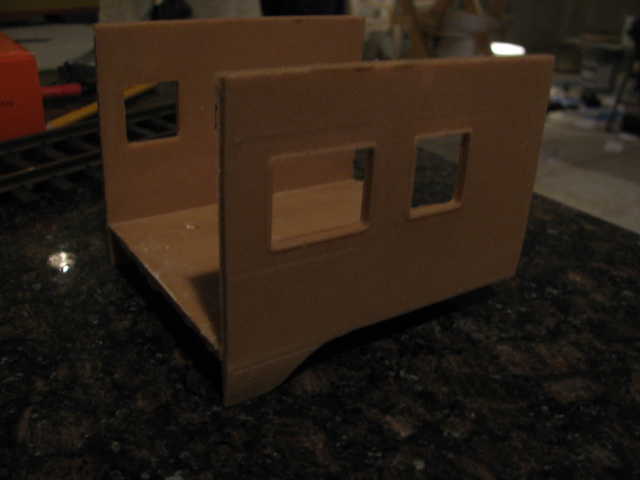
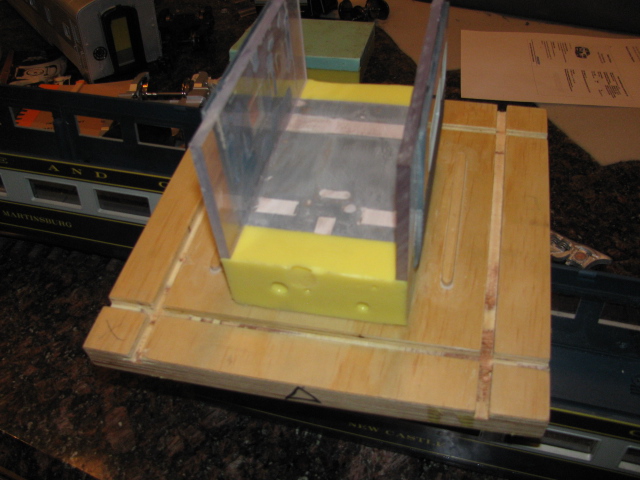
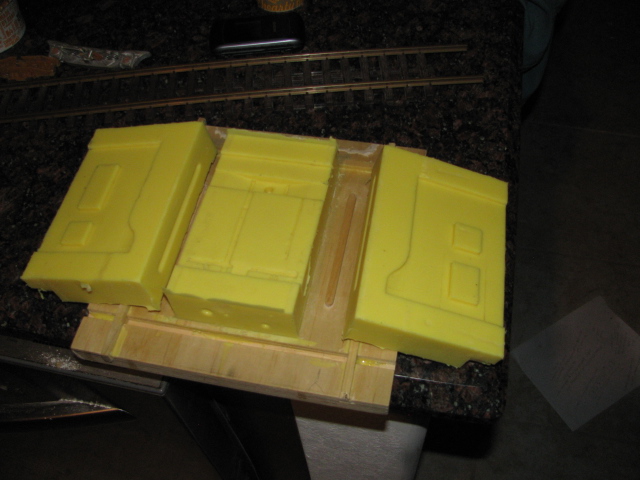
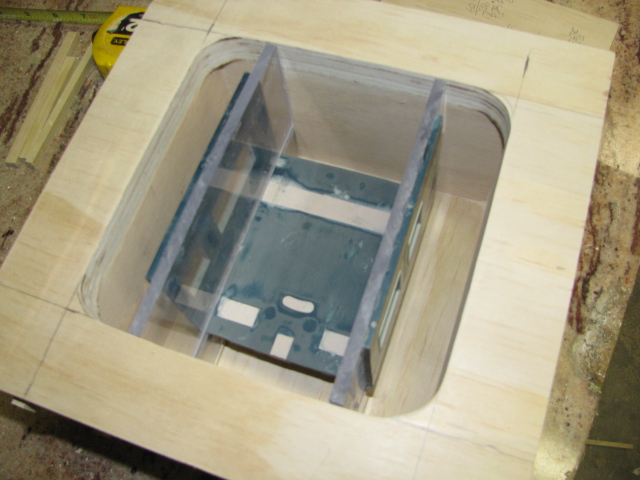
Here are some pictures of the mold for the center section. This will be a 3 piece urethane mold and for the inside will be plastic sheets to form the inside of the walls and the floor. What is nice about the splined box is that a wall can be removed for access or pouring. The sides will be poured first and then the floor. Bob.
OK I will. The next pictures that I will post will be of the mold for the extension section for the car, when I figure it out. I think I almost have it, starting tomorrow morning.


Stretched MTH passenger trucks
in Kitbashing & Model Making
Posted
Sorry engineer joe, I guess I need some lessons on posting a link. Thank you for doing that. Bob.